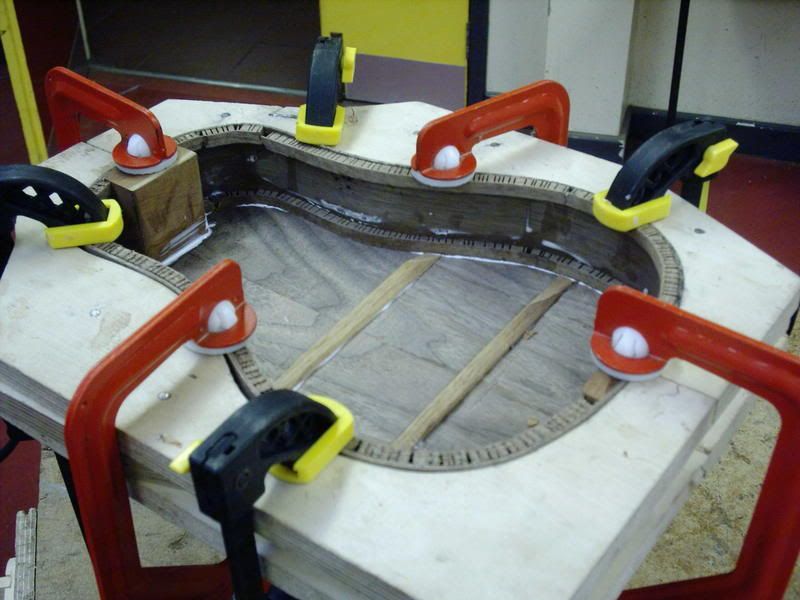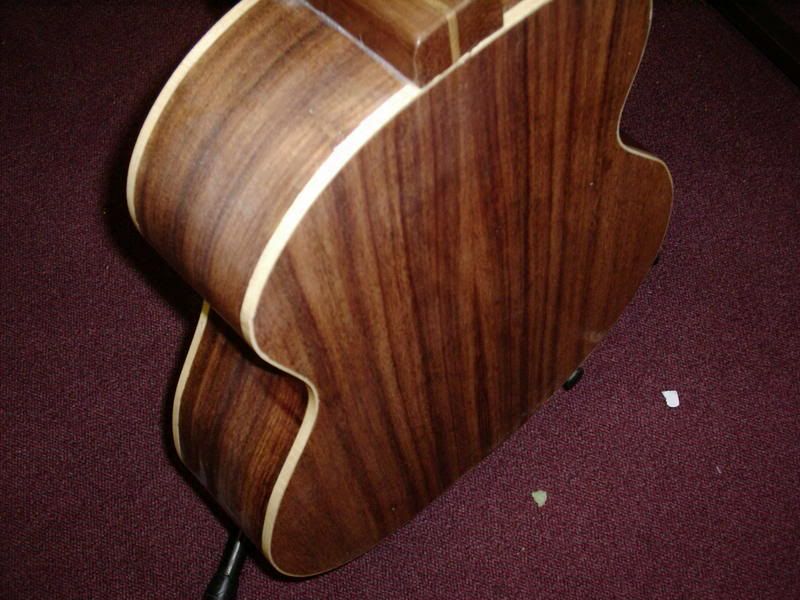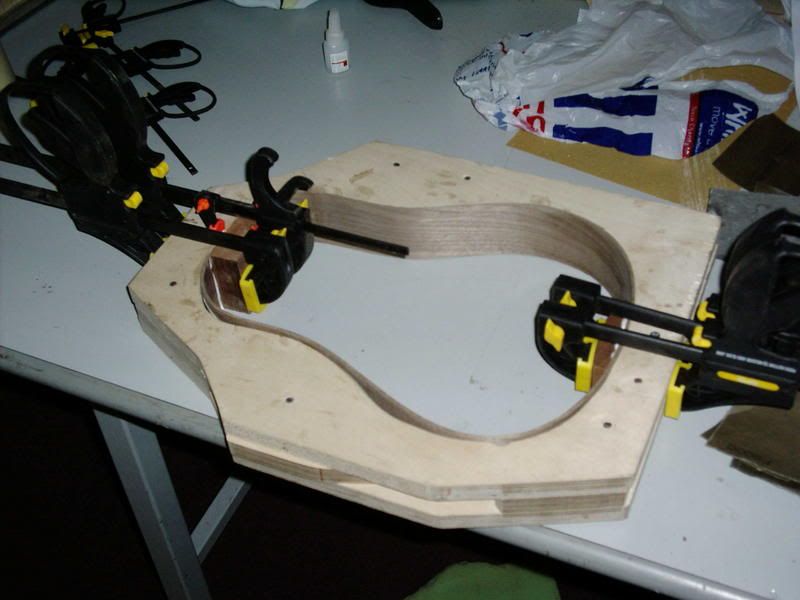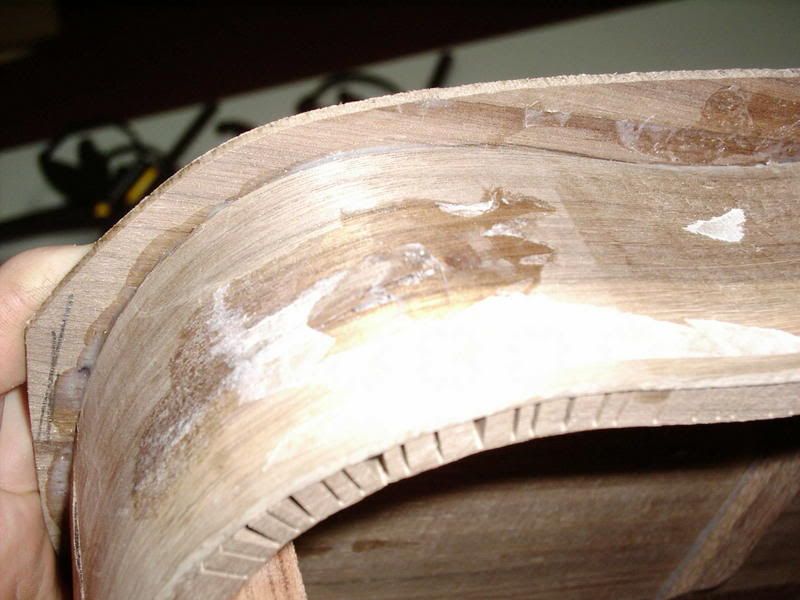
Good news or bad news first? well, I took the mando out of the mould todat and the edge is cracked. there was a little curve in the grain and the fibres just let go. I tried a fix with glue, but it was far from invisible, so it goes in the bin.
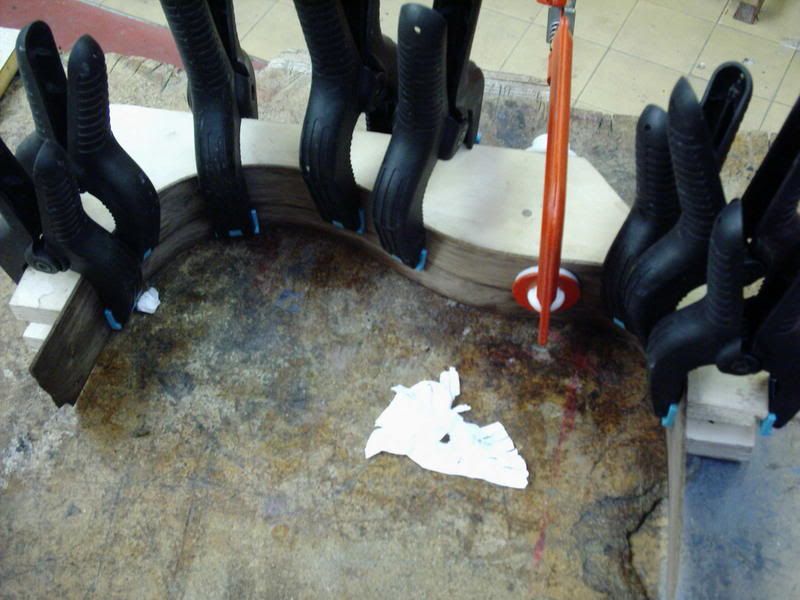
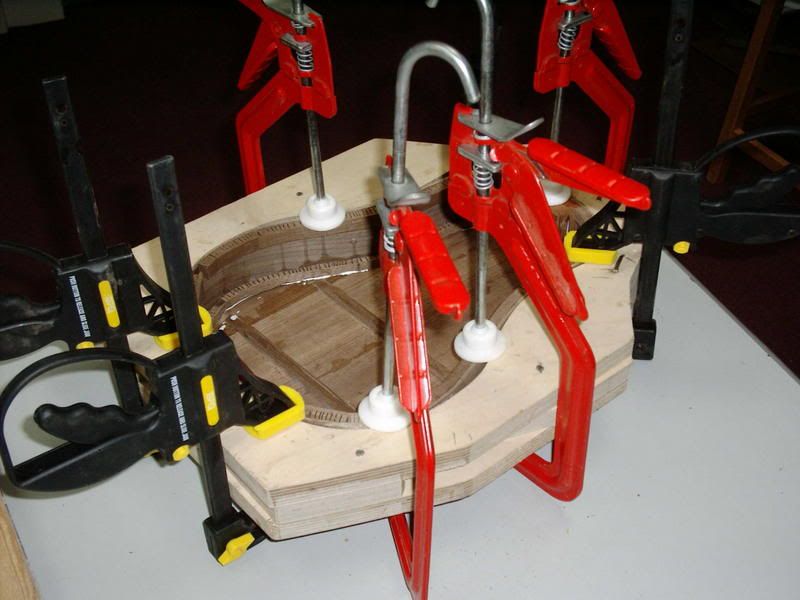
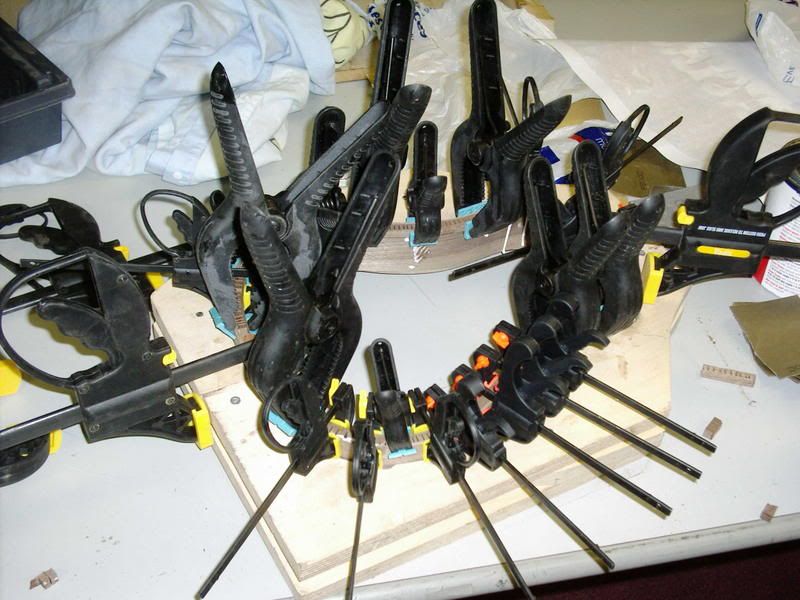
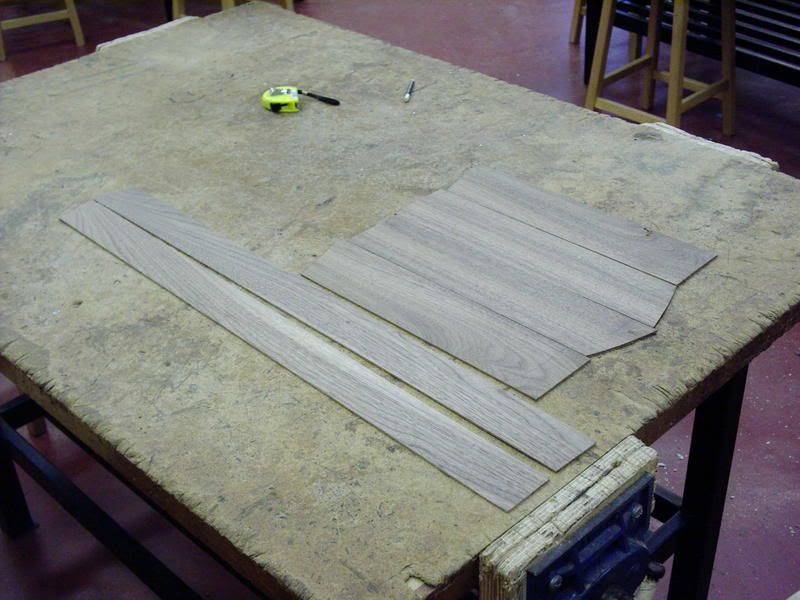
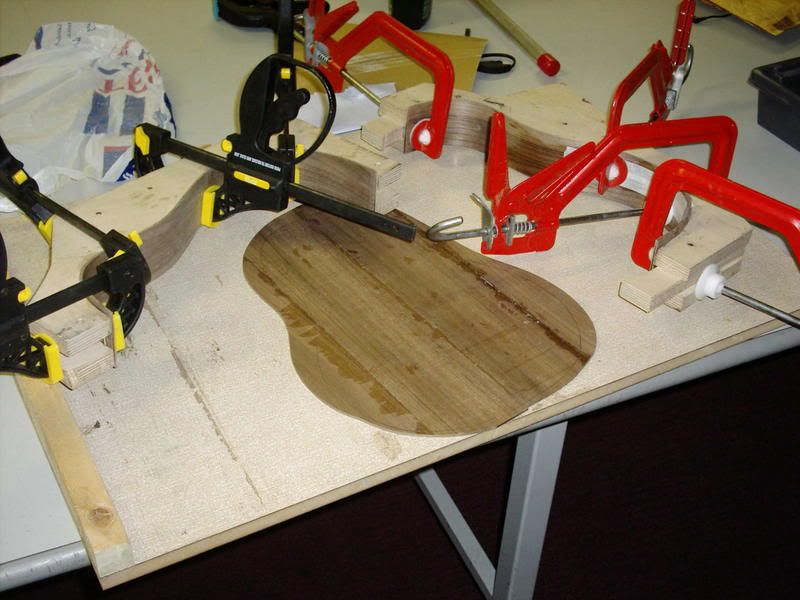
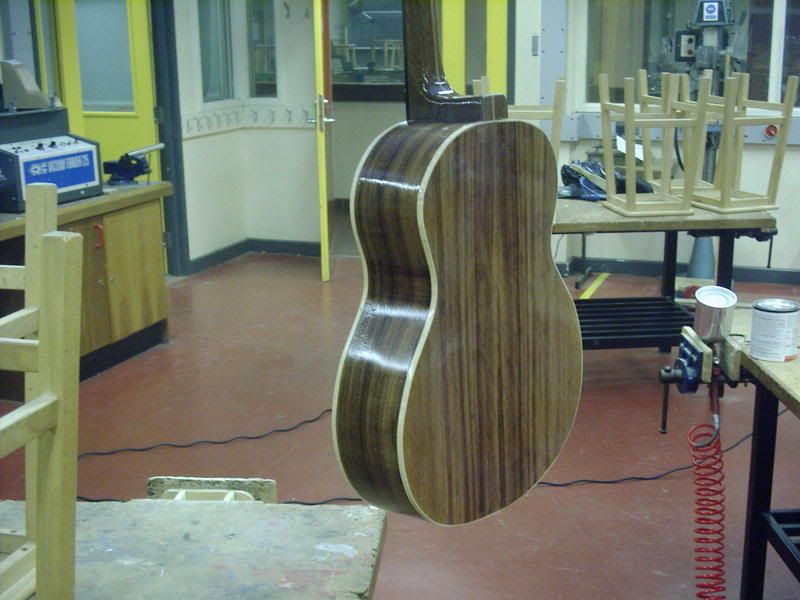
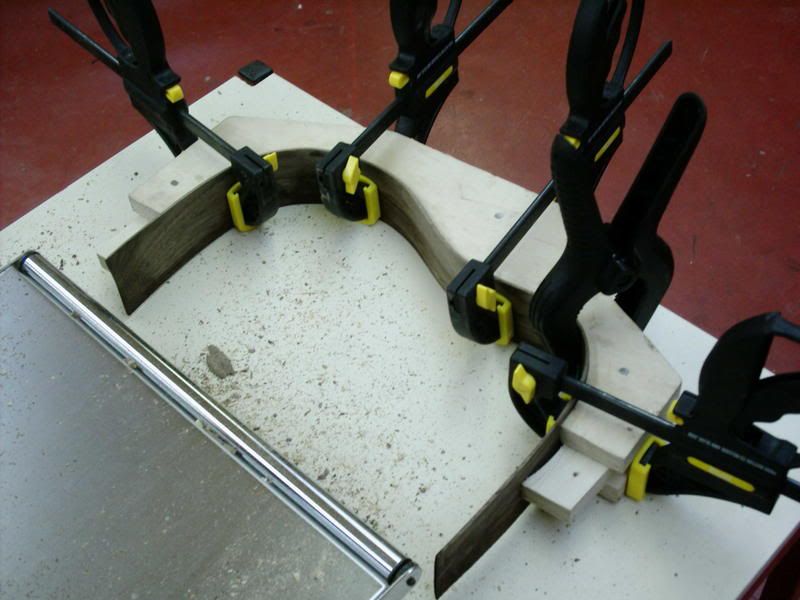
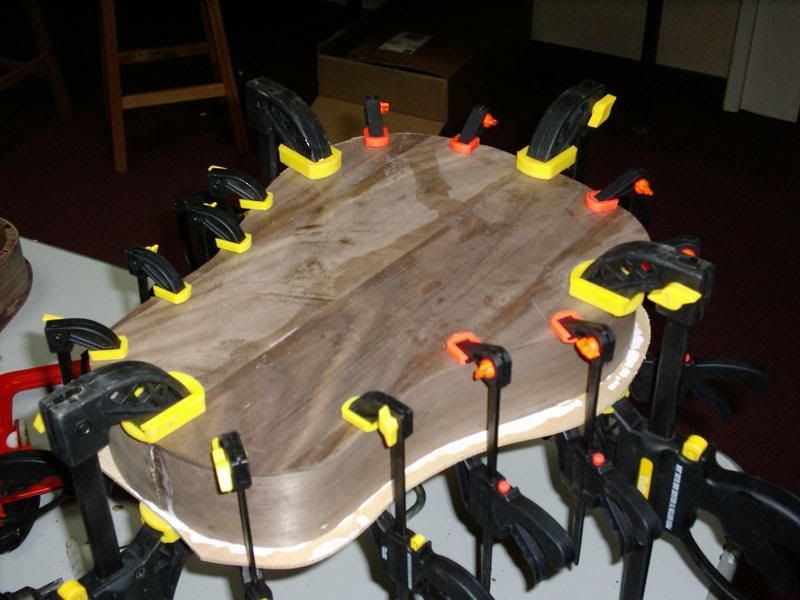
a new set of sides with straighter grain were duely bent, and a new back glued up.
good news?

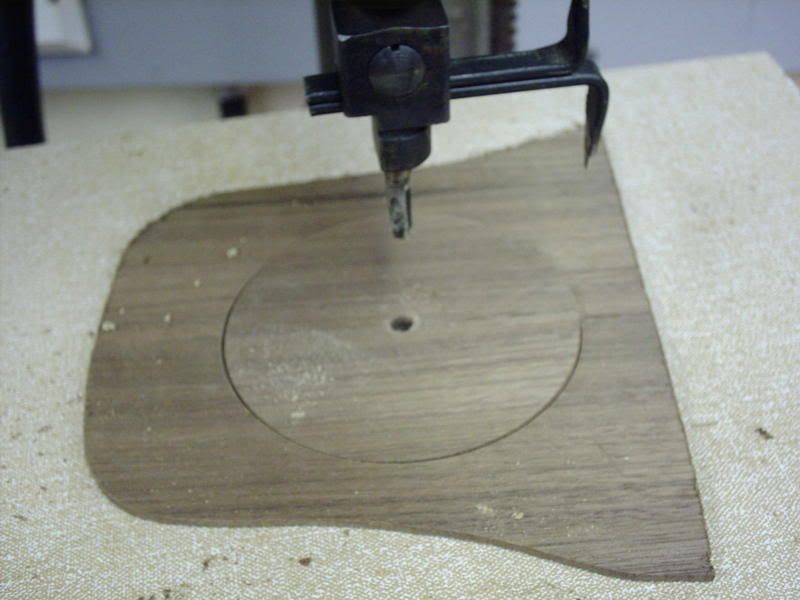
well, l was able to salvage the old back to cut for the rosette.......
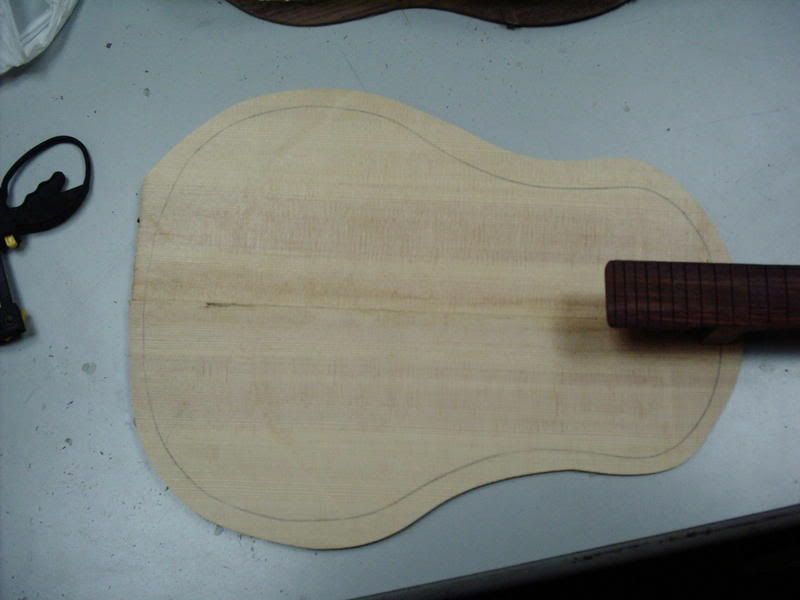
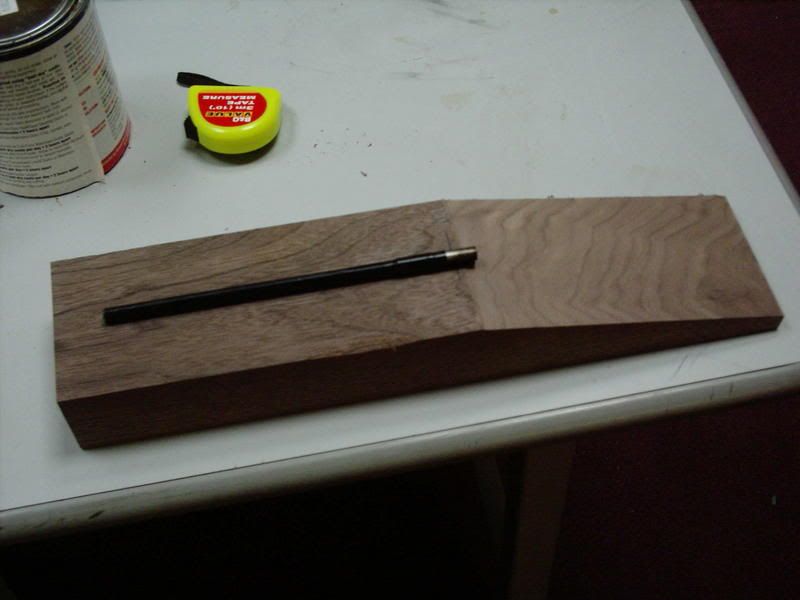
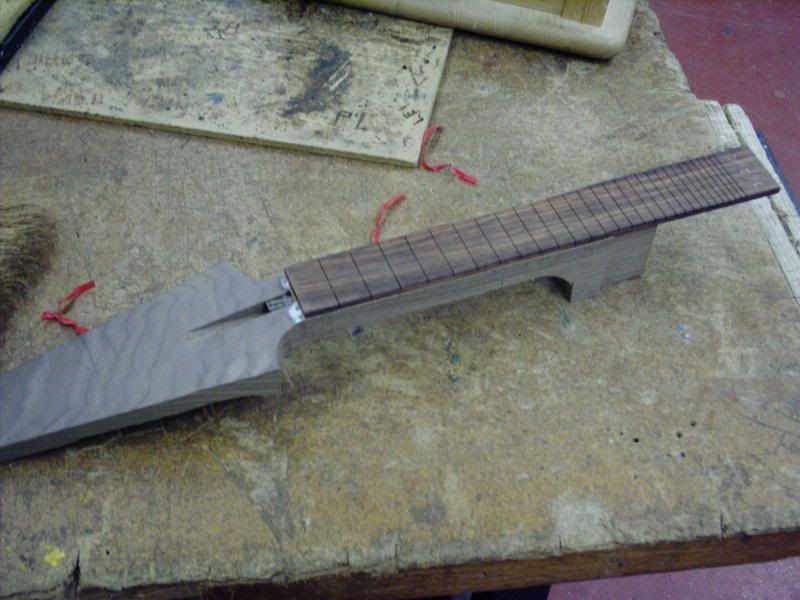
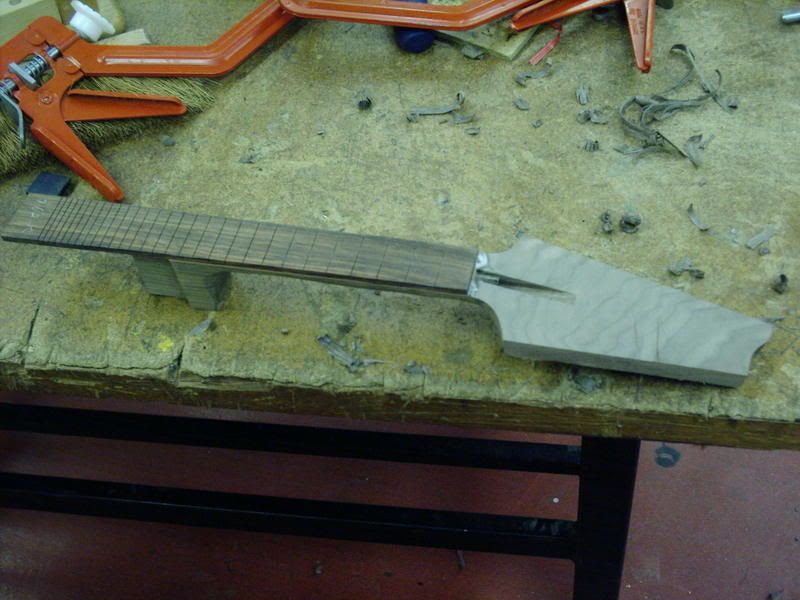
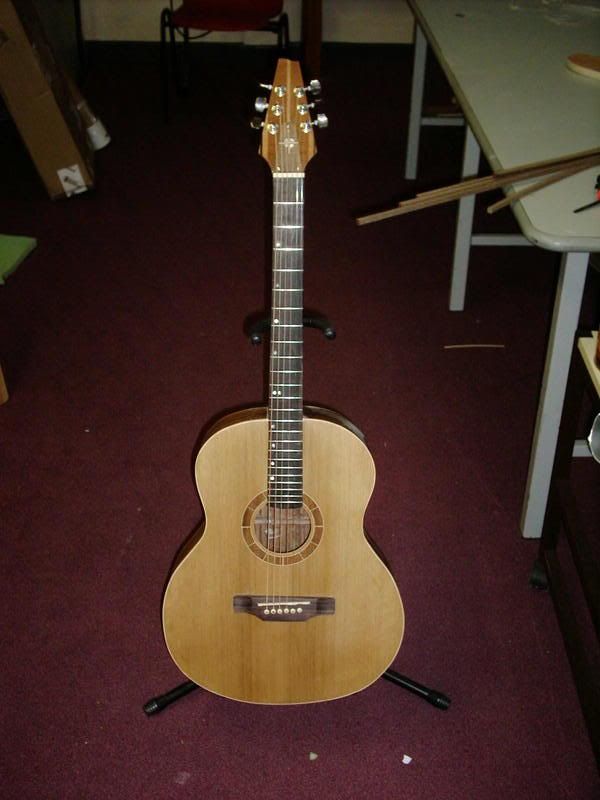
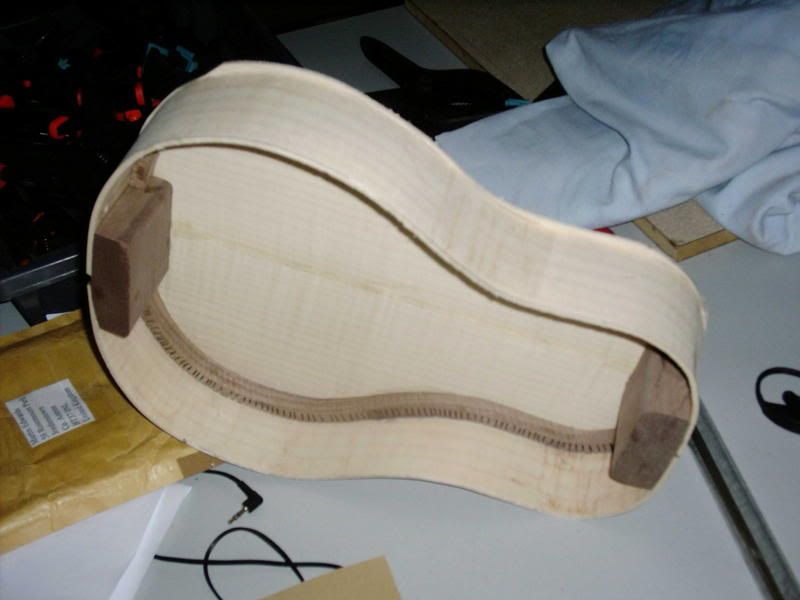
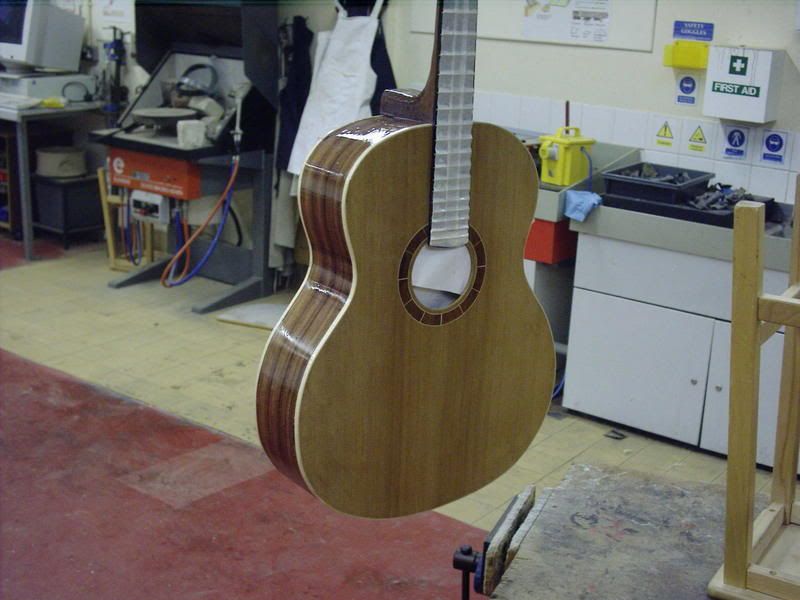
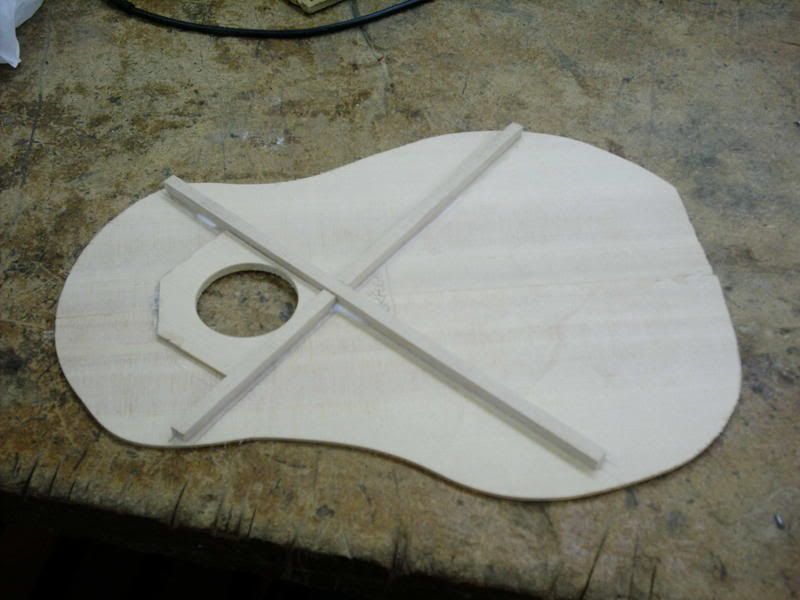
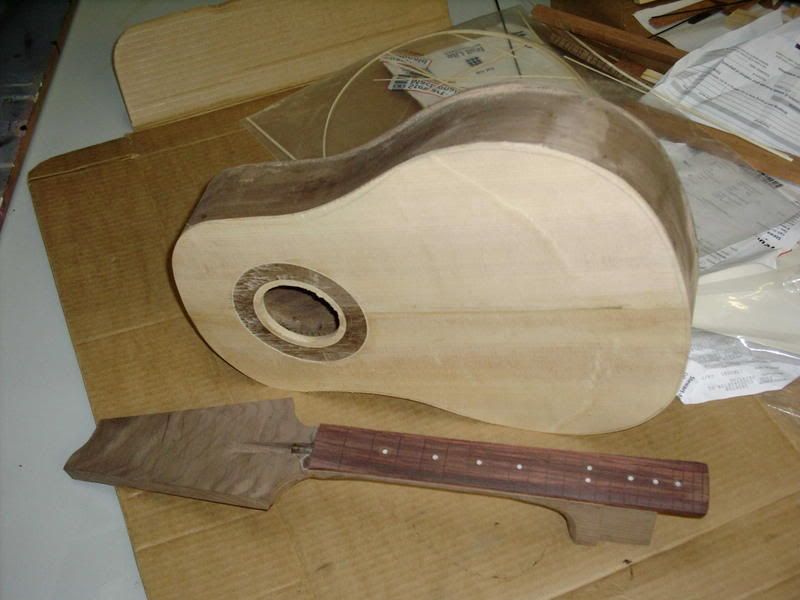
the top is cut out slightly too big. Here it is with the neck to give a sense of scale....
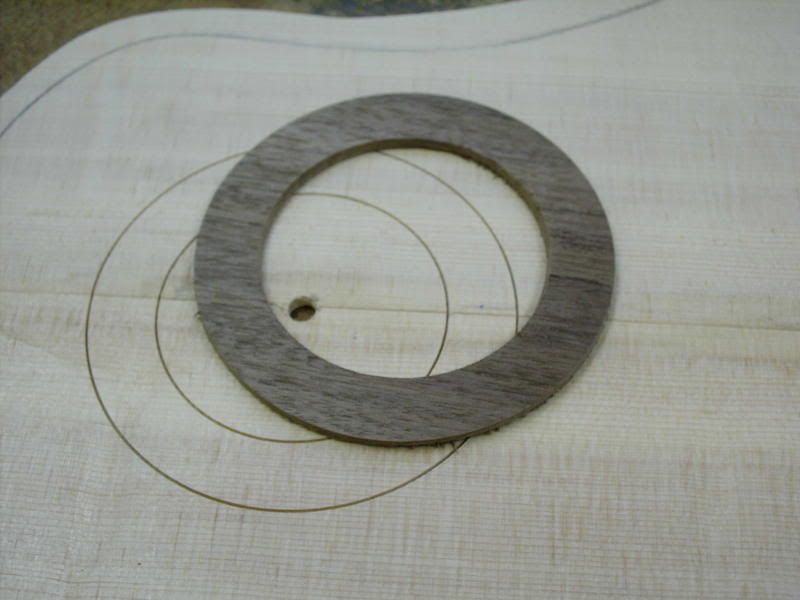
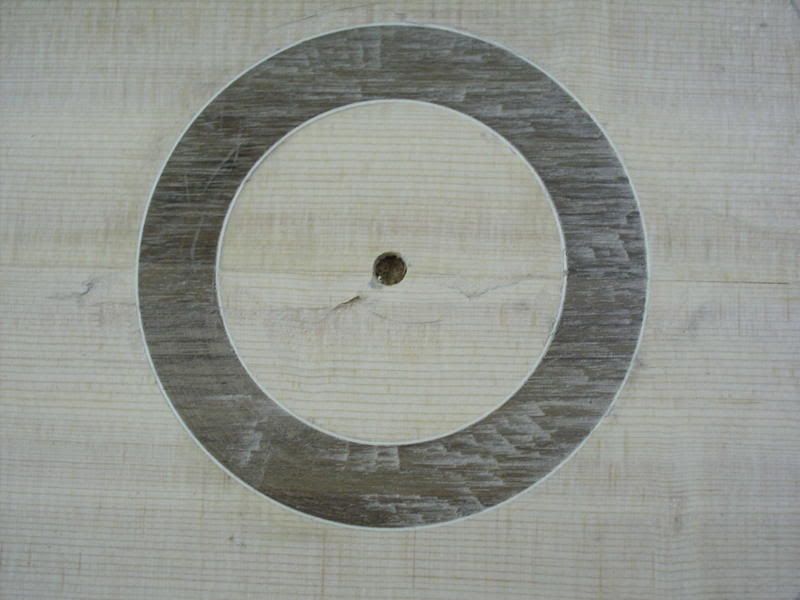
Using a tank cutter I cut a donut from what was to be the back.........
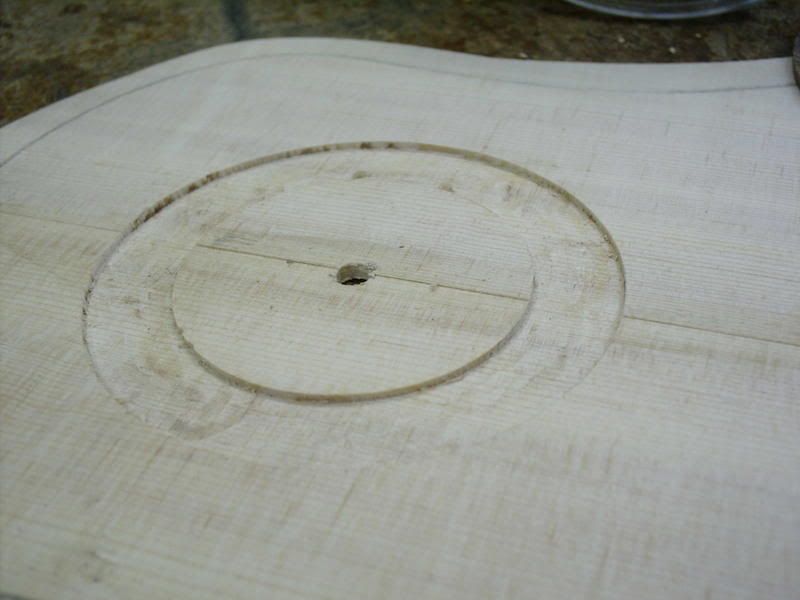
then a cut the same size on the top, adjust for the inner diameter and cut the top and the donut again.
then using a dremel in a router attachment, remove the wood on the top between the two circular cuts.
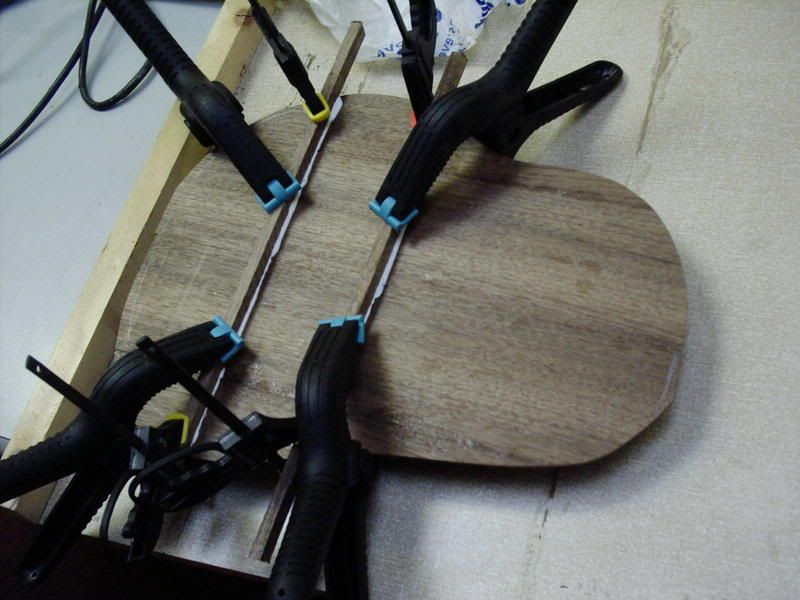
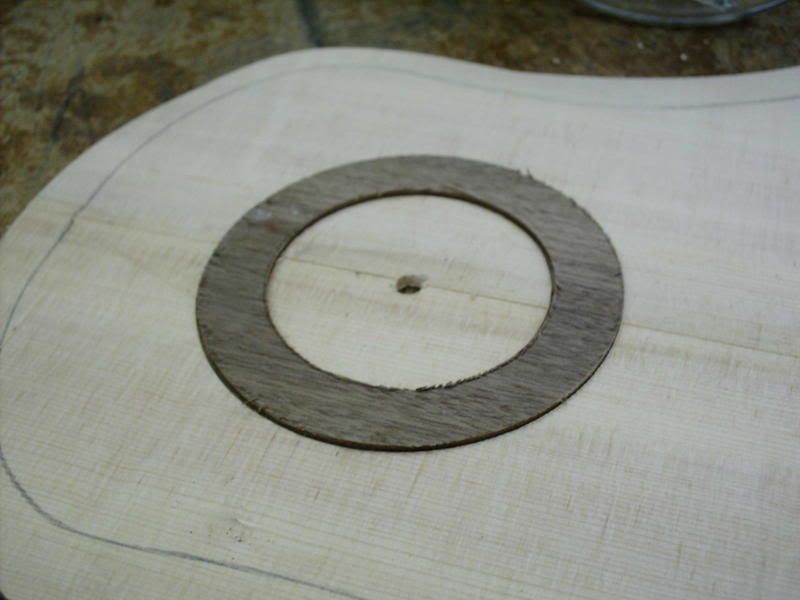
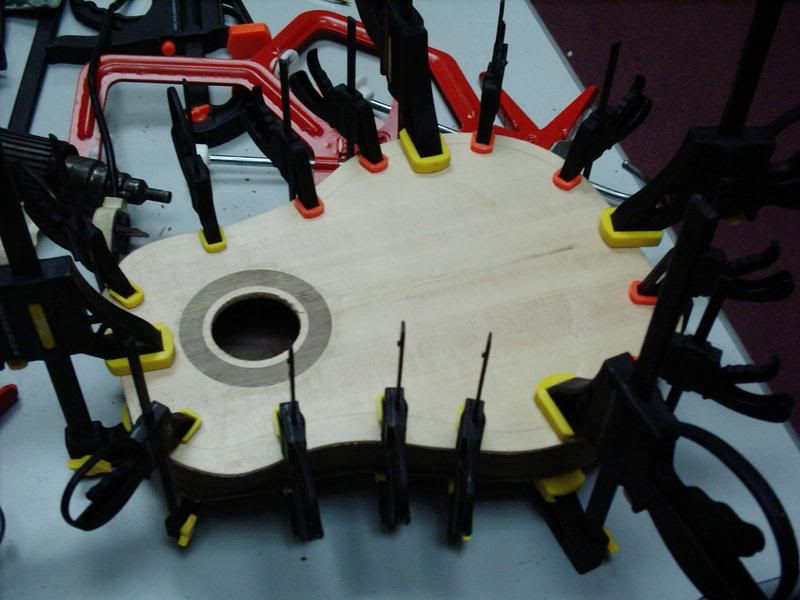
put the walnut donut in the resultant track
a little maple purlfing inside & outside fills in the thickness of the cutter and gives a better line of definition between the walnut & spruce.
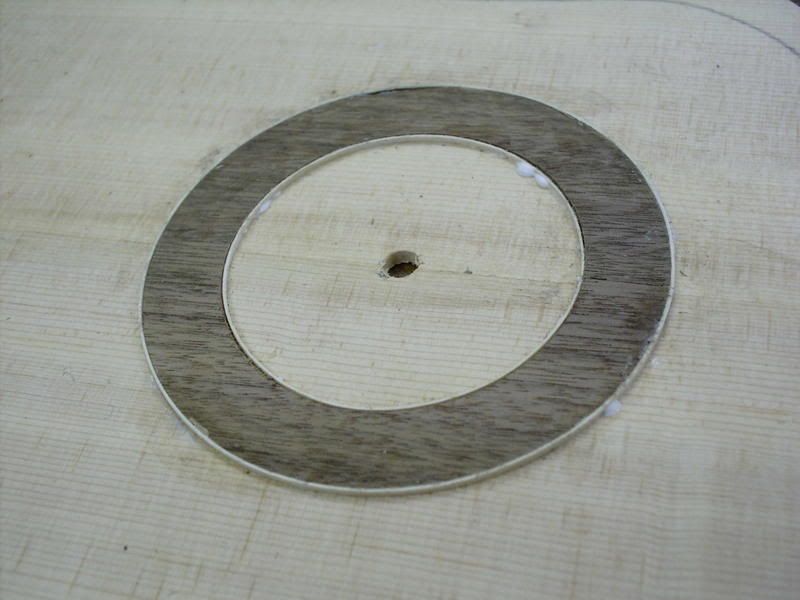
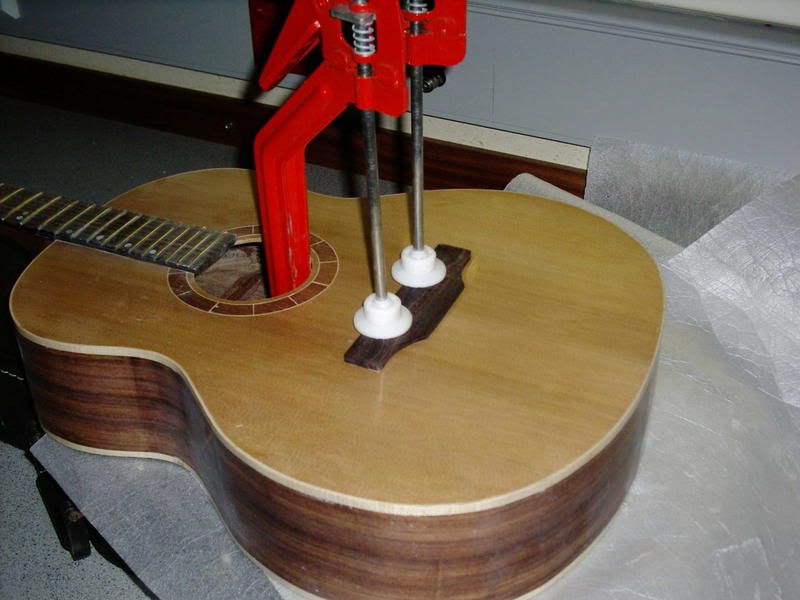
finally once the glue has dried, plane it down nice & flat.
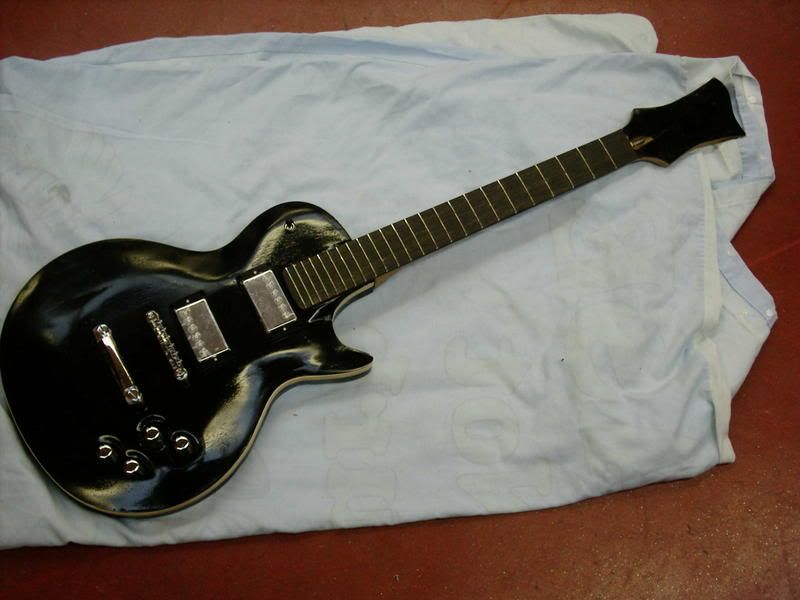
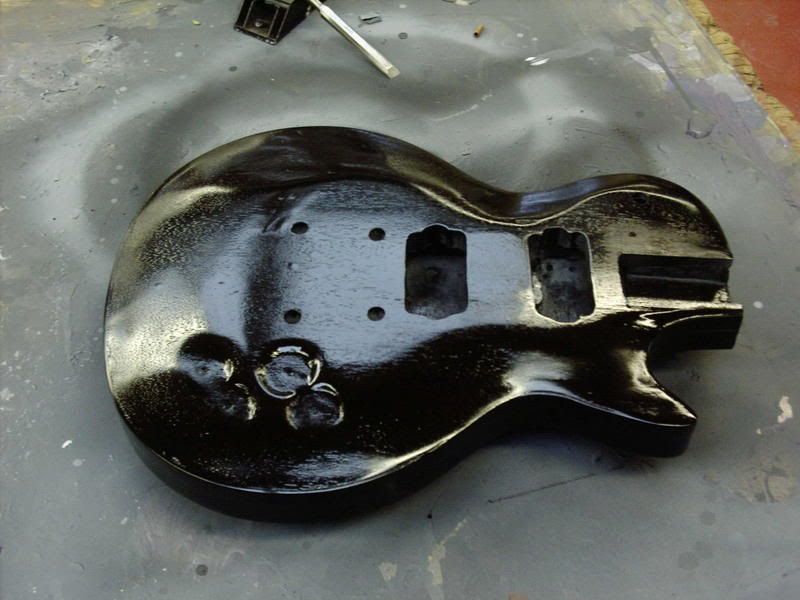
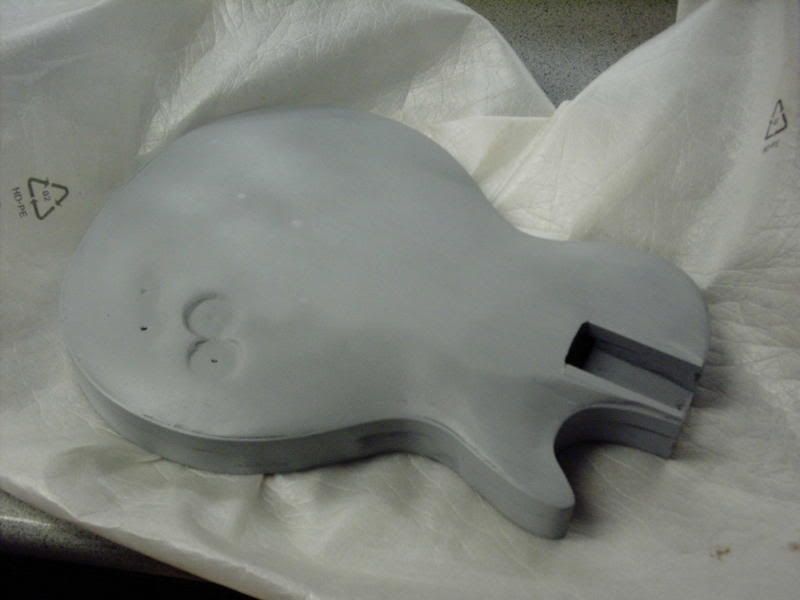
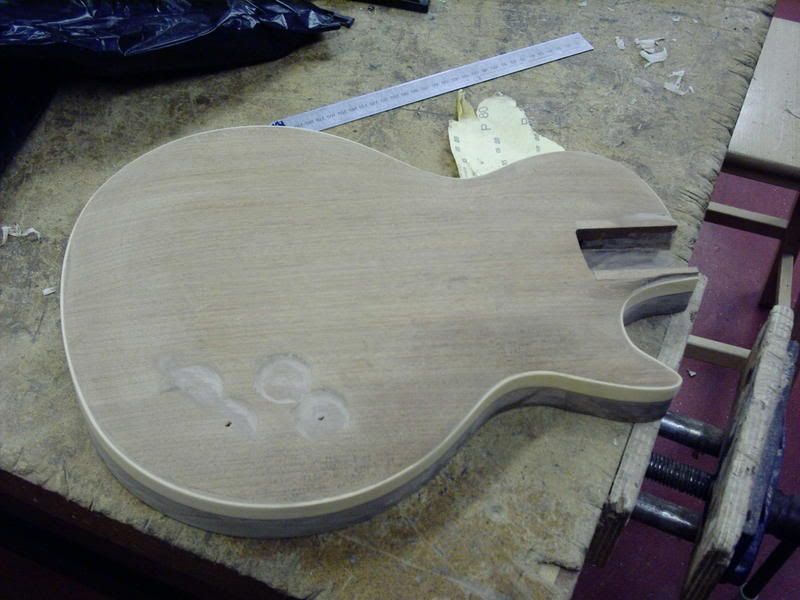
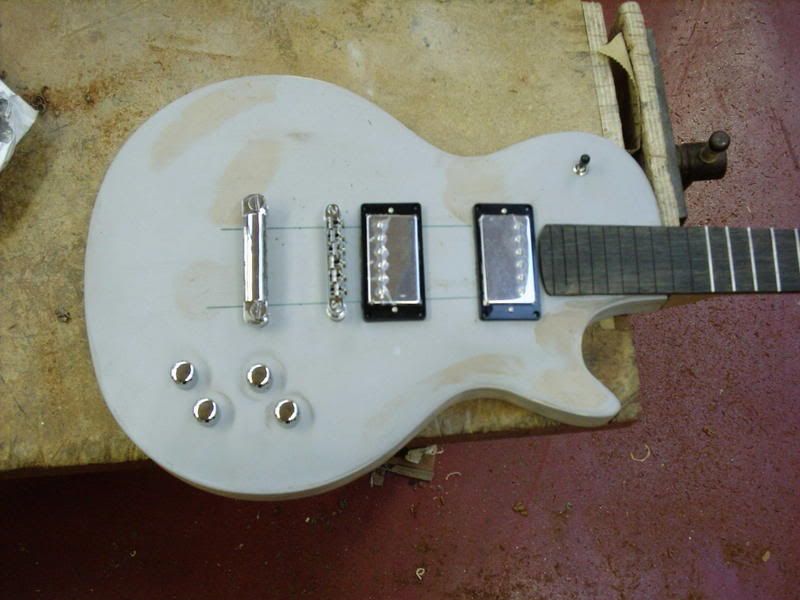
and the Les Paul? today I drilled the holes for the posts for the bridge & tailpiece & routed the slots for the pickups.
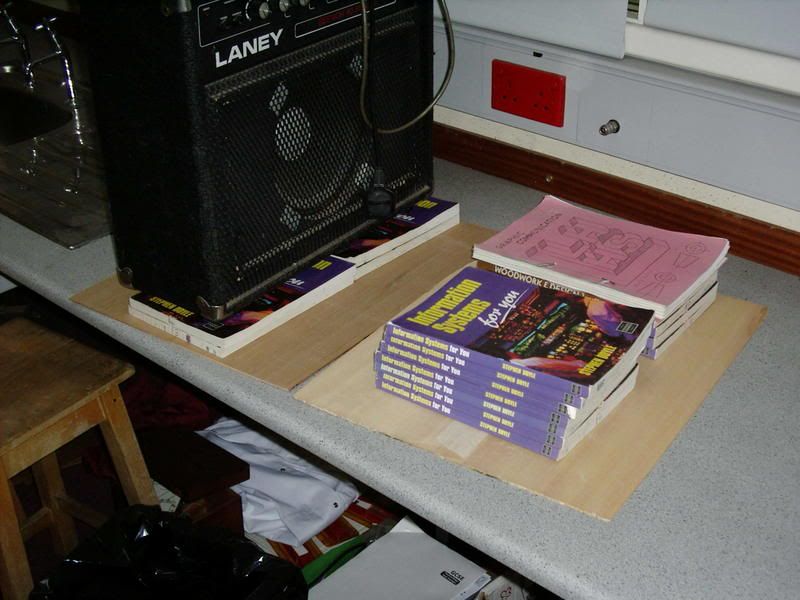
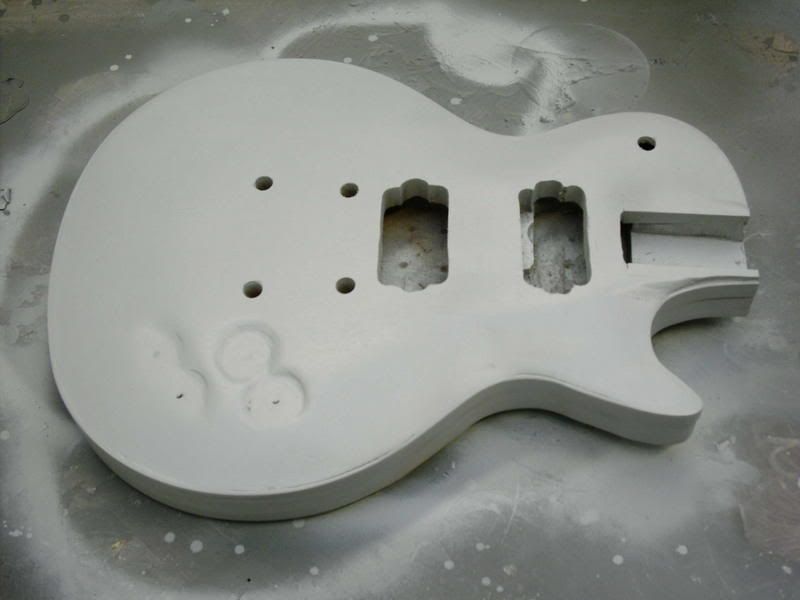
then they came out again for another coat of primer (after the filler was sanded out.)
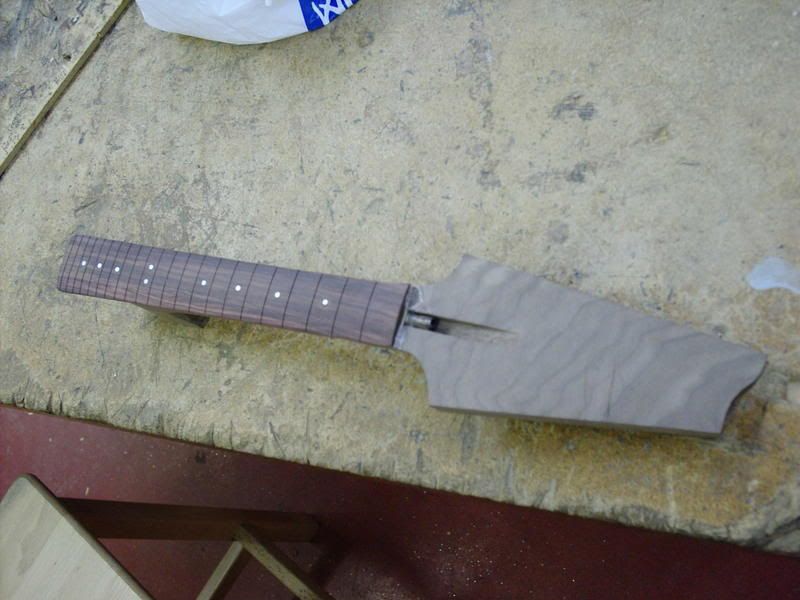
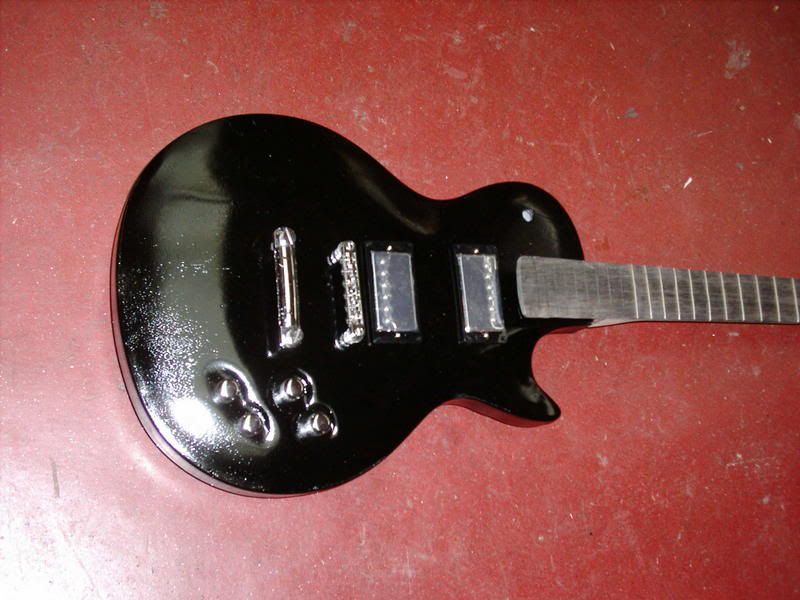
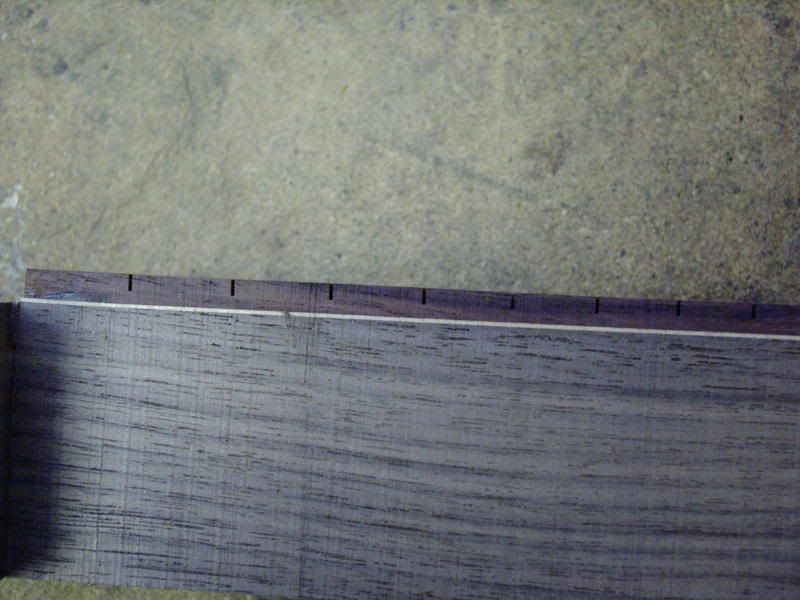
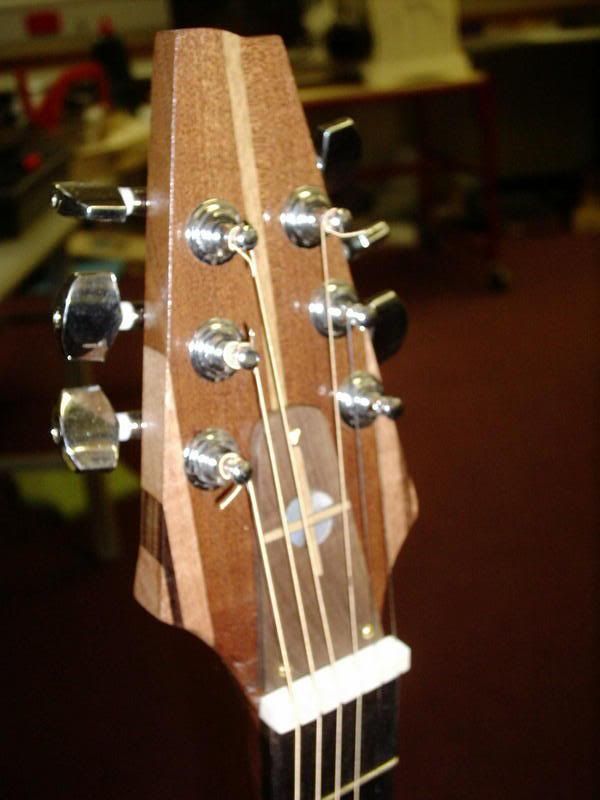
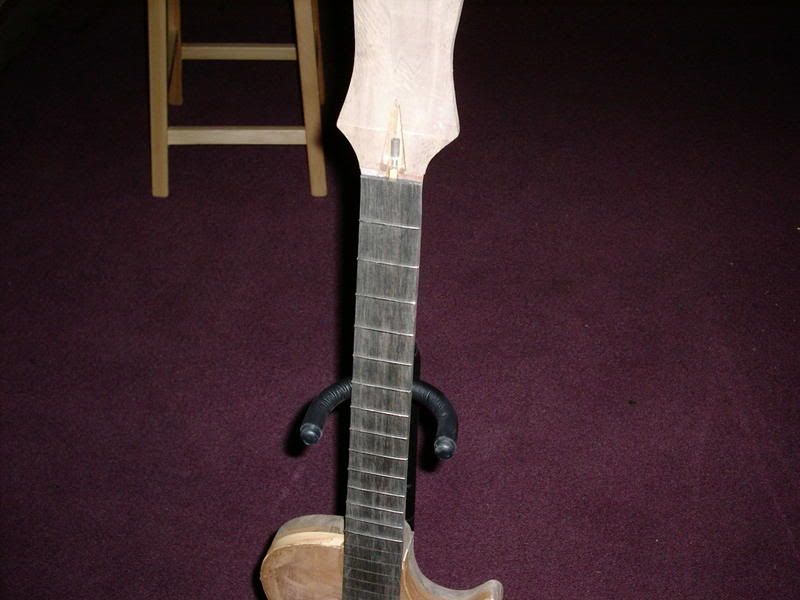
 followed by the fret markers on the fingerboard.
 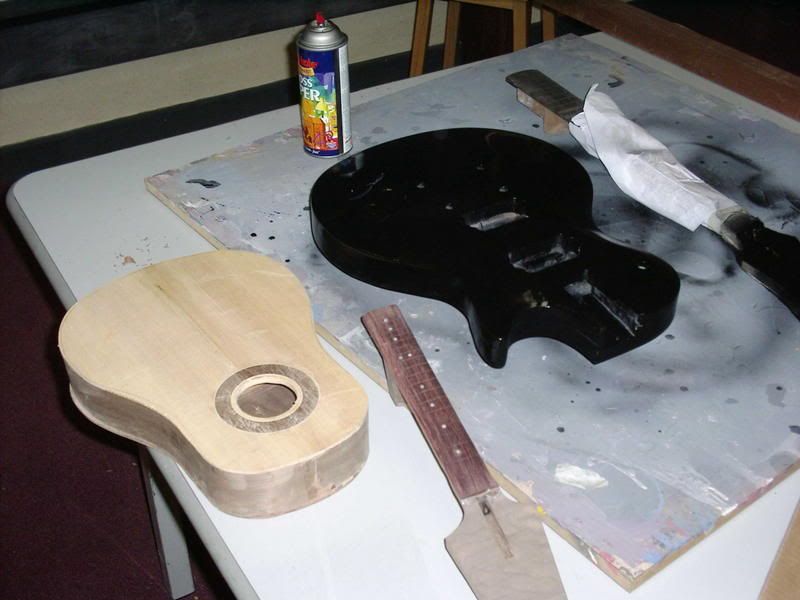 black to match the body,
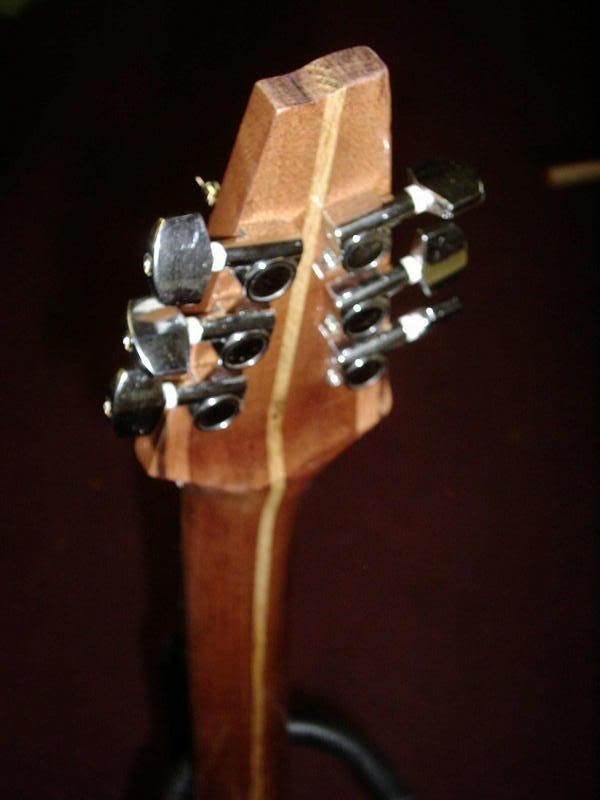
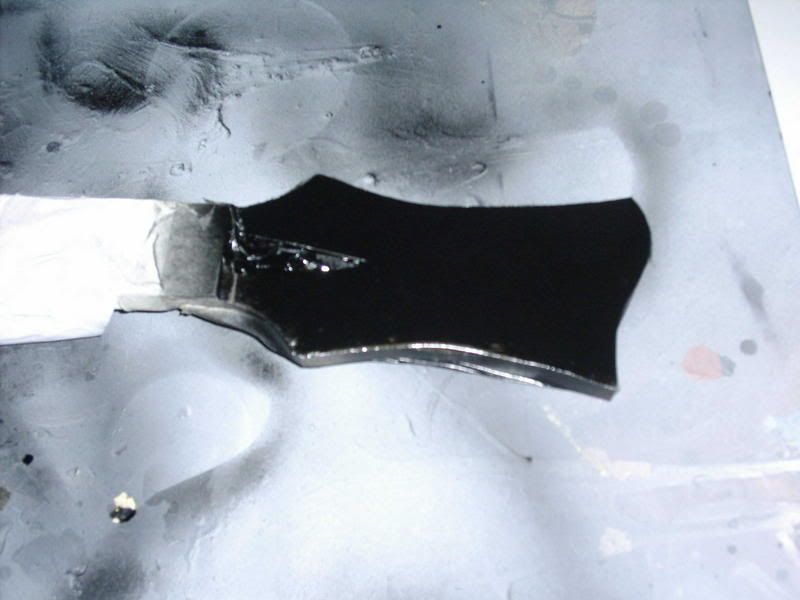 tuner holes and then glue the whole lot together and spend
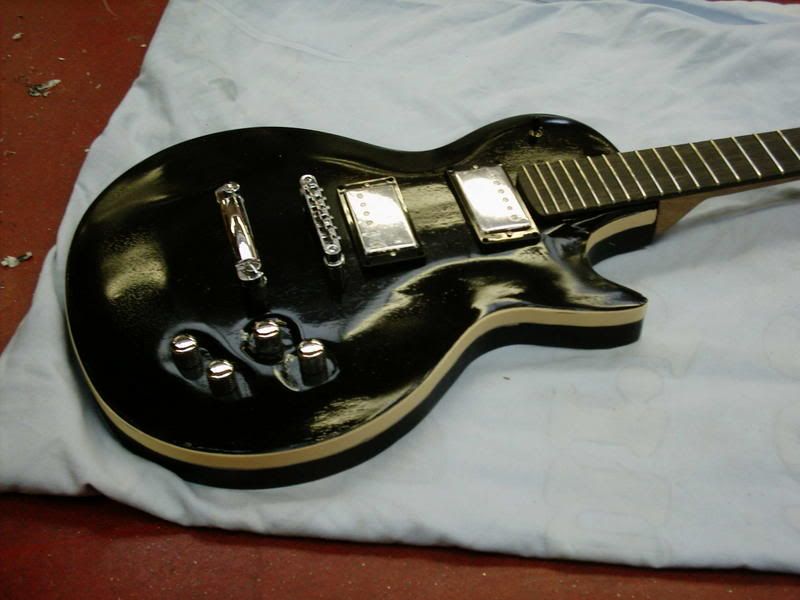 a week swearing at the soldering!! stll have to decide on the pick-up rings too. Black (as here) chrome or cream to match the binding.