Saturday, February 22, 2020

Bridge placement.......

Using my patented handydandy temporary tailpiece.....run two strings the length of the guitar and move the bridge around until the octave fretted note is the same as the 12th fret harmonic.  digital tuner on the phone is more accurate than my ears......


once the bridge is in the right place, cut round it with a sharp knife.....


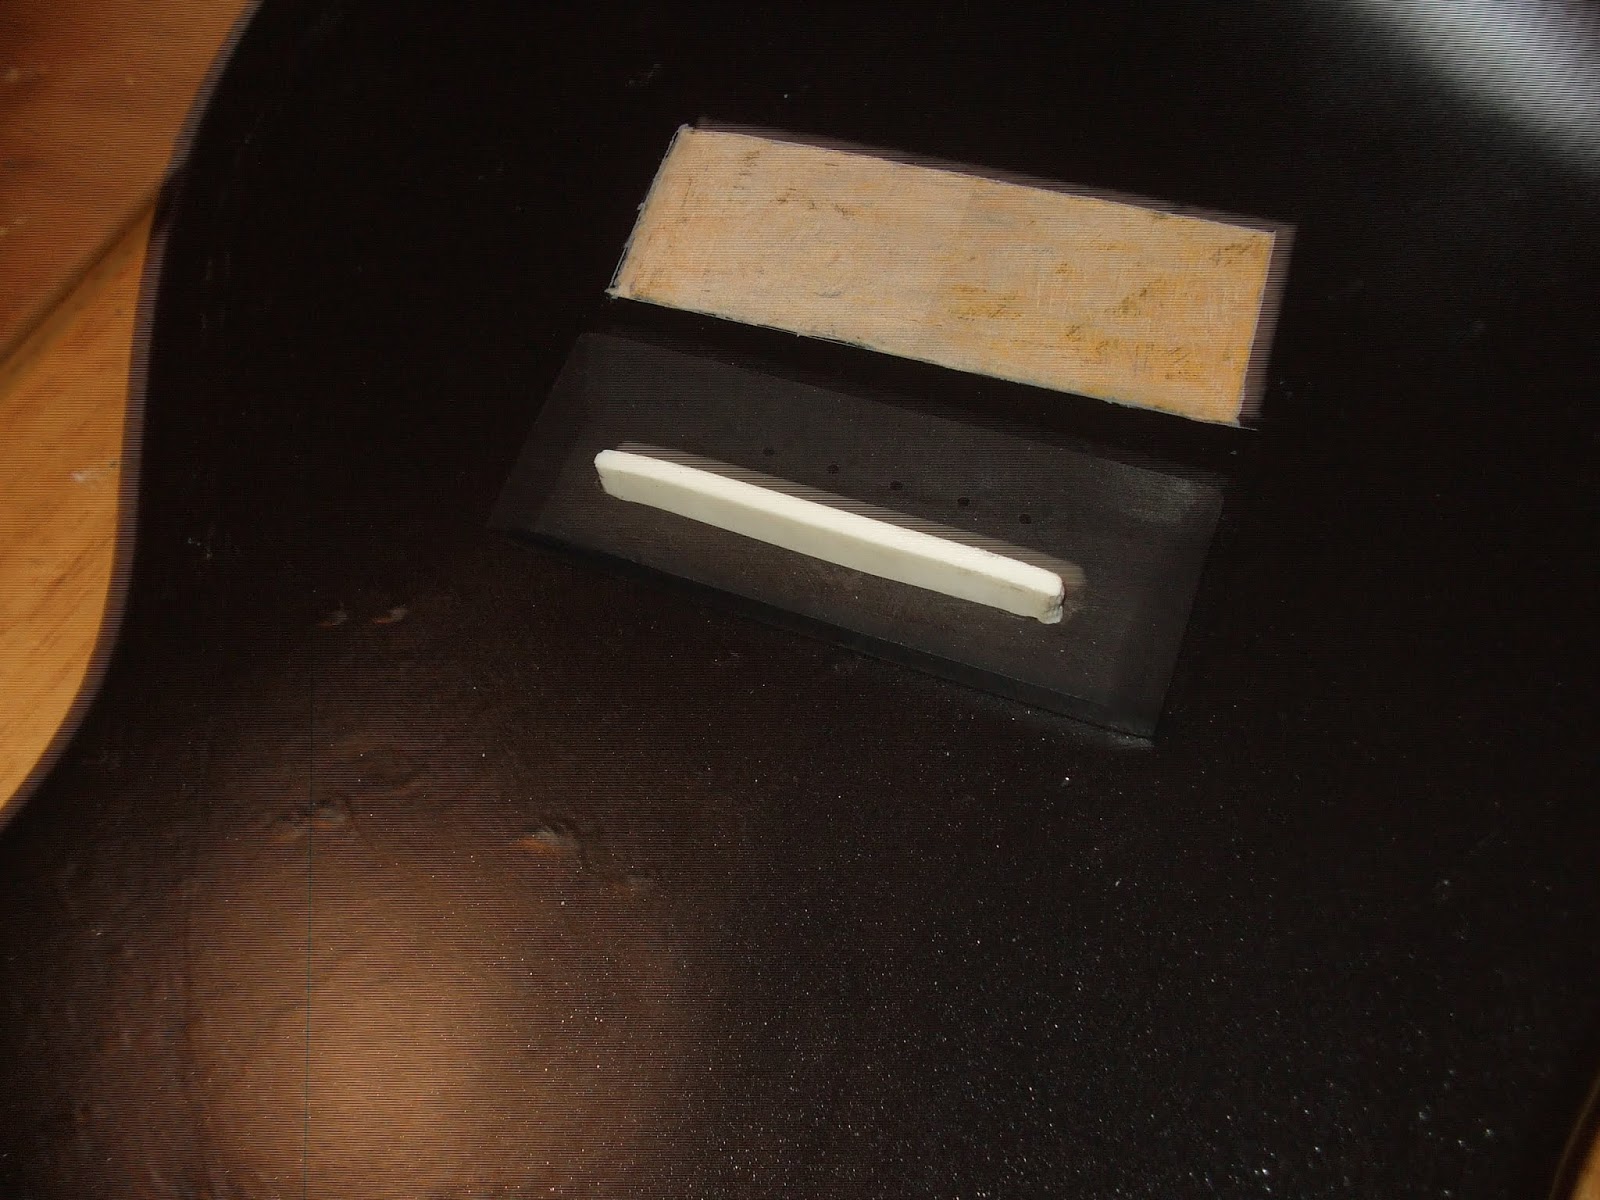
somebody scratched my guitar!!


then, with a chisel, remove the paint down to bare wood.  wood glue sticks wood, not paint!


then glue it in place.  wipe off any squeeze out glue with a damp tissue.


once it's dry, drill on through the string holes


then sand the saddle to bring it down to height.


drill a hole for the piezo cable and drop it in


still a bunch of tidying, but its starting to look like a guitar!


Monday, February 17, 2020

We all know that ebony isn't actually Jet black, right?

it needs dyed.  Ive tried a bunch of dyes over the years and the best bank for buck is......

kids shoe scuff cover.

cheap, effective easy to find in the supermarket and comes with a handy applicator.

don't get it on any surfaces that need to be glued though......


Wednesday, February 12, 2020

Bridgework......

basically, back to the belt sander and shape things......

Can you use a sander to carve?

yes!


a straight edge..... yes, it's the aluminium frame from a velux window blind.  Laying on the frets it gives a good idea of the height that the saddle will need to be......


and roughly where it'll end up......


Friday, February 07, 2020

Bridgework.

My first attempt at precision stuff since I retired from teaching technology and had to give up access to all those lovely big tools.......

So, cutting the slot for the saddle, rather than a milling machine weighing in at about 2 tonnes, I dug out the plunge router attachment for my Dremel.  

The bridge is going to be thin.  like electric guitar thin, so I'm using an ebony fingerboard blank.  (I sell these on eBay..... Have a look!)

To get the incline for the slot, I've clamped another fingerboard blank alongside at a slight angle.  


First pass at about 2mm deep.  so far, so good.........


Of course, before cutting double check depths etc so the cutter doesn't go right through.

And check that the cutter is tight in the chuck so it doesn't wander downwards.

See the slot to the left?  that's what happened there!  Thankfully a fingerboard is really big in comparison with the bridge I want so I moved a couple of cm in and started again.  Pic shows drilling the string guide holes.  


cutting the bridge out from the fingerboard blank


And here it is.  Perfect?  No.  Good enough to sand and see if I can get it ready to fit?  Yes!

Considering it was all done freehand I'm pleased.  


lots of sanding the be done before the next step.

Saturday, February 01, 2020


Much filling and sanding (with the belt sander that my wonderful wife got me for my birthday)


Then several coats of primer, black metallic paint and clear coat


Perfect? 

No, of course not.  I haven't got the patience (or the skills) for perfect, but even with a clearly "done at home" paint job, its still a lot prettier than the vile pink colour that it was originally!


Blog Archive

About Me

Married with 4 kids, Christian, worship leader, luthier