Friday, September 29, 2006


Well the second mandonaught is now done!!!!

The hole was drilled for the wire, then the whole thing had to come apart to get at the socket from the inside. The wires soldered on, then the nut glued in place with CA, the trussrod cover fitted, frets buffed then all back together again.

Come Monday or so it'll be in the post to Rich in Newcastle North England.

The last pic is the new one (top) with it's older (and slightly fatter) brother.

Wednesday, September 27, 2006

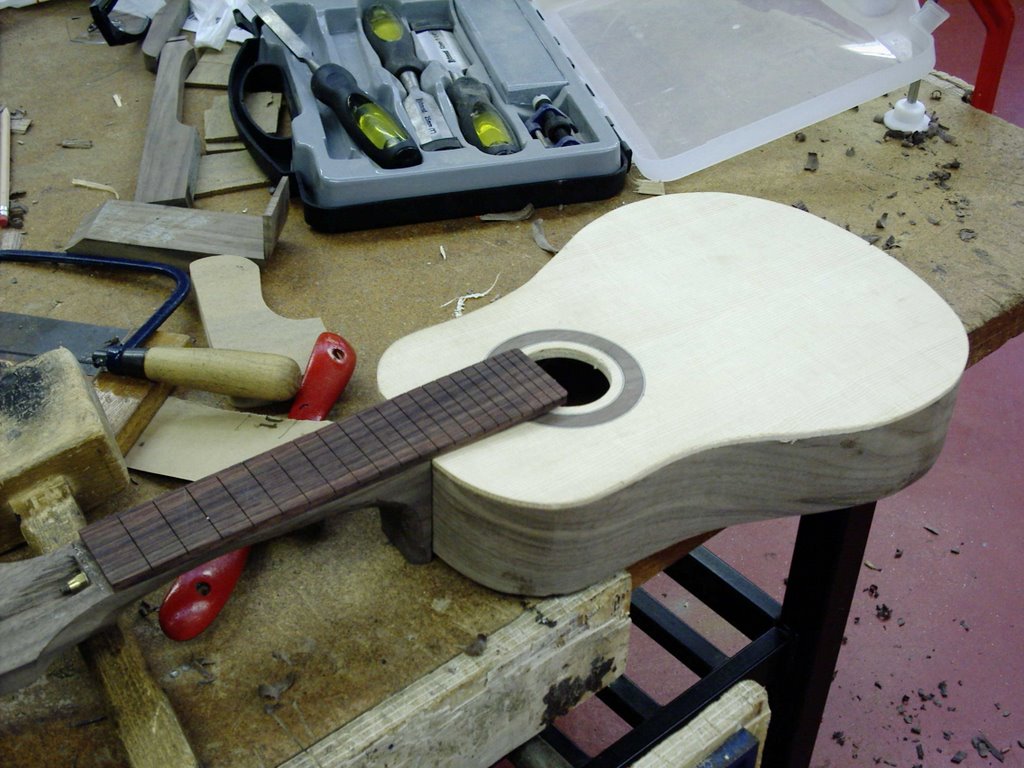
OK, progress on the doubleneck.

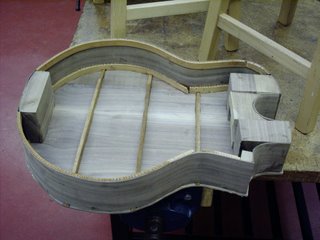
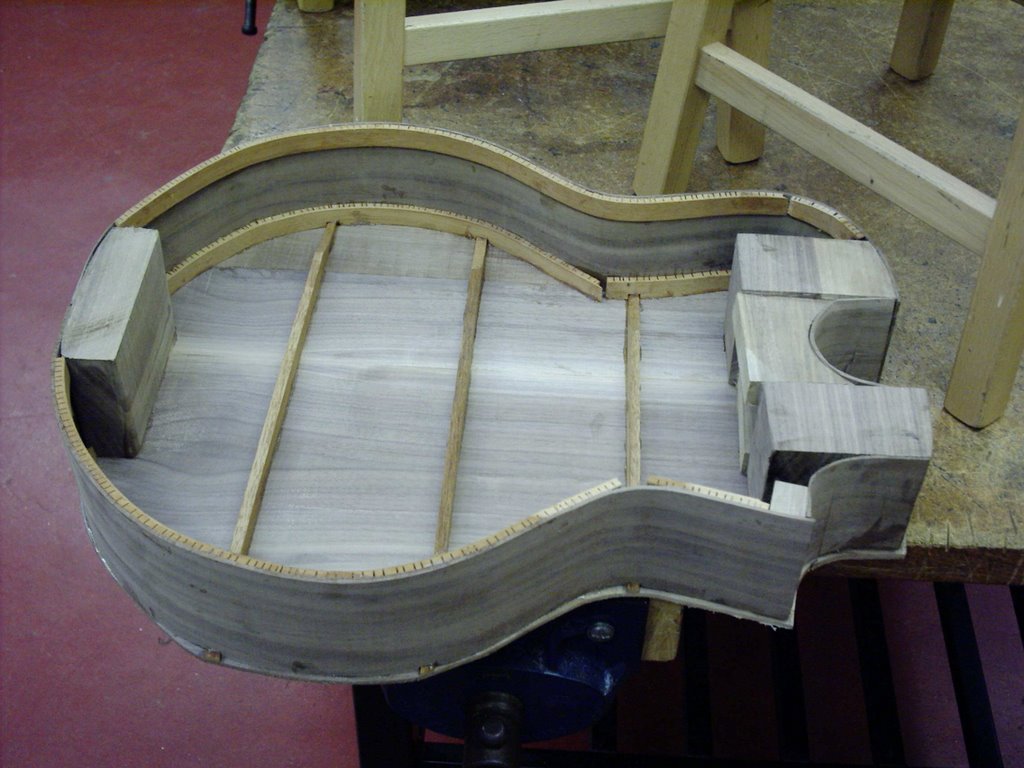
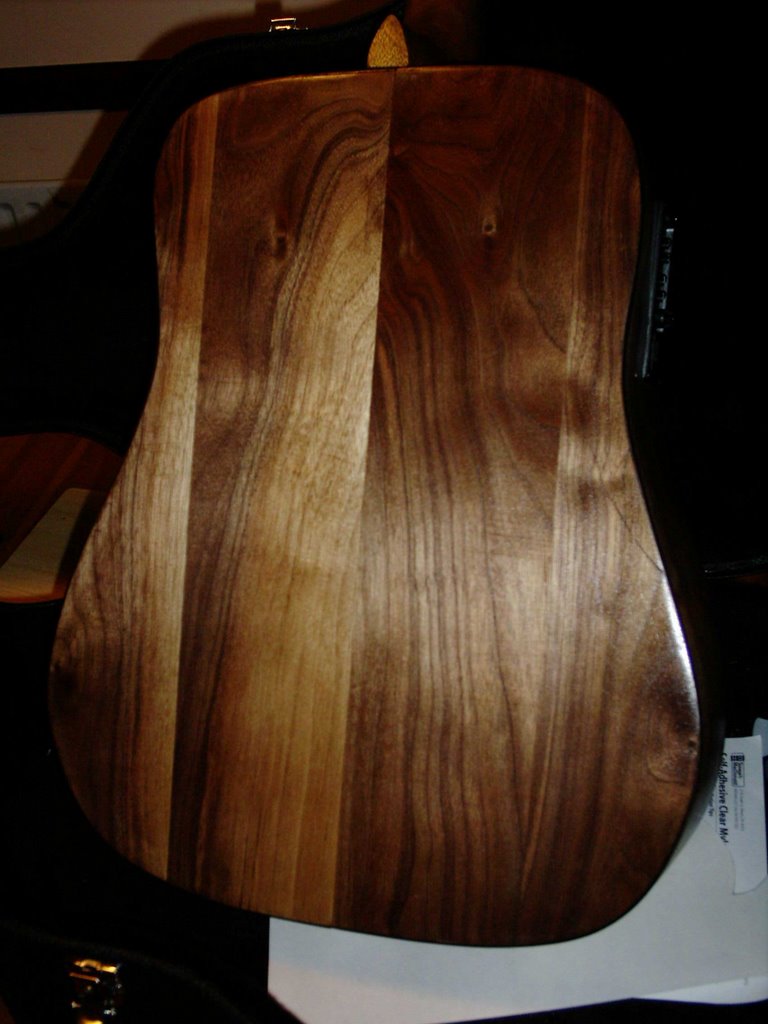
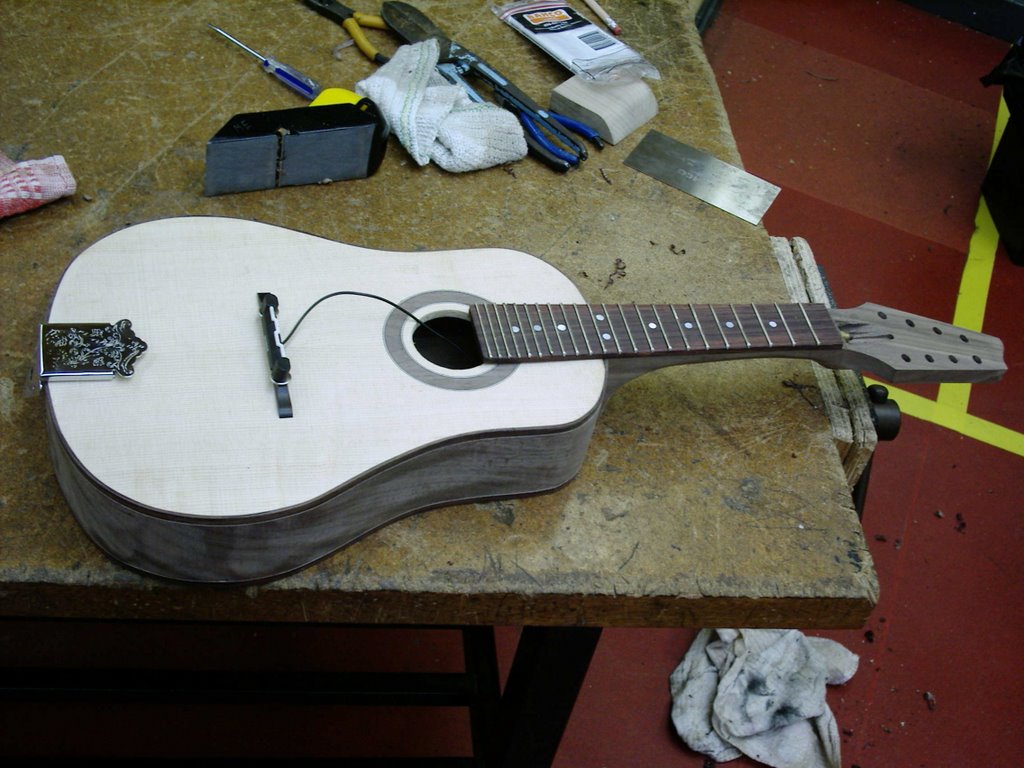
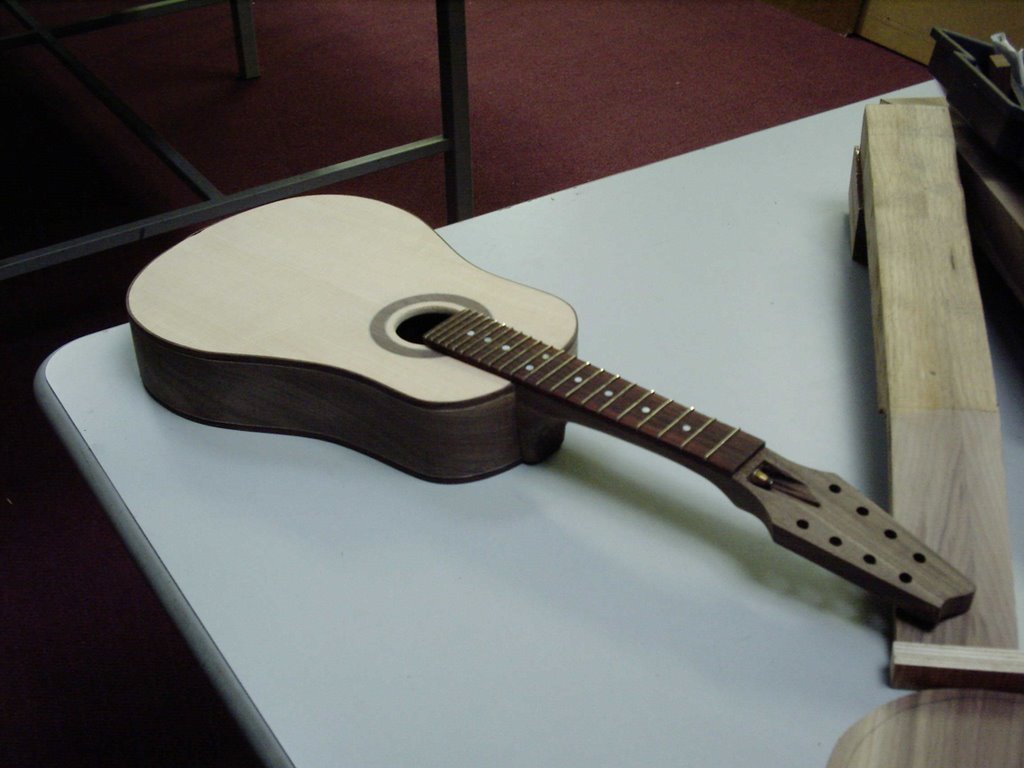
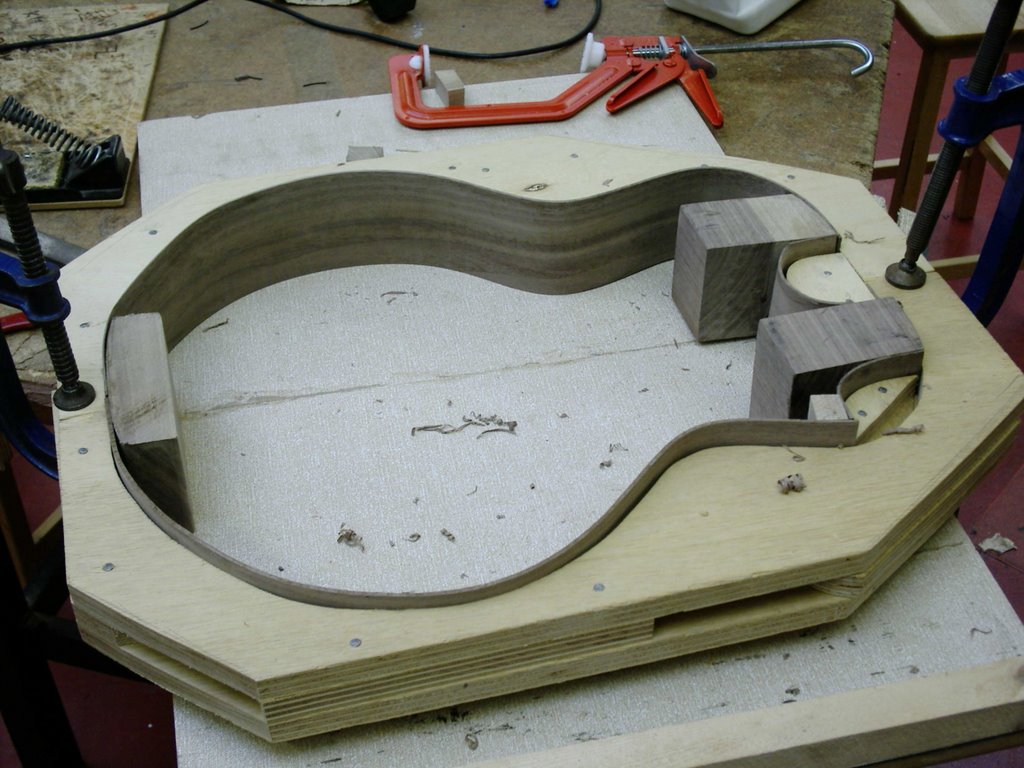
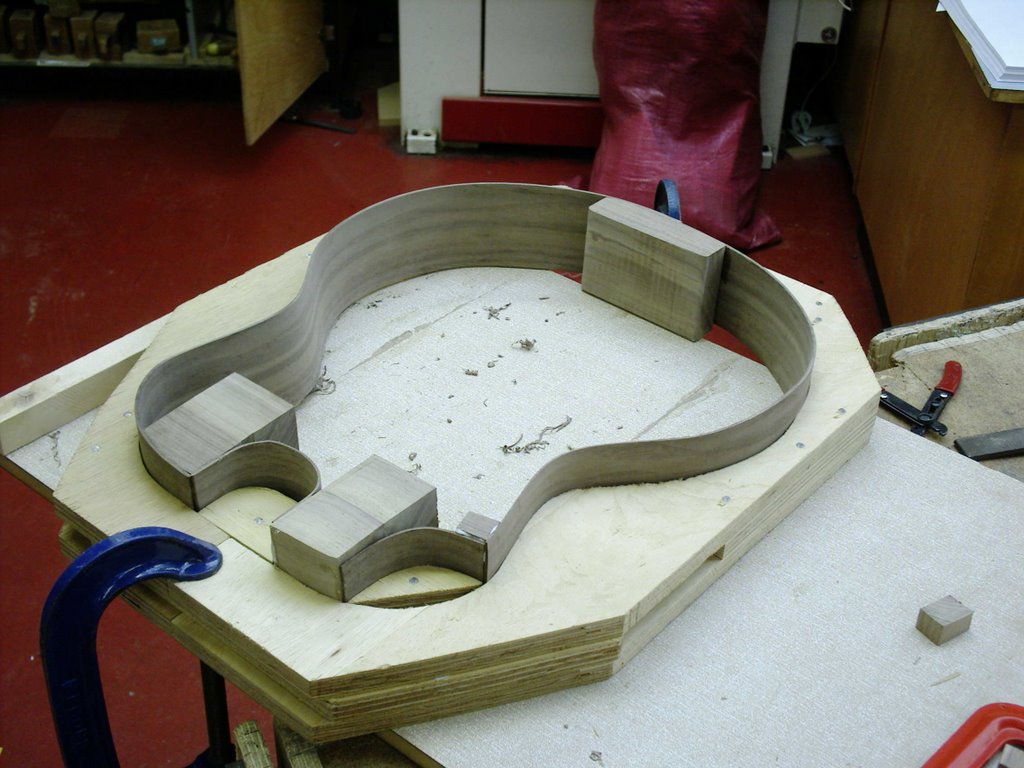
The sides are all done, and the back is now glued onto the sides.

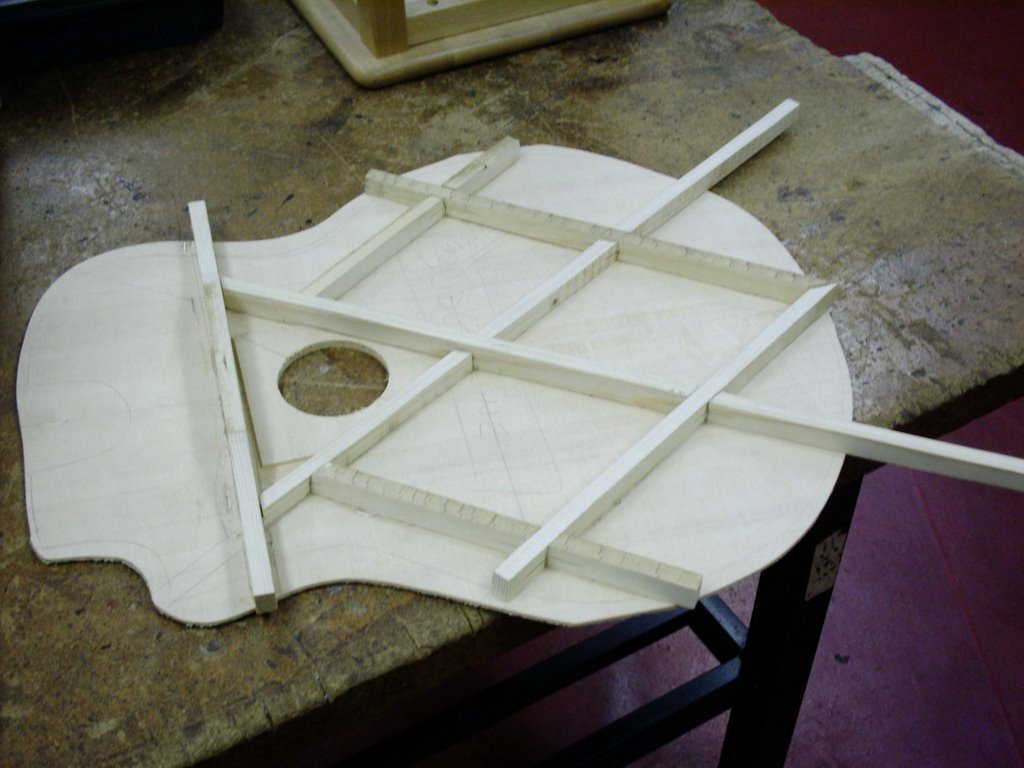
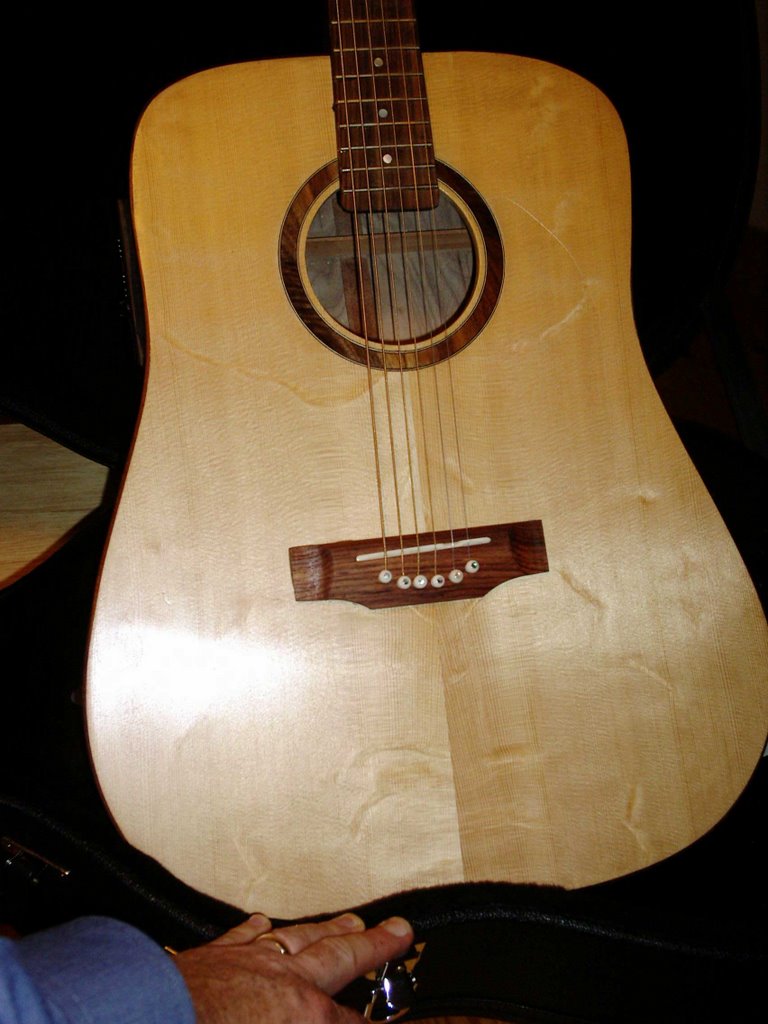
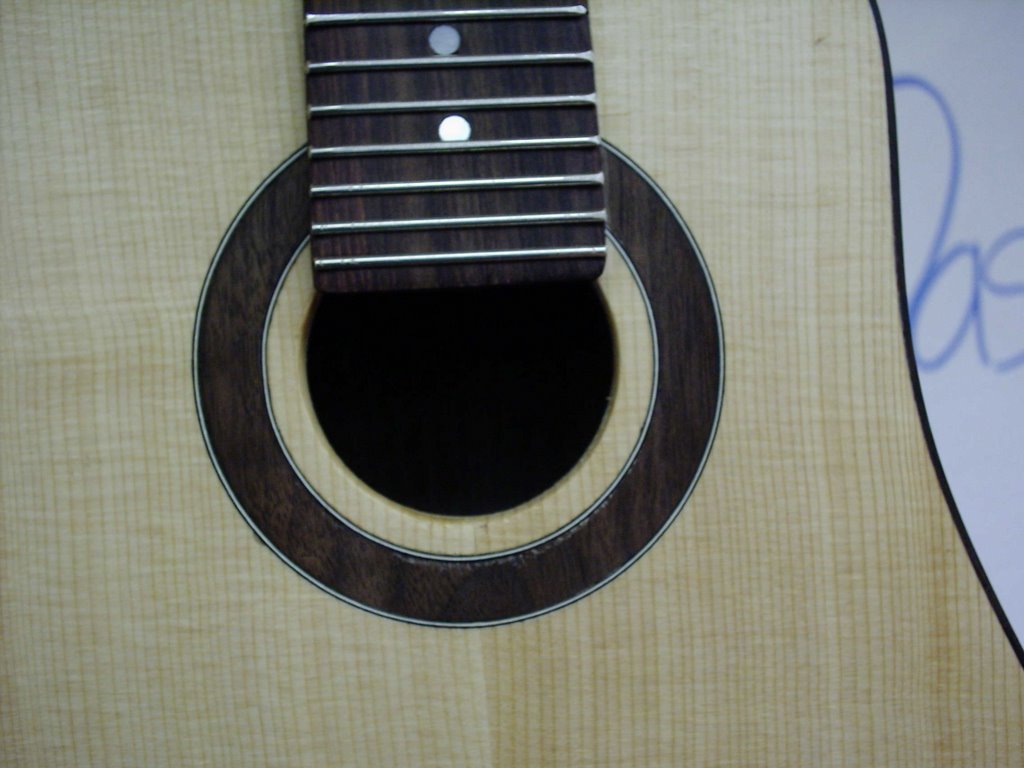
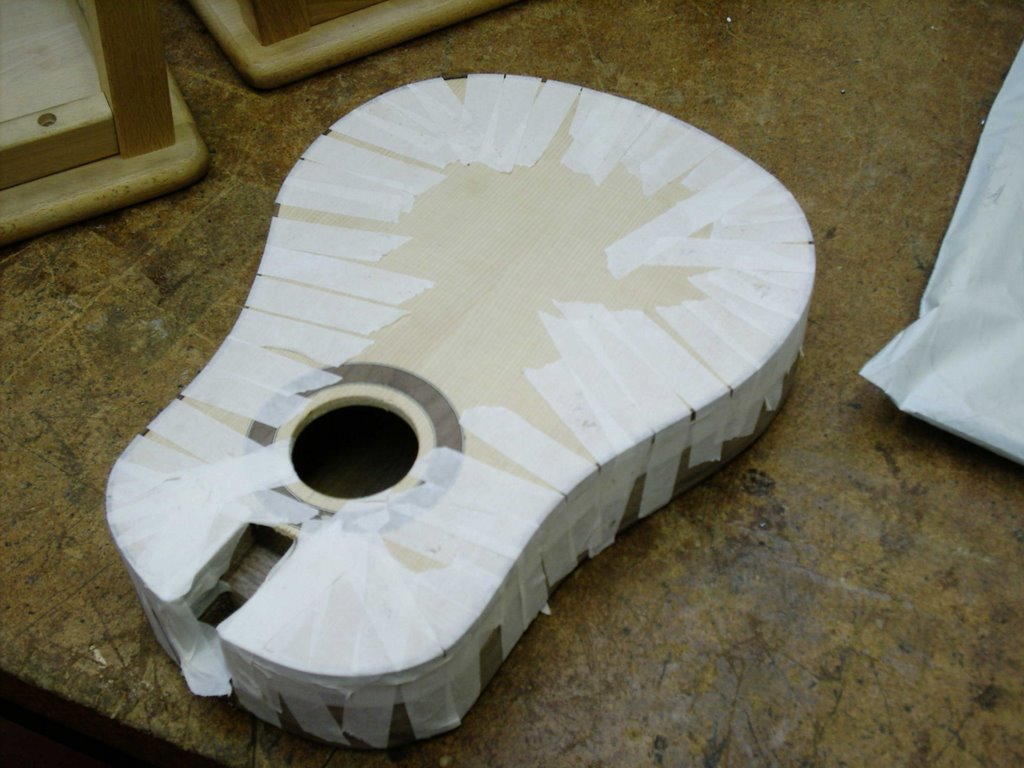
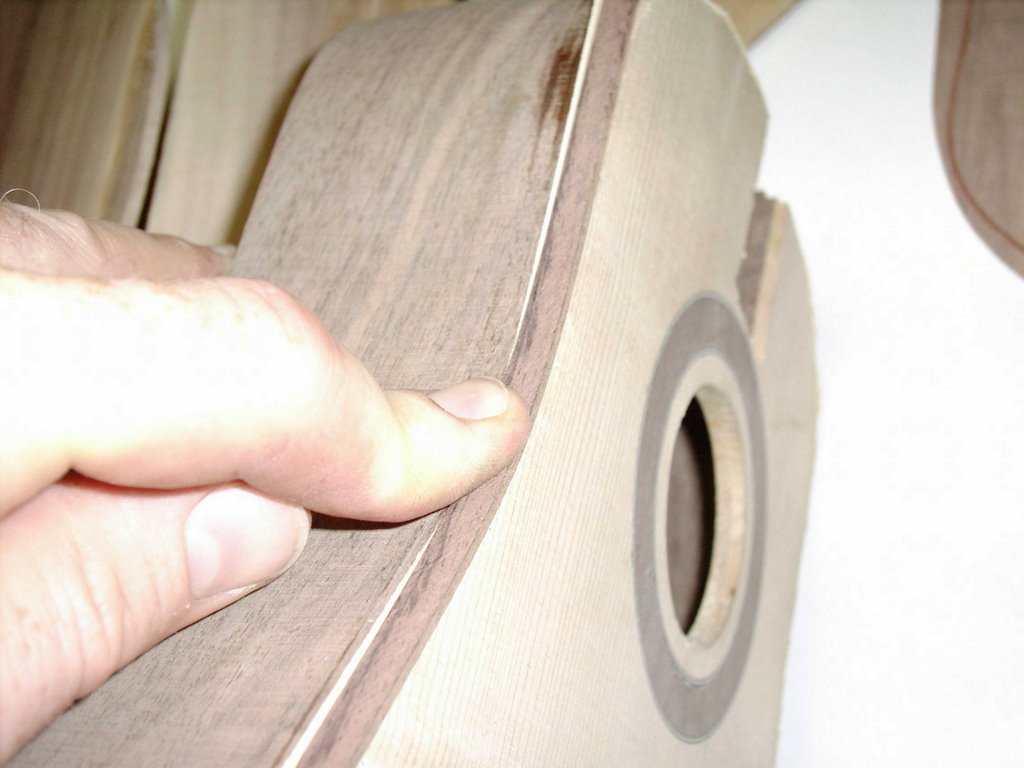
The top has the braces glued in, after putting on the soundhole patch and cutting the rosette & soundhole. Because of the Extra bracing needed for 18 strings and the fact that the bridges aren't where an acoustic's bridge is usually, I've had to make the soundhole slightly smaller than usual. This will probably make the guitar quieter that you would expect, but if you play it through an amp using the twin piezos there will be no difference.

A problem that I'll have to face later on is that a small soundhole

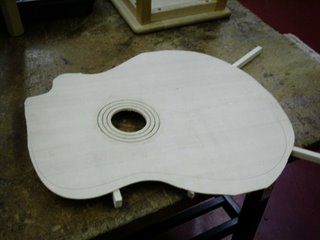
means that access to the inside to attach the blend pot and the jack socket may be tricky. Maybe I'll accost a pupil in school with tiny hands!!!!!

the bracing is a lattice affair


with the bridges going into the diamond shaped holes to the left of the soundhole in the pic. I've also started shaving the bracing down to allow the top to move, but I don't want to take too much off as there is SSOOOOO much force from all those strings!!

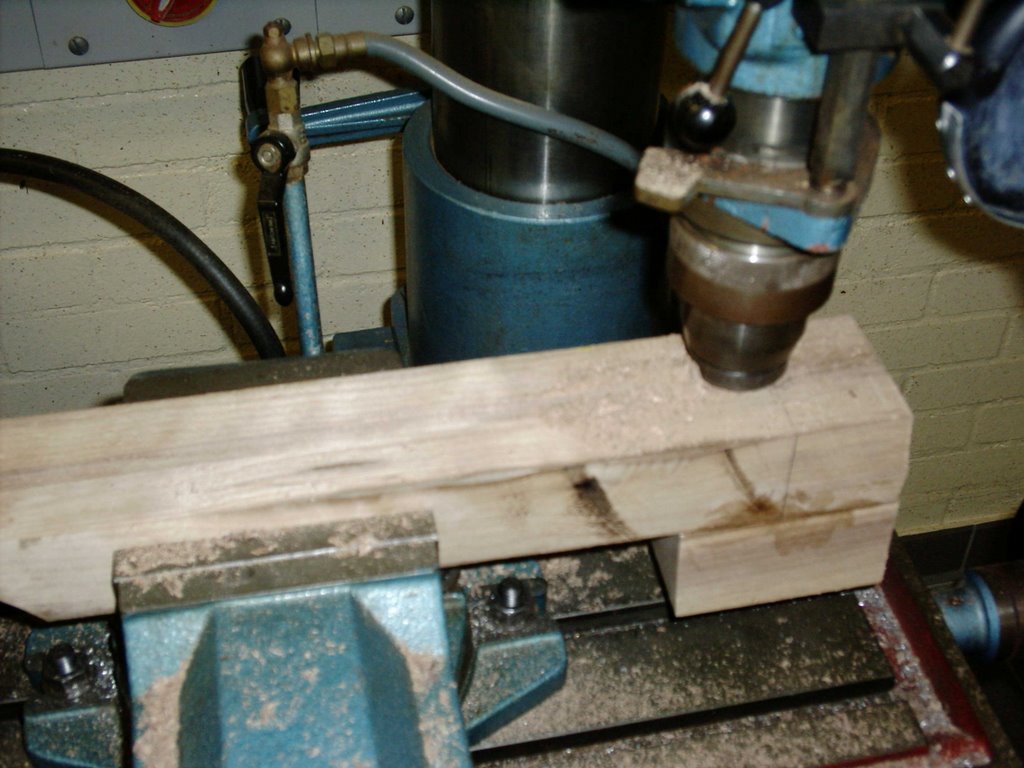
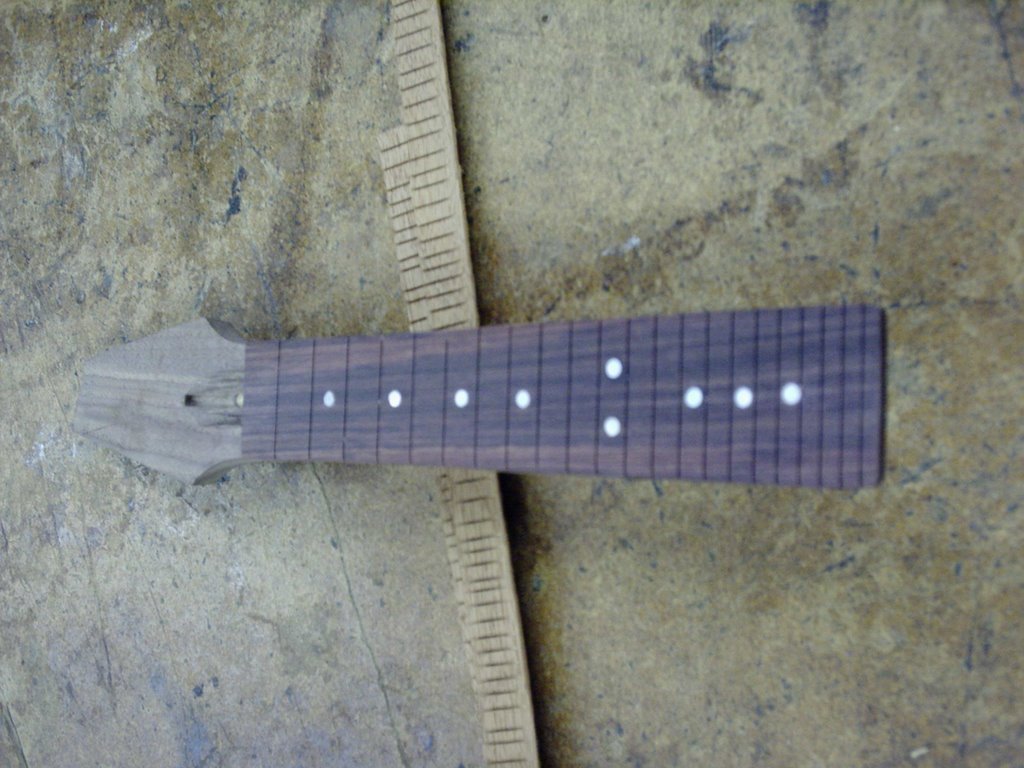
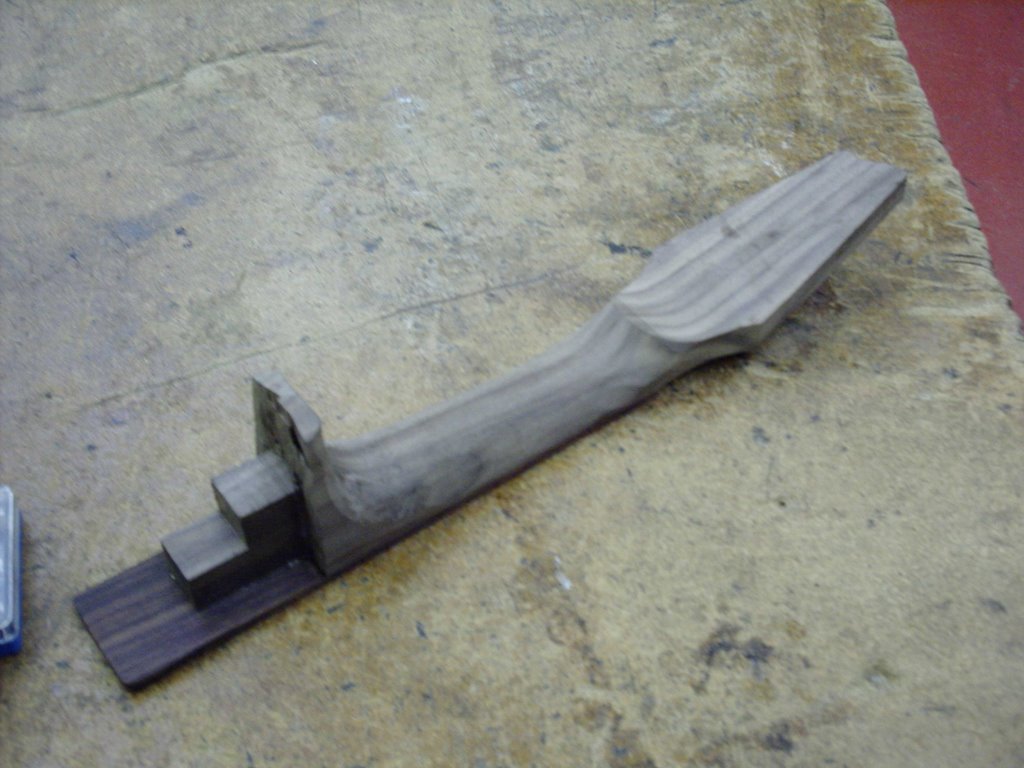
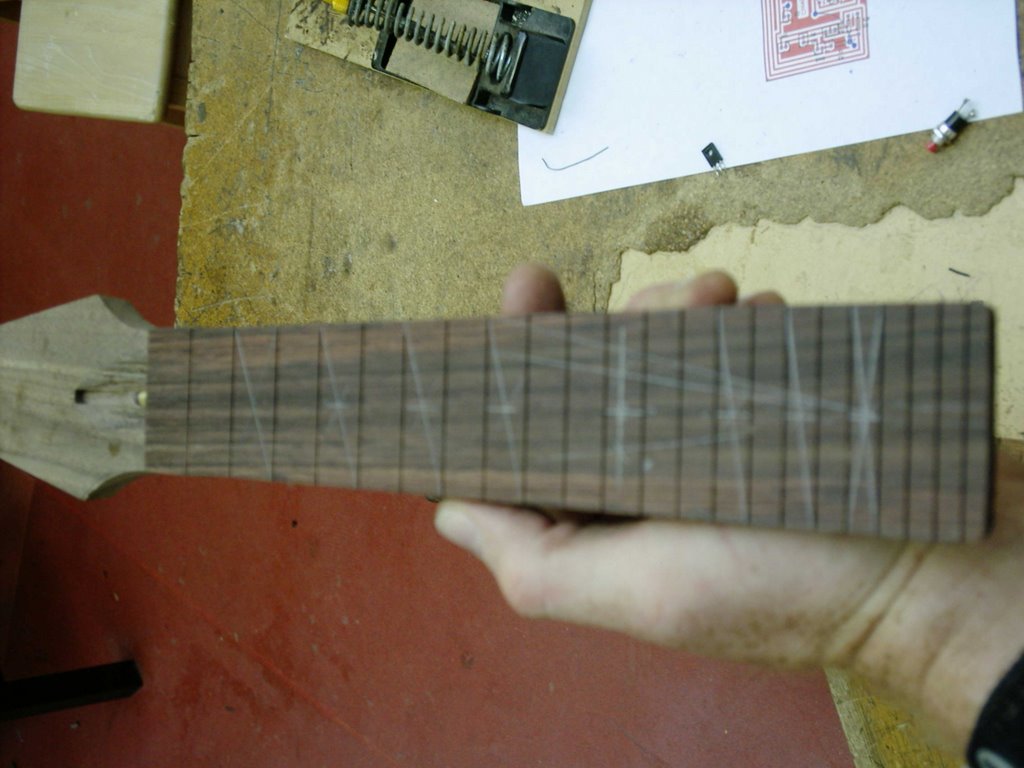
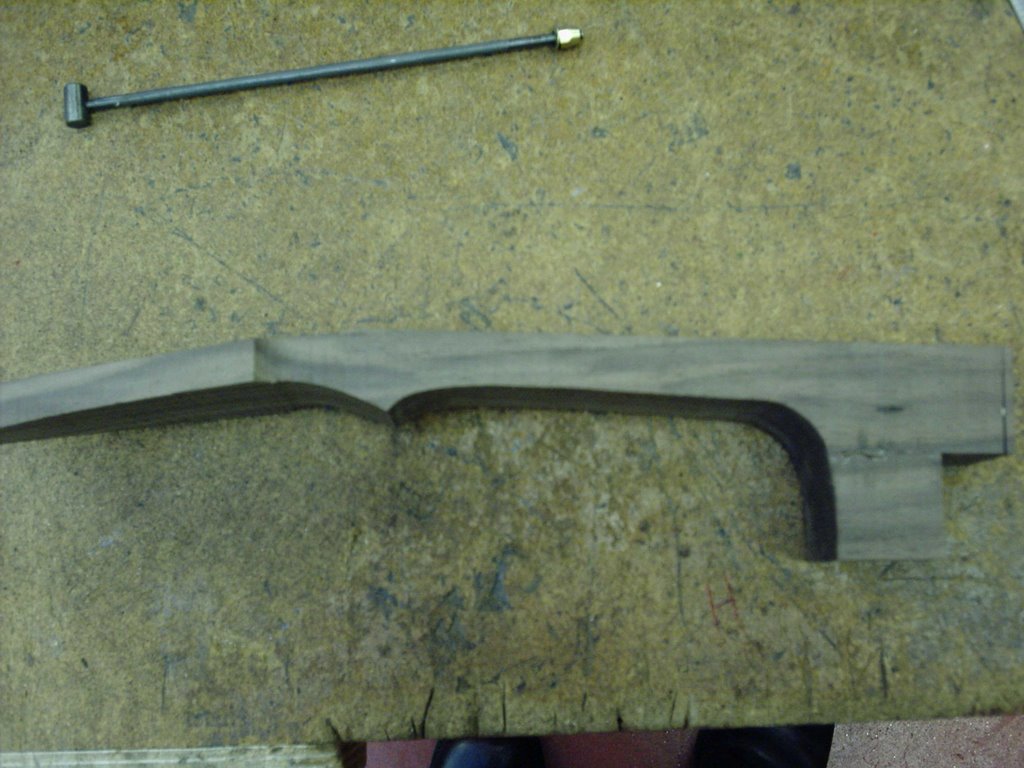
I've also rough cut th
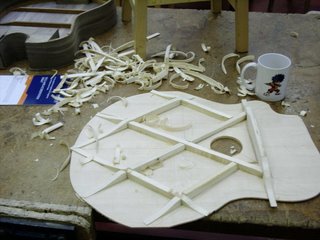
e necks, but I can't do much more on them til the body is made as I have to wait til I know exactly the curvature of the neck/body joins (as they will be curved and not straight like a normal guitar would be).
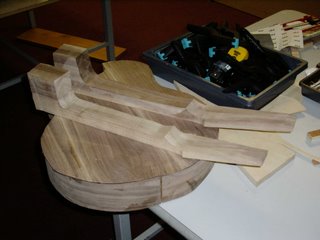


Right, nearly there!!!!!

I've cut the nut, the put the two farthest out strings on to line up where the tailpiece should go.

Hole drilled in the end block for the wire to come out to the jacksocket/strap button, then bung it all together.

the bridge is held in place by the strings, so strings all on & tuned up.

A few adjustments and the intonanation is set.

Truss rod cover shaped & fitted.

Right, tomorrow I PLAN to drill the hole for the cable through the top, then take off the strings & tailpiece to connect the wires.

the frets need a wee buff to smooth them as they're a bit "gritty" from being filed level.

then strings back on & that's here done!!! I'm pleased with it as it is though, the action is fine, as you can see from the pic alongside the neck

Friday, September 22, 2006


Well here's the dread that I started before the summer holidays.

Back, sides, Rosette & faceplate Walnut, top Bearclaw Sitka (a cheap Stewmac AA top..... boy was I lucky!!!), binding, fingerboard & bridge Rosewood, neck Port Orford Cedar (I think!!). The nut, saddle & pins are bone.

Finish is Danish oil (6 or 7 coats.)

The sound is GREAT and I'm really in two minds about selling it. I have a couple of friends who have asked for "1st refusal" on an acoustic, but I'm considering keeping this and selling my Turner........ which I love too!!!!


Ok, there goes with the doubleneck. The slots for the truss rods cut with the vertical mill. I still have to tidy the openong on the headstock to access the nut.


The linings on front & back too. I've decided to add extra support to the neck blocks so I've put solid wood braces between the two blocks to add stability.


Ok, after a load of sanding (you wanna see the state of my black trousers!!!) I hung the mando up today and applied the 1st coat of Danish oil. After about a week(and 10 more coats) it'll be sticky for a week then all done!!!!

Thursday, September 21, 2006


Right, the mando.......

The binding is on, top & back, the frets are now on, but not levelled, and the holes for the tuners are drilled.

The neck is glued into place. There will now be a rew days spent sanding before I start in with the Danish iol to bring this little beauty up to standard. Expect the grain of the walnut to REALLY LEAP out once this is under way.


A bit of progress on the doubleneck too, with the sides & neckblocks all glued up.

Looking at it, I'm thinking about cutting solid linings for round those cutaways rather than kerfed ones to provide extra support.


BIG NEWS


Got a call today from GEORGE LOWDEN!!!!

He's invited me for a look round the factory and has seen this blog and says I'm making some "quite interesting" instruments!!!

I'm shocked, stunned, and I think I'll go for a wee lie down now!!!


Wednesday, September 20, 2006


Ok then, here goes the binding on the top.

the channel is glued after putting a strip of masking tape all the way round to protect the wood from glue squidge out.

the binding (rosewood) and purfling (maple) are steamed to make them flexible, and then taped into the channel. LOADS of tape to hold it tightly as the glue dries overnight.

And then, like a James Bond Master Villian undergoing plastic surgery........., the bandages come off to reveal........

a decent enough job!!

the surplus is now sanded and scraped flush with the top, back and sides. (this is probably the most time consuming part of the whole build!!!

The frets go in next and then the neck will be glued into place, the tuner holes drilled, then the finishing process starts. My last guitar had 8 coats of Danish Oil, buffed down between coats.

Friday, September 15, 2006

Not much time today, so all I managed to do was cut the binding step around the top.


this is a preview of what it'll look like with the rosewood binding and maple purfling.


The mando is not the only thing on the go at the minute though.

Chris Lyttle has asked me to build him a doubleneck acoustic like Ritchie Sambora's Taylor.

Well, here's progress so far.

the back is glued and nearly thicknessed, the sides are bent (though I haven't even looked at all the cutaways this beast'll need!) and the necks are parallel cut and waiting for the parcel from Stewmac with the trussrods in it.

Thursday, September 14, 2006


and heres how the mother of pearl dots get in there......

drill a shallow hole, a drop of CA( Cyanoacrylate Glue) or superglue for short....

then drop them in and sand smooth.


Next job is frets


Then carve the shape of the neck. this isn't an exact science. Obviously I don't want to break through into the truss rod slot from below, but other than that, if it feels right, then it probably is!!

Hey look, the neck fits!!!

Next page will take the neck with the fingerboard markers on it...... and put the little beasties in.......


right, on to the neck.

the truss rod is sunk into the top by about this much

a Block is added to the bottom to give a deeper heel joint

then I cut a bottom profile for the neck


and a rough tenon. this will be trimmed smaller later on.


then the fingerboard is stuck on. Note the use of the bit I cut out from the bottom of the neck, back on as a clamping caul.

Blog Archive

About Me

Married with 4 kids, Christian, worship leader, luthier