Well whattaya Know?
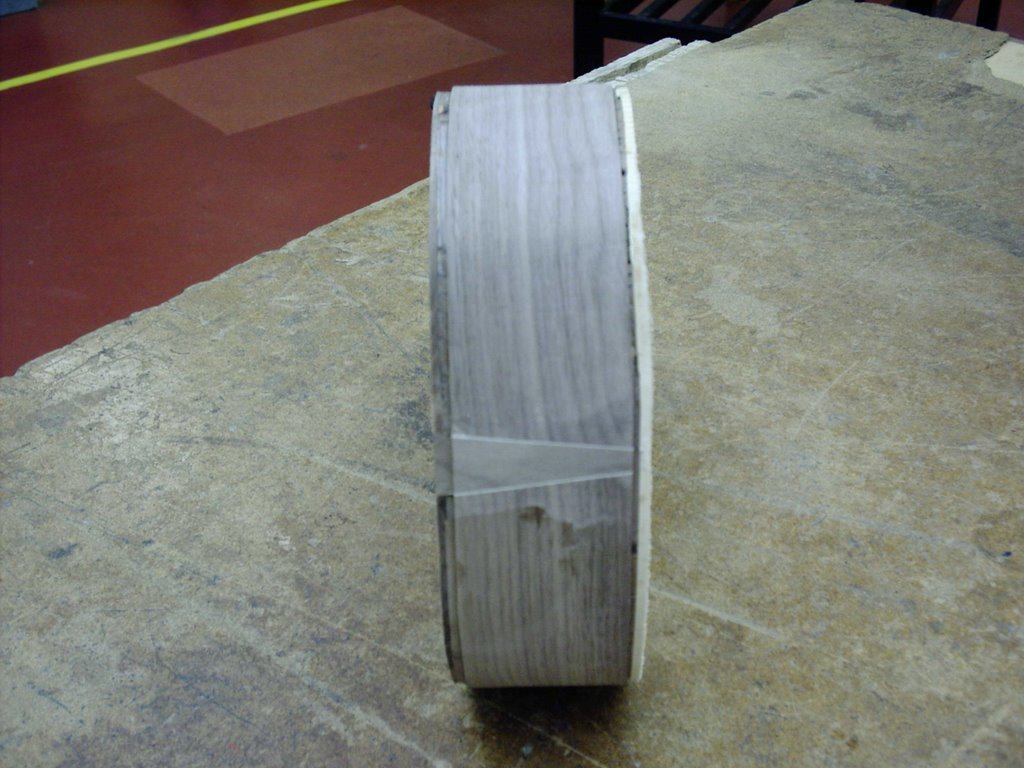
Oak bends too!!
No Idea on the tonal implications of this, but I have some oak and well, you use what you got, right? As usual, I have no facility to bandsaw into broad boards so I'm on my usual width maximum of 4", which means a 4 piece back. Never a problem before, so hopefully not one now either!! I'm also trying epoxy for the back joins rather than the usual white PVA on the advice of an online chum...... we'll see, but the downside is it sticks to the paper.....
I have a collegue in work who would like a guitar for her son. he's only six or seven, so I'm looking at a small jumbo shape with a cutaway and a short scale. I'm going to cut off a fingerboard at the 3rd fret and make it slightly narrower than standard. Light strings will let me tune it to E normally. Because the oak is so pale, I'm thinking either pale oak bindings or going the other way altogether and going for rosewood to have a contrasting dark stripe. Dunno yet, I'll wait till I have the soundbox closed to decide that one!!
One thing I'm fairly sure of at this stage is a maple fingerboard. I don't want to get into black plastic marker dots, so I may have to invest in a plug cutter and cut out dots from rosewood or ebony or similar.
Bridge? well, I haven't decised, but maybe oak to keep with the "blonde" look.
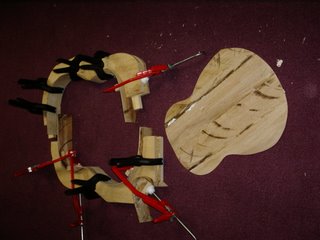
 the back isn't glued here, it's just here for looks
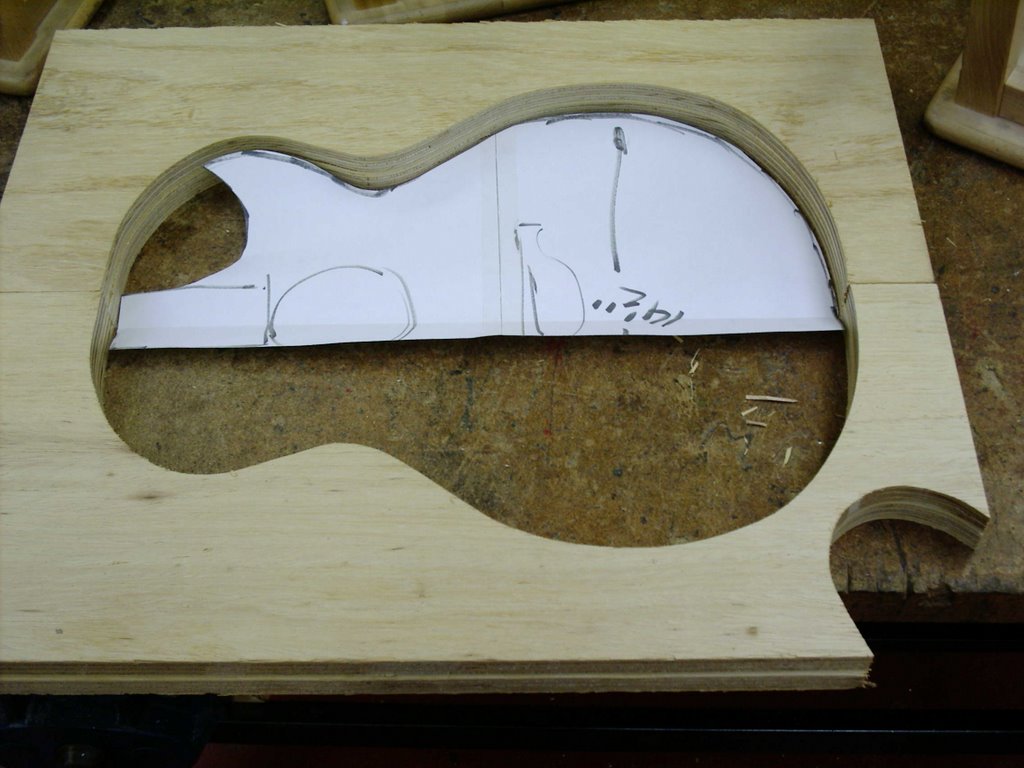
and the top is a Stewmac AA top which will be braced like this.......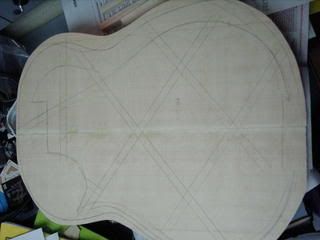


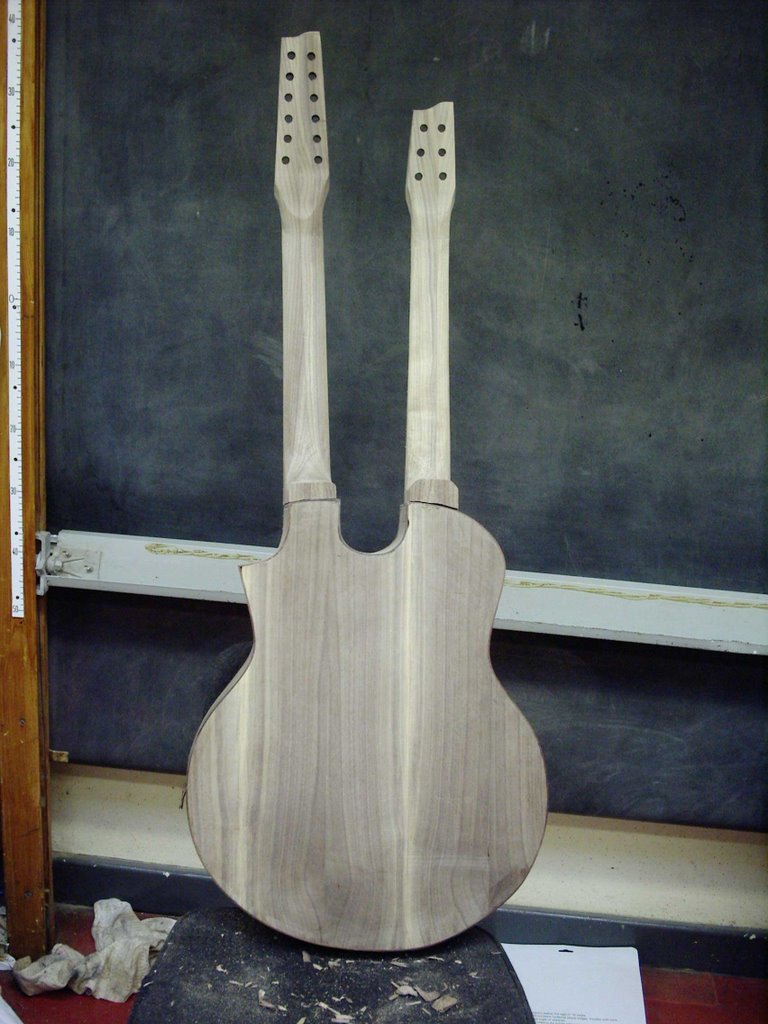
 and there is indeed a cutaway as threatened!!
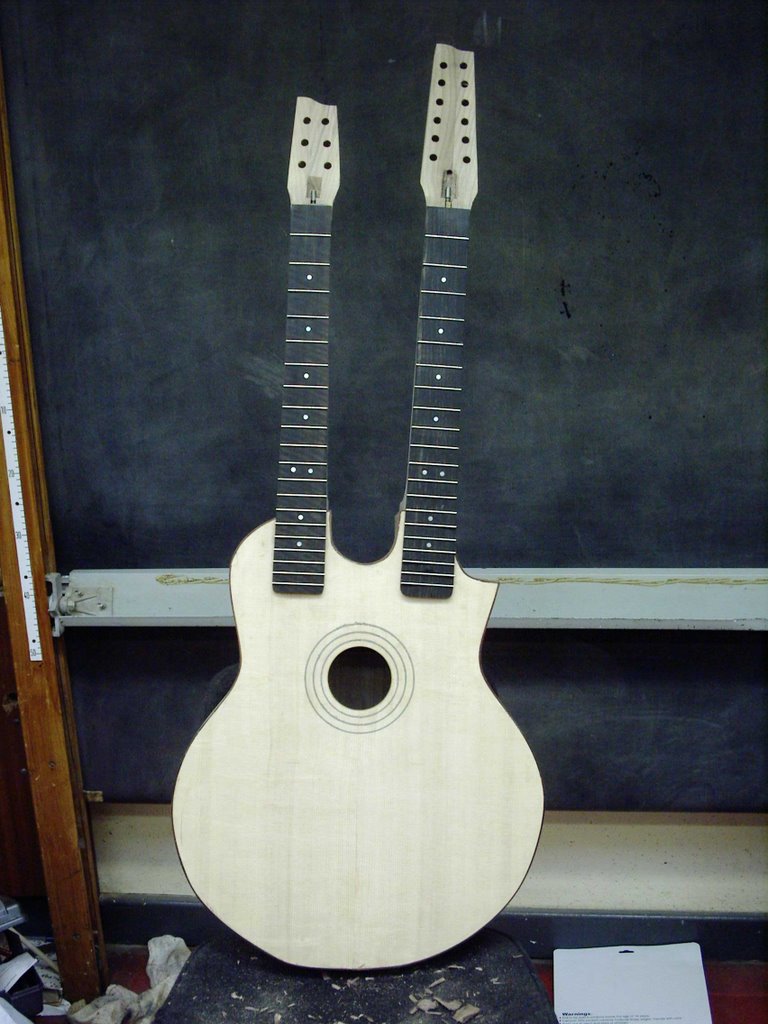

.jpg)
.jpg)

.jpg)
.jpg)
.jpg)
.jpg)
.jpg)
.jpg)
.jpg)