mark and drill the holes with a brad point bit to get a flat bottomed hole, then glue in the Mother of pearl dots......
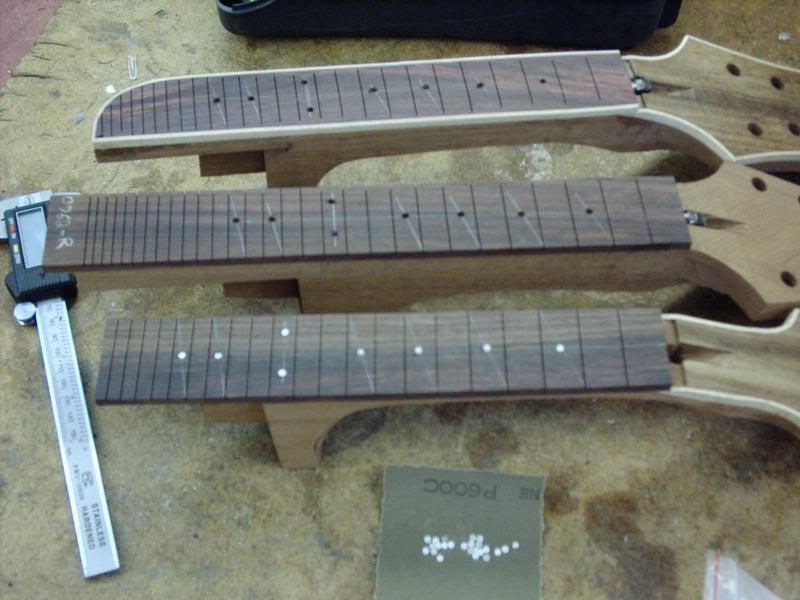
all done!!
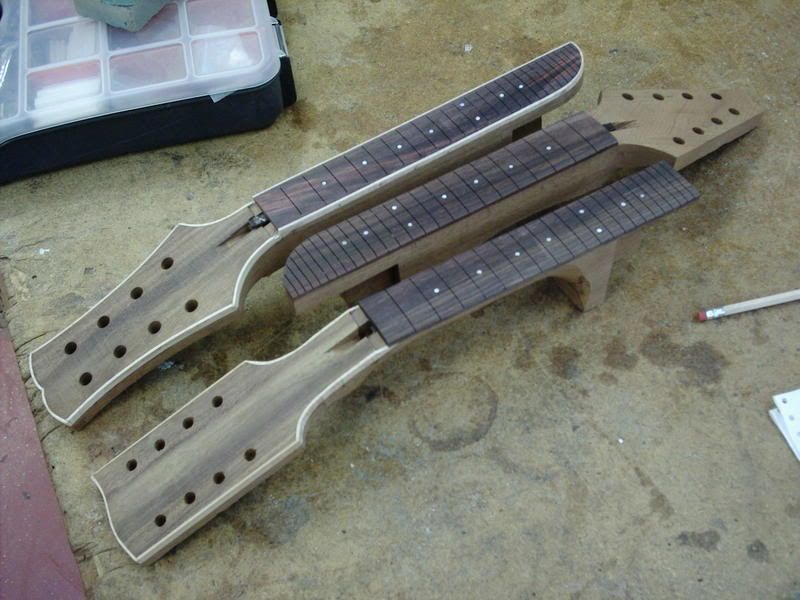
then fretting which is one of the most time consuming jobs in the whole build.
getting to this stage, before levelling and tidying the fret ends took about 2 hours......
that's half an hour each for the two unbound necks and a full hour for the bound one!! it takes ages to grind off that little tang underneath so it doesn't foul the binding. it's also very visually demanding. very close up concentration, so I'm ready for a lie down!!
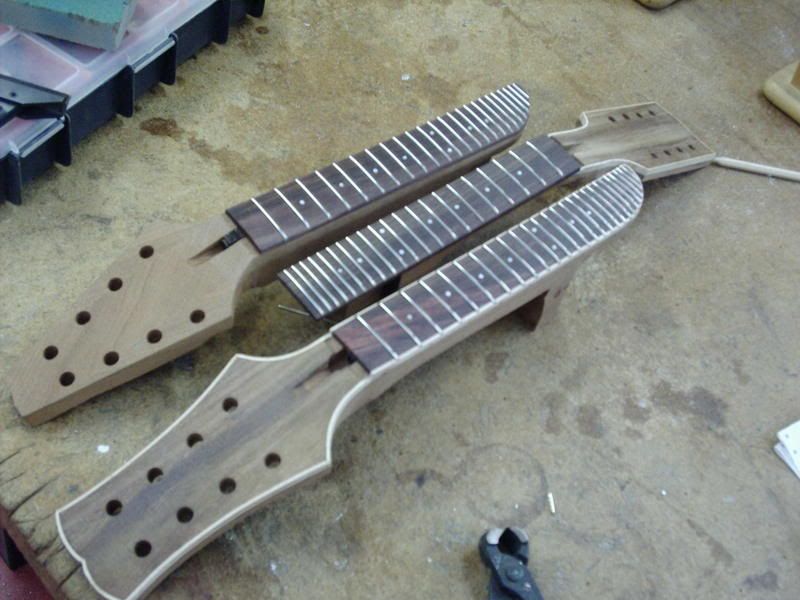
Edge dots on a rosewood fretboard are easy. I have a 2mm white plastic bar that will do the job nicely on #40 & 41. the maple bound fretboard on #42 throws up a whole different issue as the white won't show up and I don't have black.... so, a little lateral thinking and delving WAY back into memory comes up with.....
welding rod.
its copper coated so it'll never rust and the smooth sanded end will be varnished in. looks nice too.......
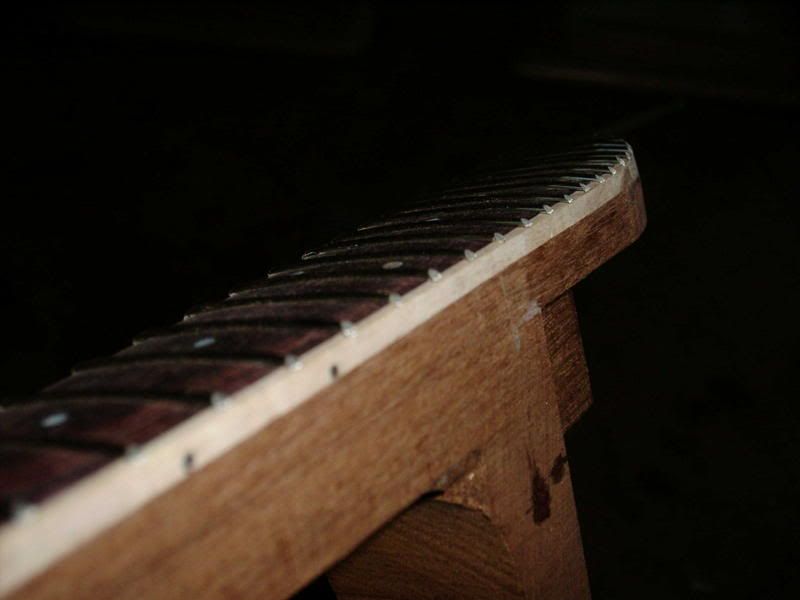
and no-where near ready to glue in, but starting to look like it might eventually be a real instrument......
maybe it's just me, but the head looks too long on this......
rather the nut to the headstock......
ah well, not the end of the world, it's not a commission!
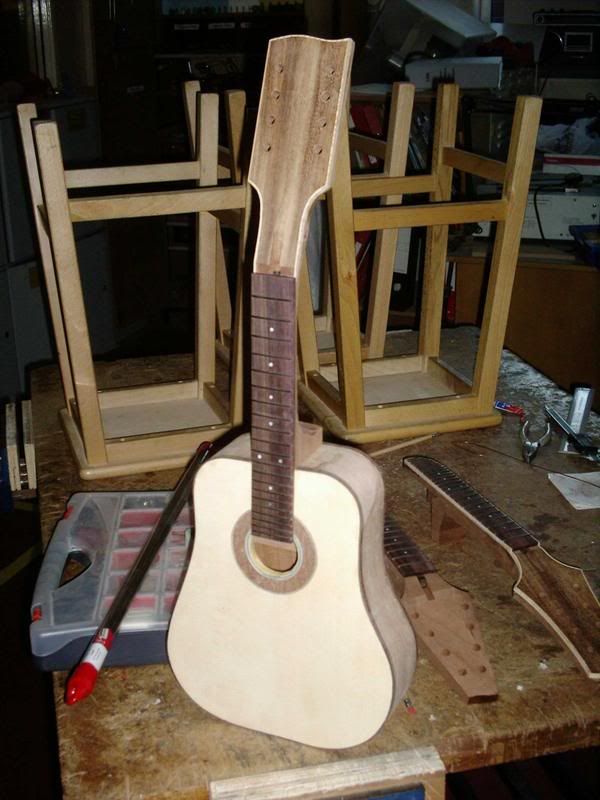
so, still to do is the neck body joins on all three and shaping the necks on the two A styles. after that there's a LOAD of sanding to be done before the spray gun comes out......
then bridges, nuts, tuners & strings!!
No comments:
Post a Comment