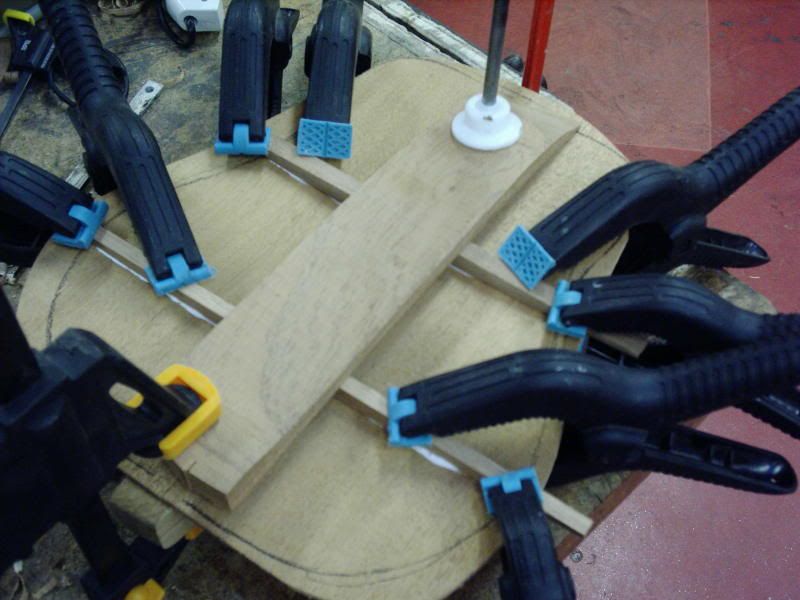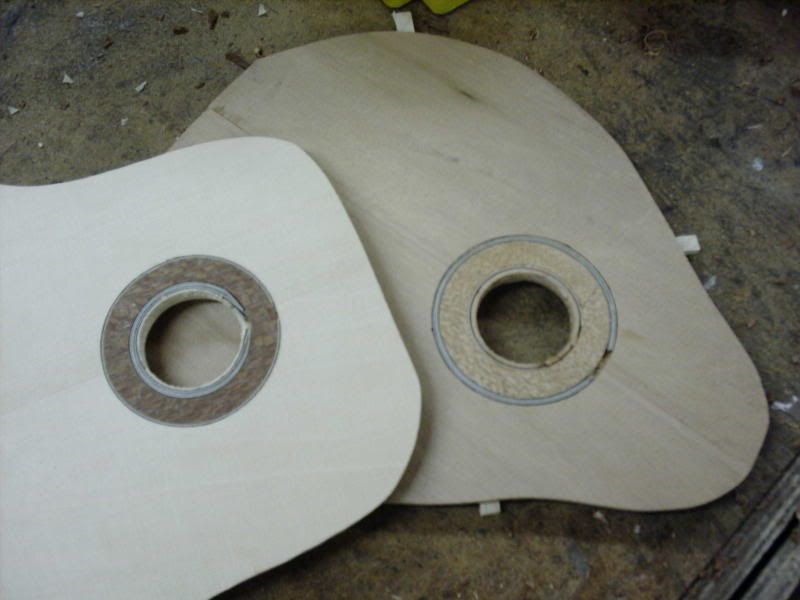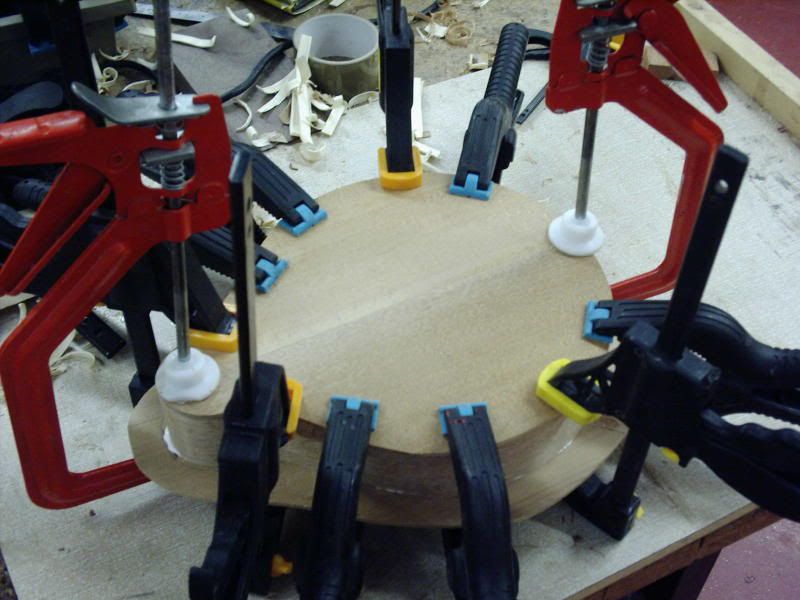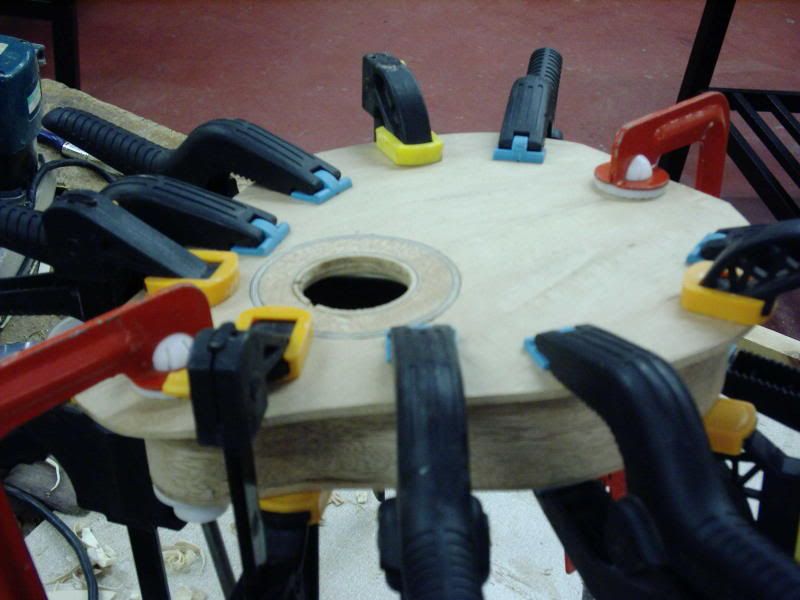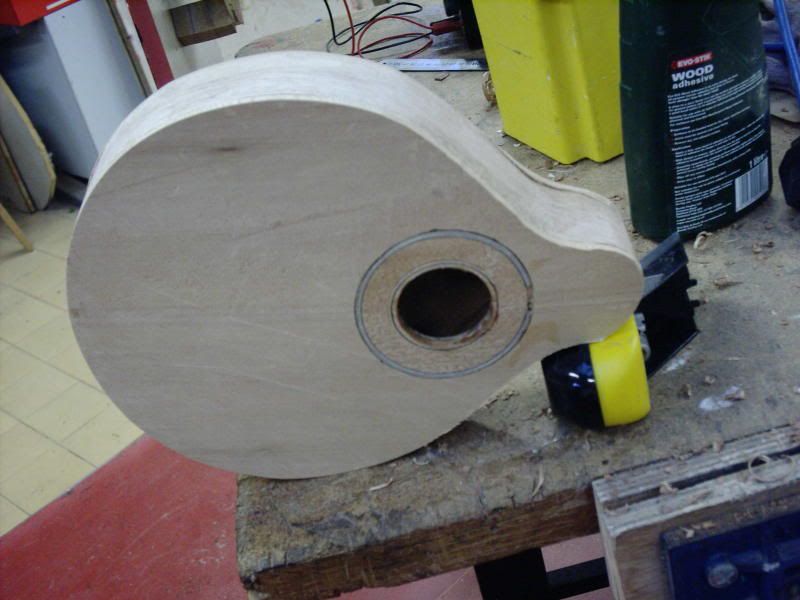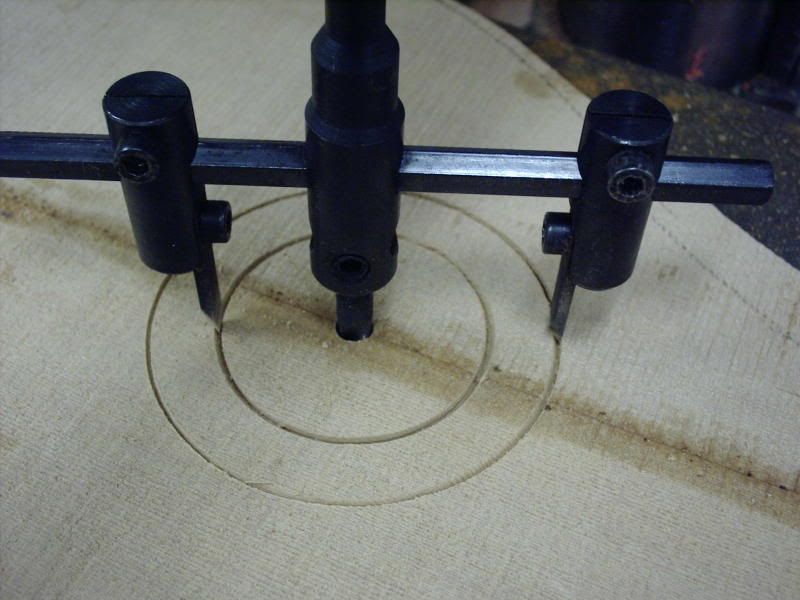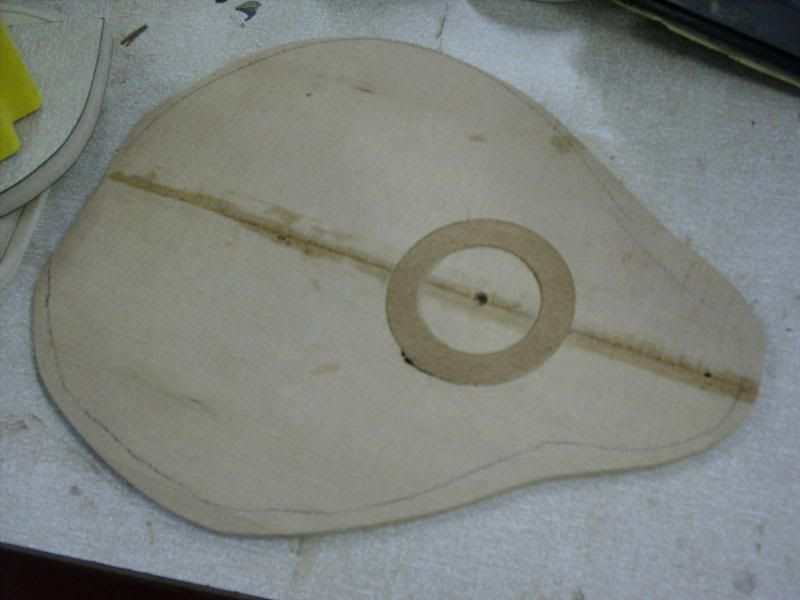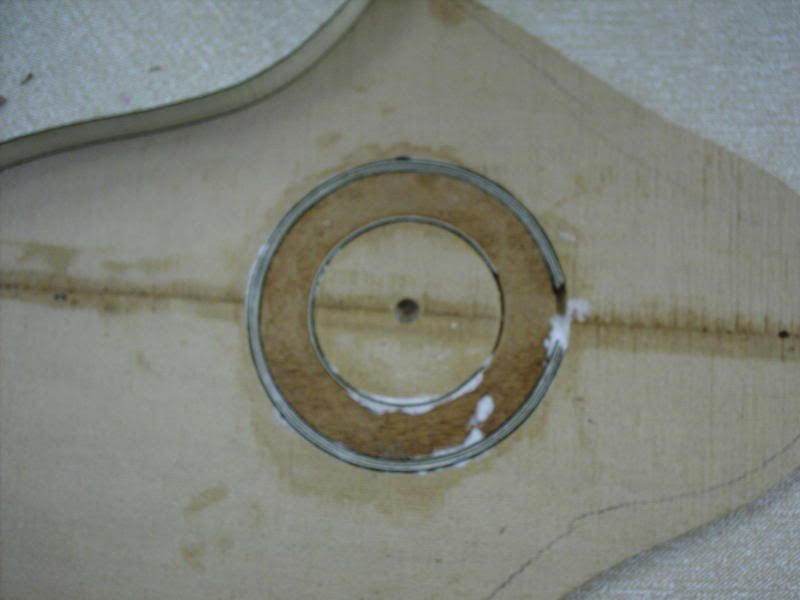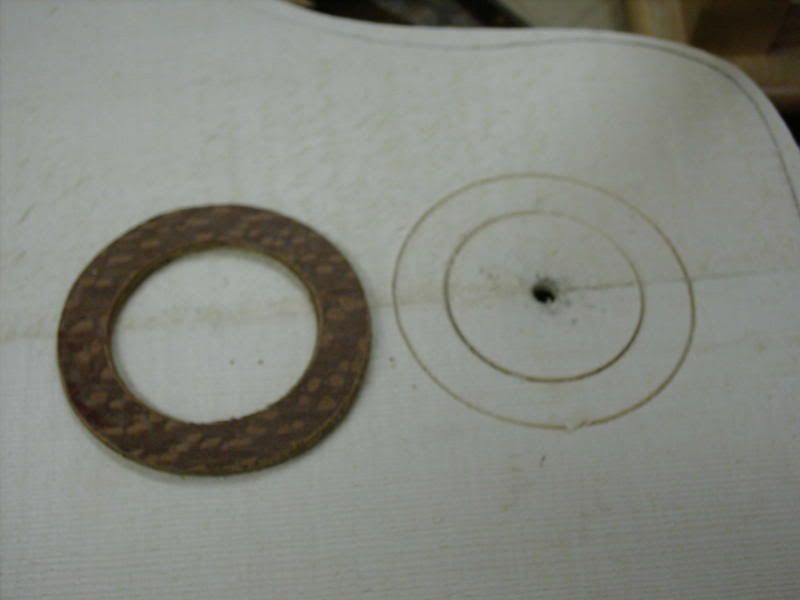
Rosette cut out in leopardwood. this is an ofcut from a guitar I built a while ago....
inset and with the black & white strips around the leopardwood, but before planing it all smooth
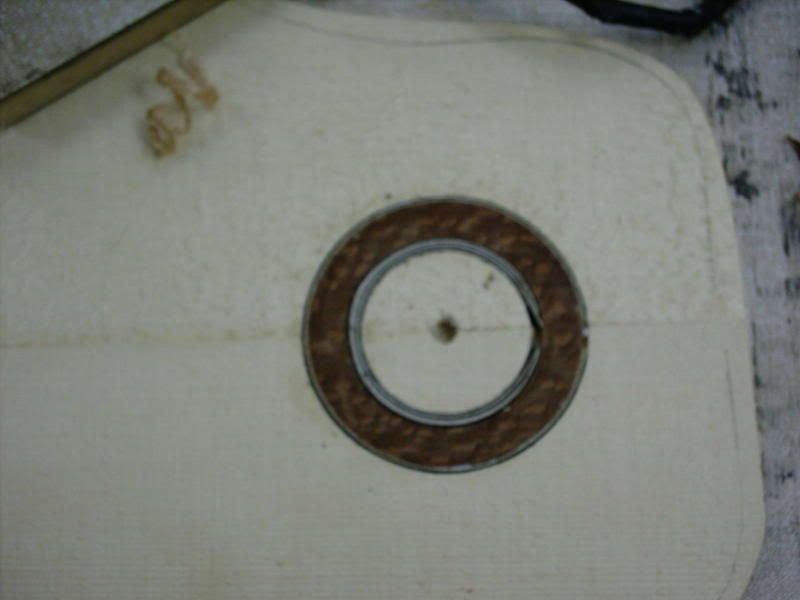
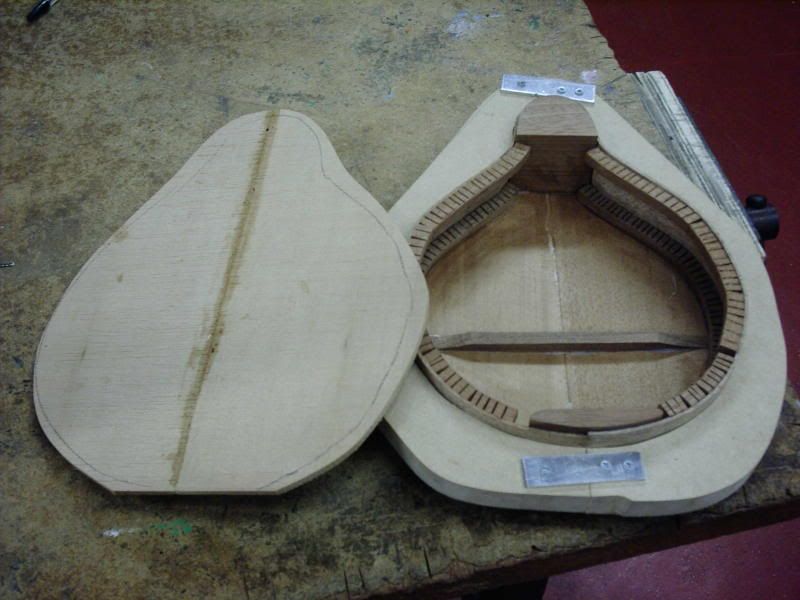
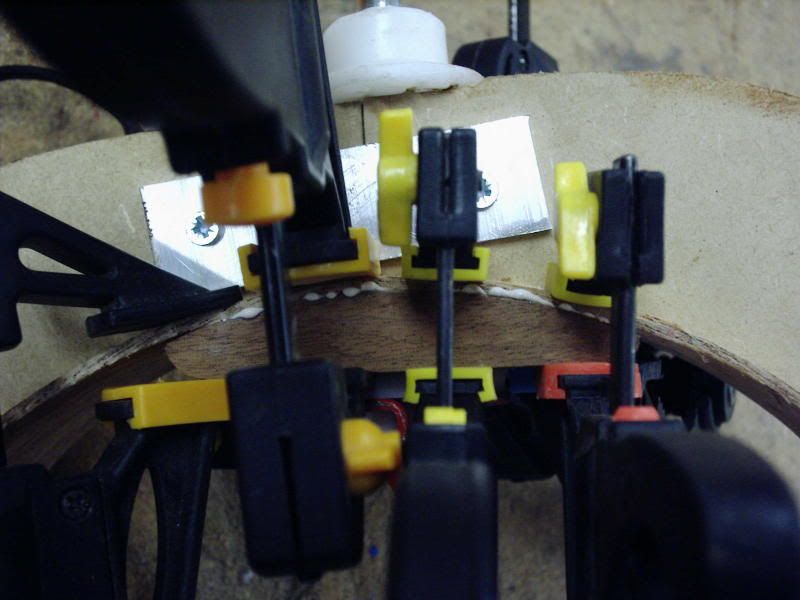
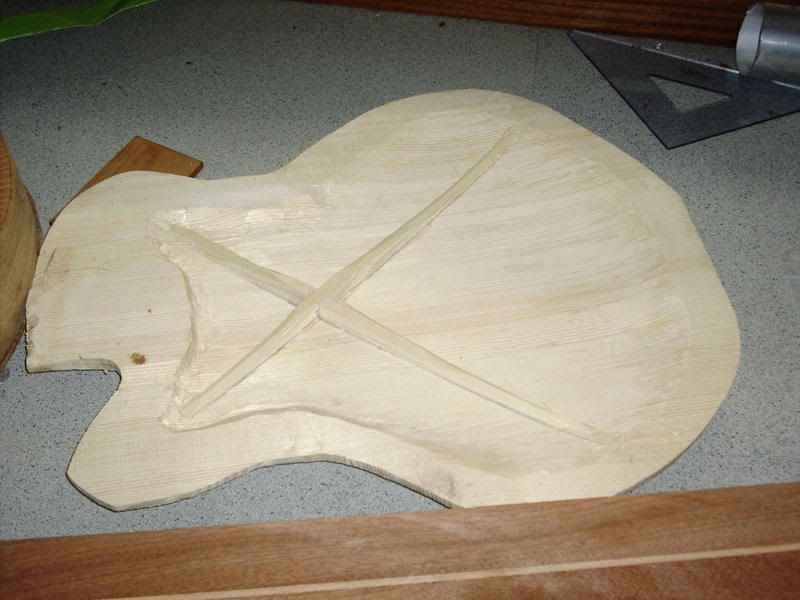
once the bracing is in, I glue in a support plate behind the soundhole. this is a Lowden thing to help support the wood around the soundhole and strengthen things .
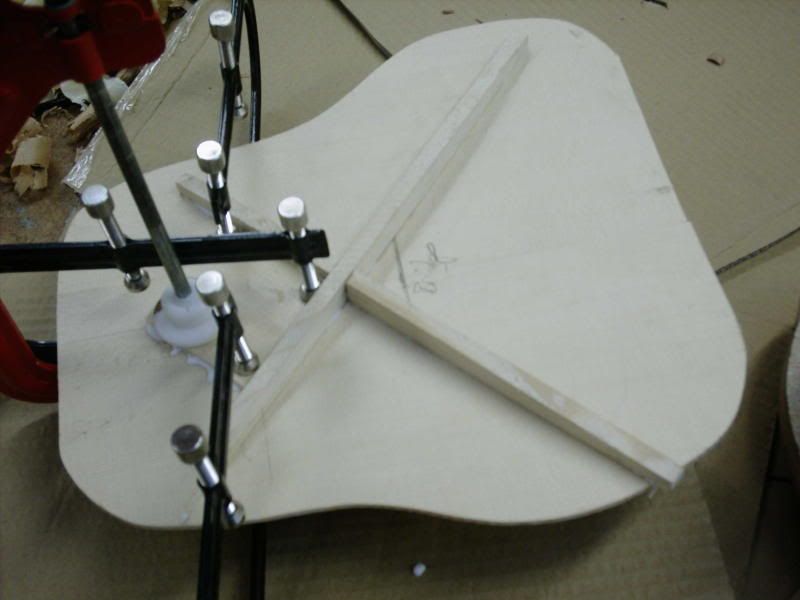
then the bridge plate to stop the ball ends of the strings chewing up the soft top wood.
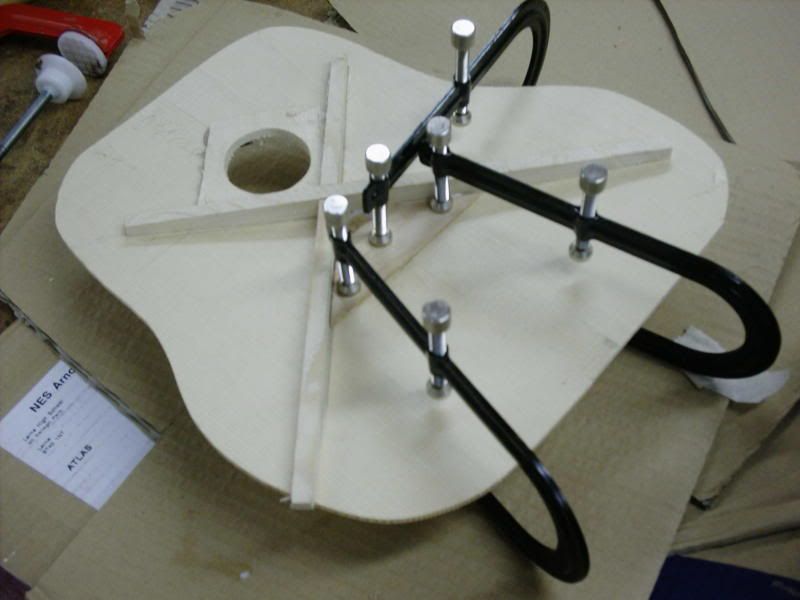
And that's it for a couple of weeks as it's now the Christmas holidays and I'm locked out of school til the 5th of Jan. (yes, I KNOW it sounds a bit churlish to complain about 2 weeks of enforced holiday, but I was really "in the zone" with these two mandos!!!
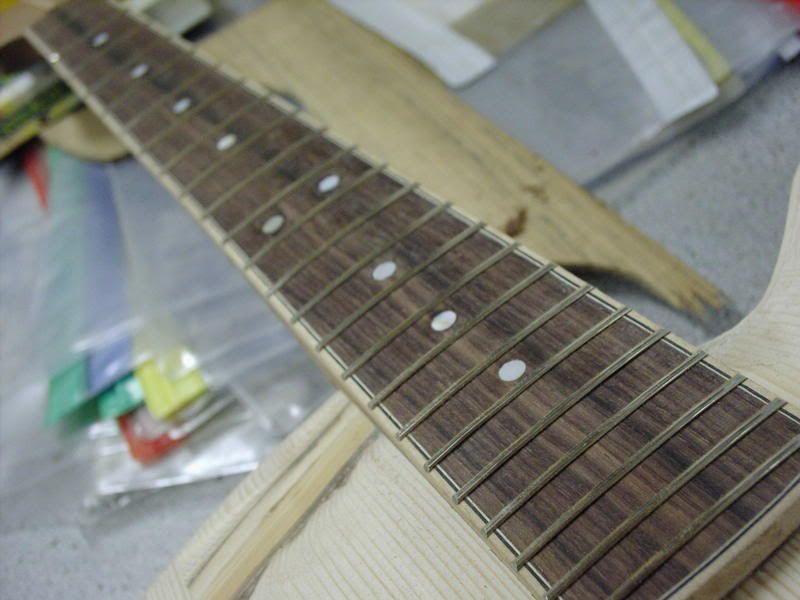
still, I need to order the fretboards, tuners & tailpieces from the US and I want to let the dust settle on the Postal service before I do.
Other news is I have another commission for a similar A4 (only more fancy binding) to start when I get back, so while I'm waiting for the US order to arrive I can get it caught up to the same stage as these two.
I'm ALSO negotiating a Bouzouki based on a Sobell guitar bodied zouk for a guy locally and there is a cutaway mando on ebay at the minute so life isn't dull!!
Have a Happy Christmas everyone, and please try to remember that while a dog isn't just for Christmas, it's for life.........a hamster's for 2 years tops!!
and that, well, the whole Christmas thing is to celebrate the birth of Jesus, not the killing of a couple of million Turkeys.
God Bless, see you in JAnuary.
Sunday, December 21, 2008
Tuesday, December 16, 2008
BUSY day!!
I love the last week of term. the kids are all watching a DVD in the other room so I have loads of time to get to work on some mandos!!
first up, the top linings on the A4..
once this is dry it's ready for the cedar top.
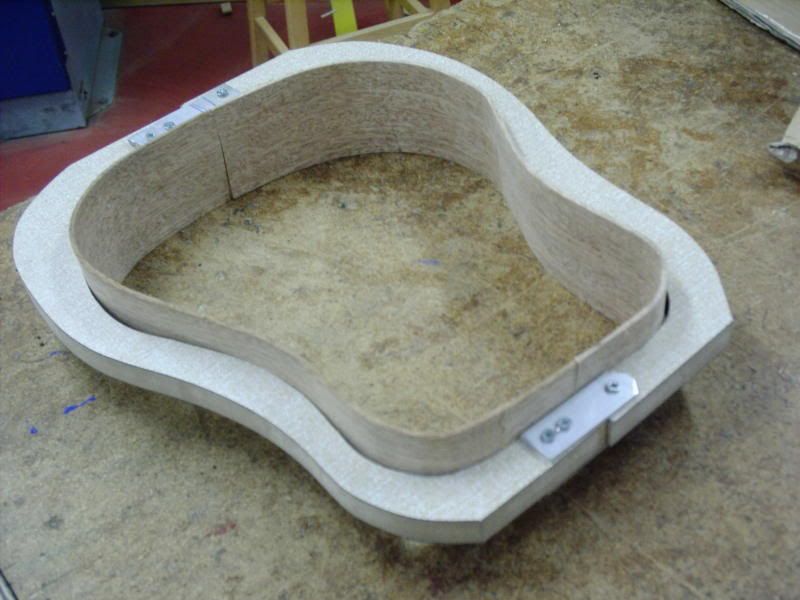
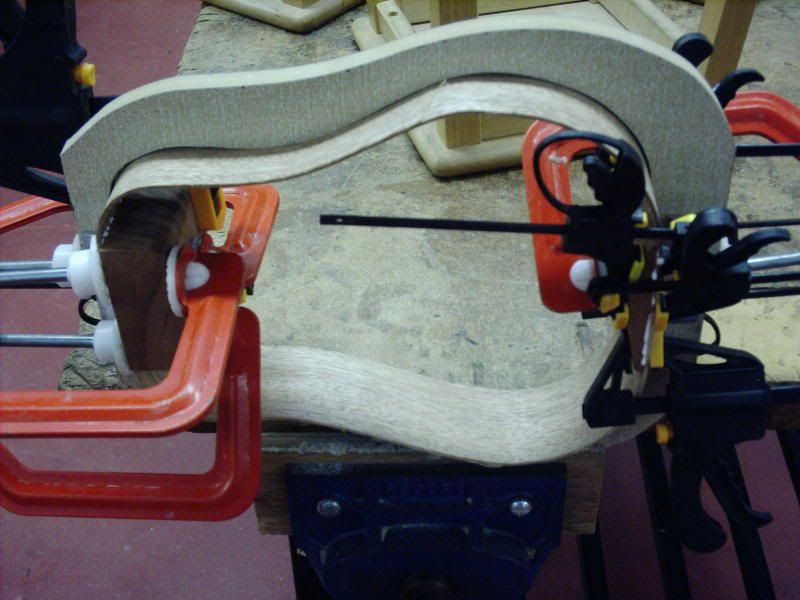
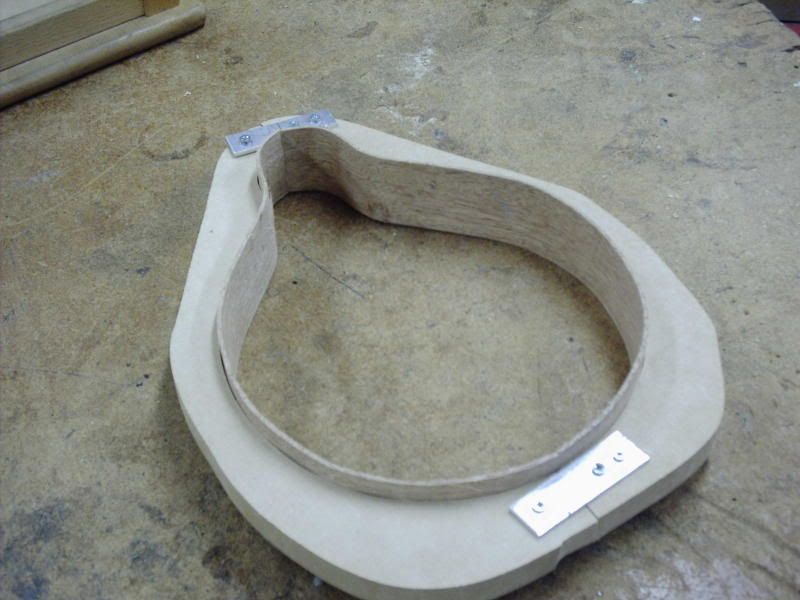
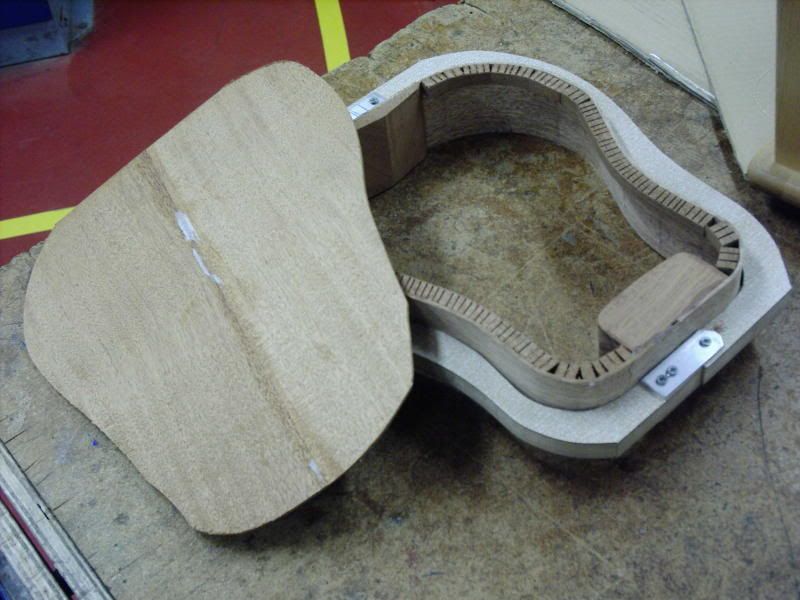
and a dread shaped mando. the sides bent into moulds. this mould made from a pic of a 1960s Gibson Dove guitar.
the two halves joined......
Neck & tail blocks glued in place
And linings on one side.
Tomorrow I'm HOPING to get the rosette started on the A4, and the back braced & glued onto the mini dread
Saturday, December 13, 2008
A4 #3
back brace in mahogany to match the back. the glued edge was carved to a curve to bow the back outwards.
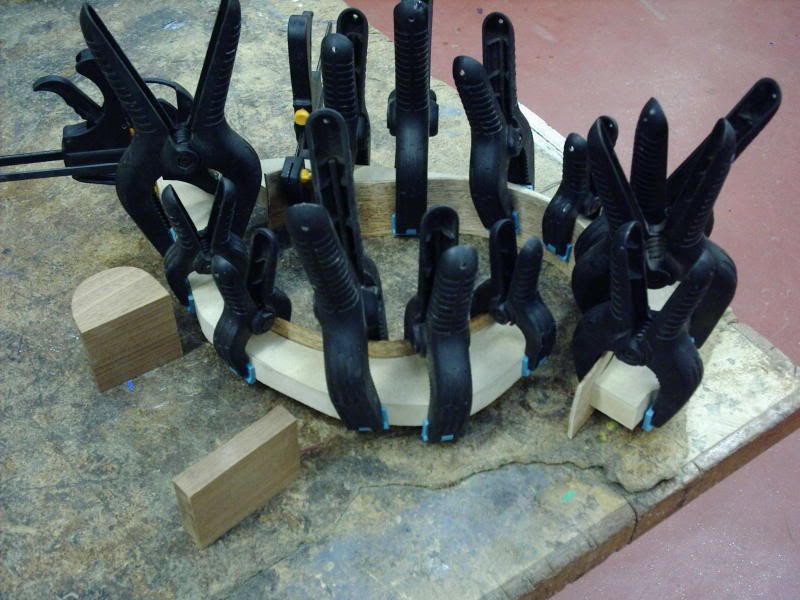
and again as many clamps as it takes to hold while glueing.
the top linings will be glued in place and the top fitted before the frame is taken off. then I can trim the excess around the sides to make it start to look like a mando.
A4 cont.
sides in the completed frame
tail block shaped to match the curve and glued in place. No, you CAN'T have too many clamps!!
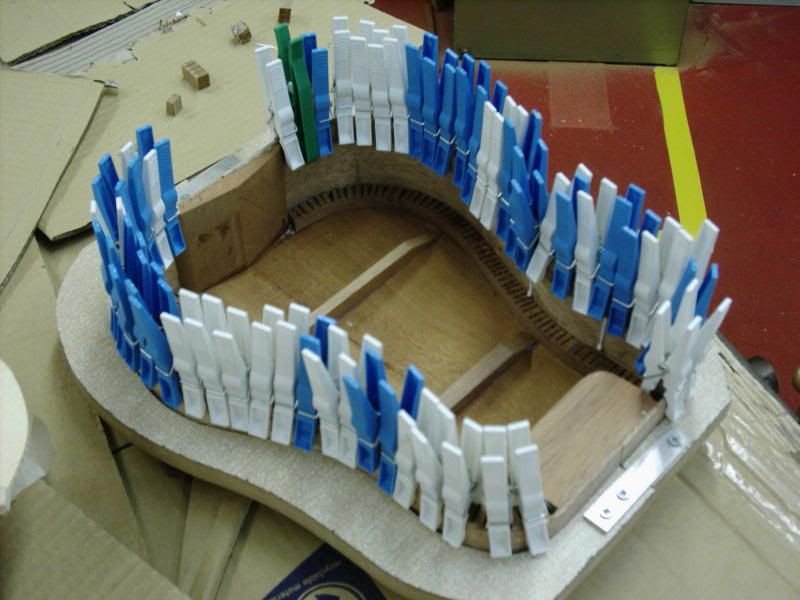
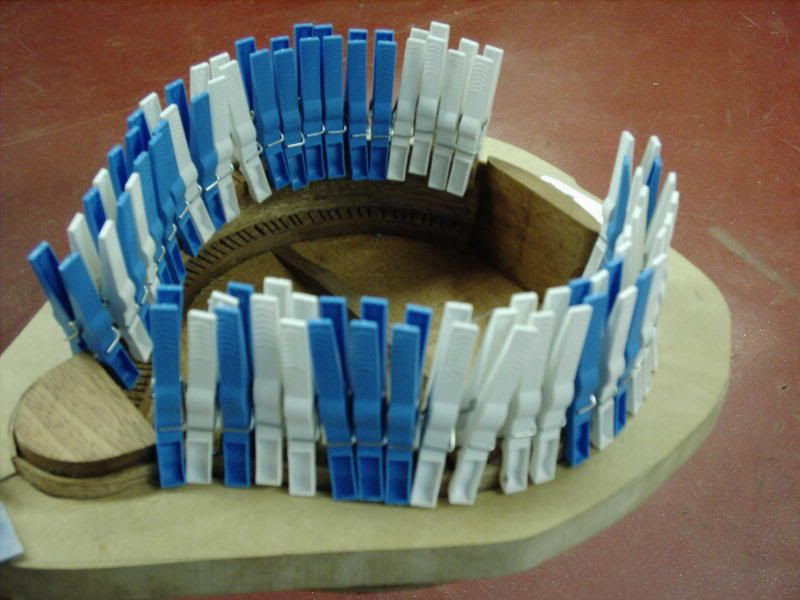
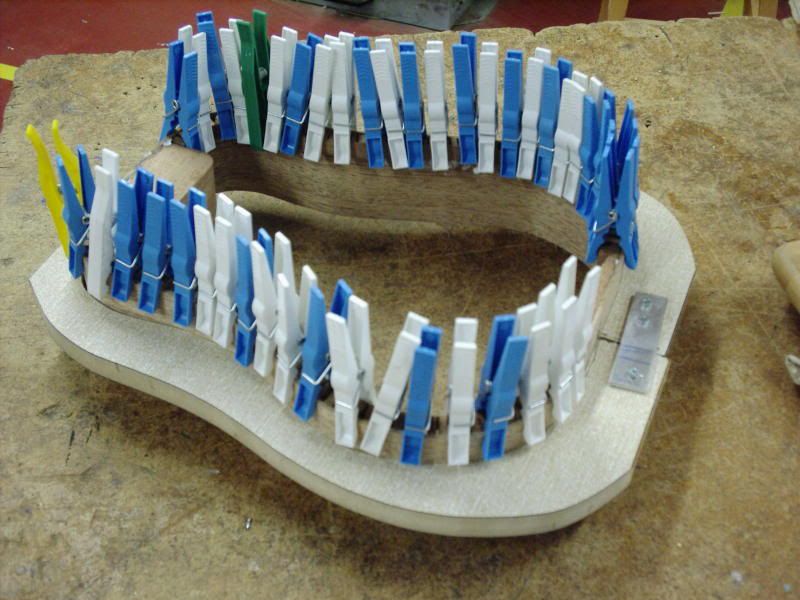
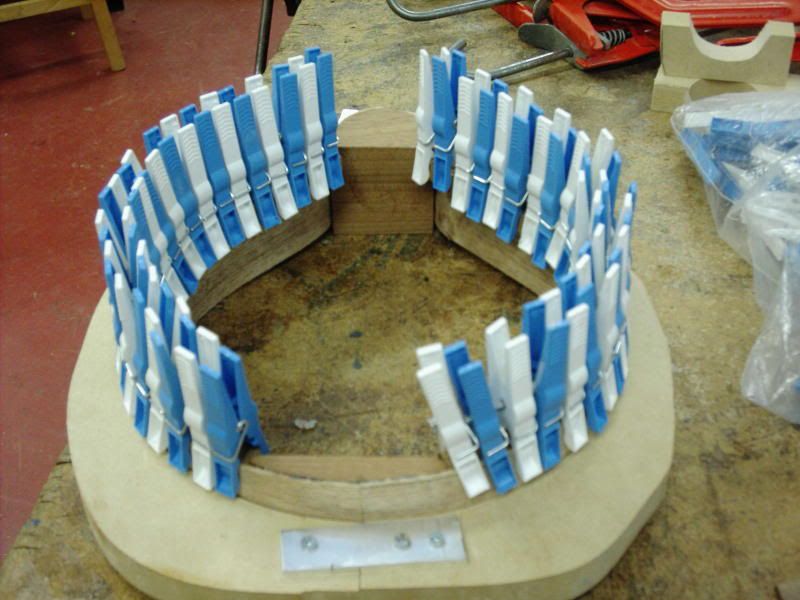
kerfed linings glued into place around the rim. I prefer to put the kerfs against the side rather than away from the side. this (in my humble opinion) is stronger when planing the top edge to provide a glueing surface for the back or top. Any time I've glued them in with the kerfs outward (as is traditional) I always manage to break a few. Is having the clothes peg alternate colours a bit anal retentive? maybe I have issues.......
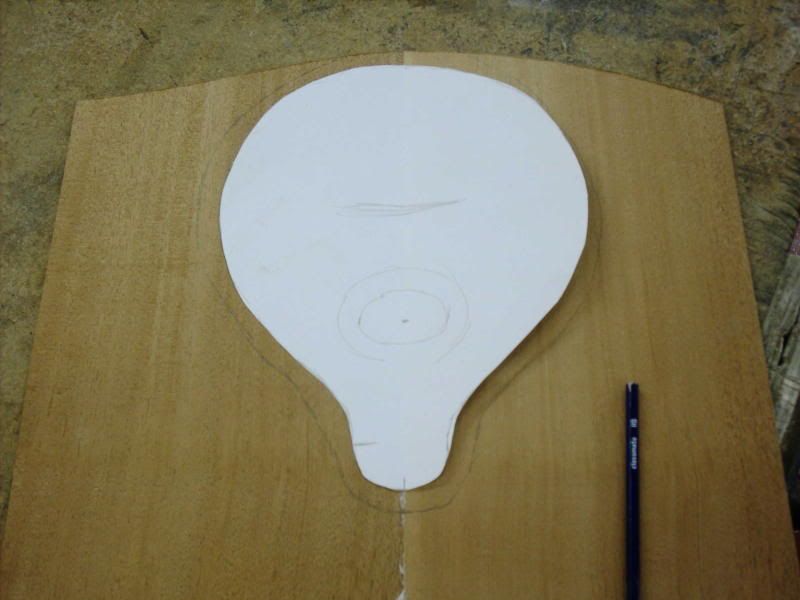
so, the back. using the original outline. I already had this back joined and "resting" in the store.....
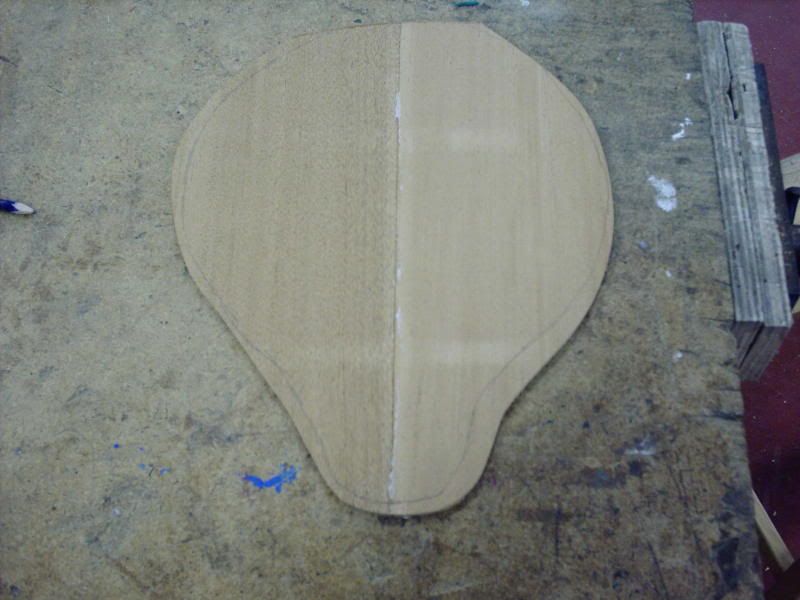
and roughly cut out with the band saw
SO the mando sold on Ebay, so I have some pennies in the kitty to buy some new parts for later builds..... I have my eye on a fanned fret acoustic guitar, but it'll have to wait, because of the interest generated by the sale of the mando on Ebay. I have 4 negociated commissions and another guy thinking about it. No deposits yet, and of course, with the credit crunch there's every possibility that some (or all) of them may cancel, but still, looks like a busy few months ahead.
The 3 builds that are pretty much agreed are a guitar shaped bouzouki in Rosewood, a mando based on a Gobson Dove acoustic and a A4 style mando.
for each I'm going to have to make new moulds and as a mould is just some MDF or ply sheet I decided to get the A4 under way, even though there's no formal agreement yet......
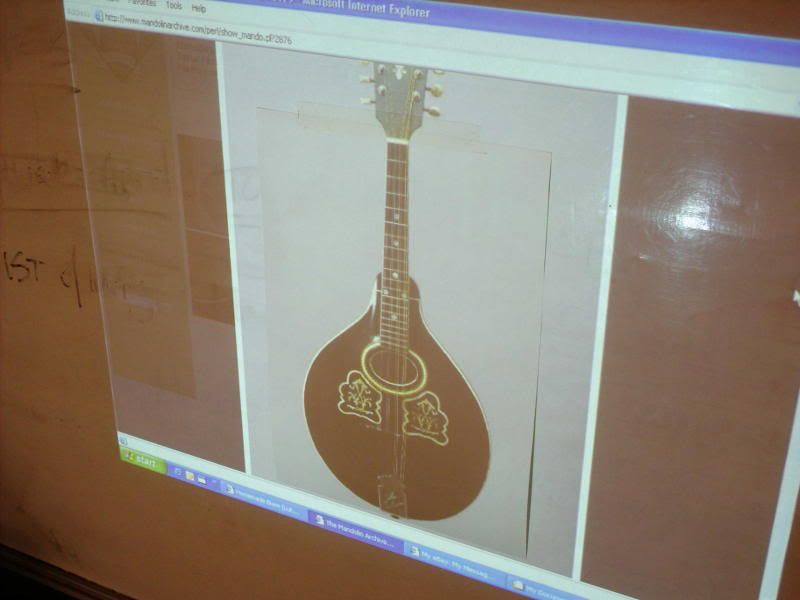
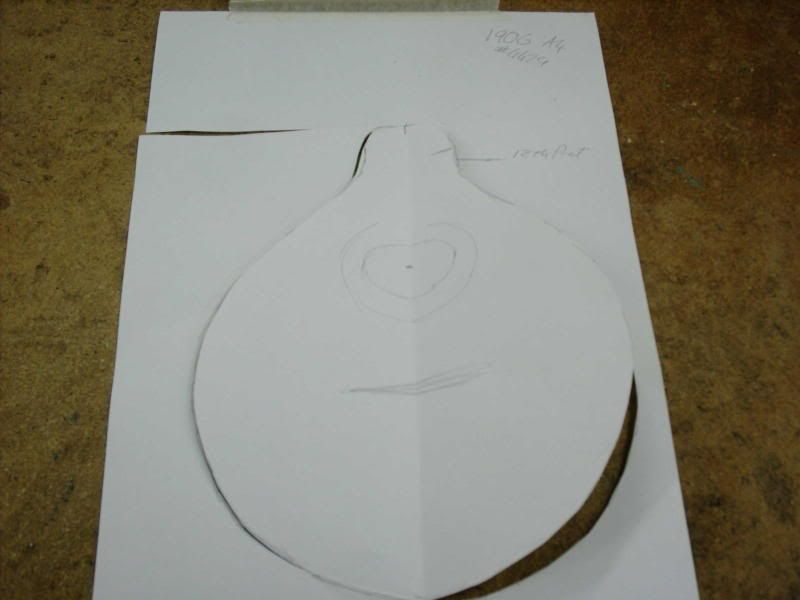
My technique is to find a straight on pic from the net and using a data projector, throw the image onto a screen. zoom until the scale is right, then draw round it and cut it out. 6this is a 1906 Gibson A4
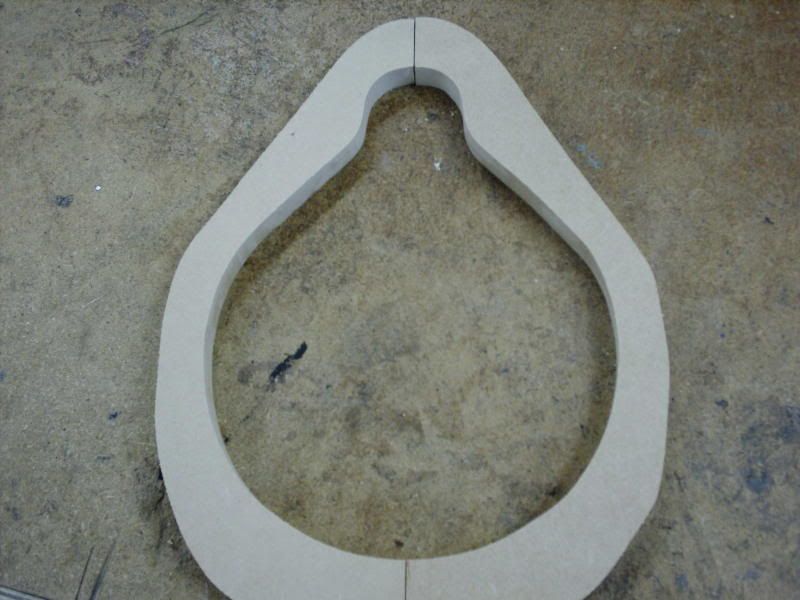
then cut out the mould from MDF. as a mando is so thin it only needs one thickness of 25mm sheet. guitars need a thicker mould.
once they're cut I clamp them together and sand them smooth on the inside to ensure symetry.
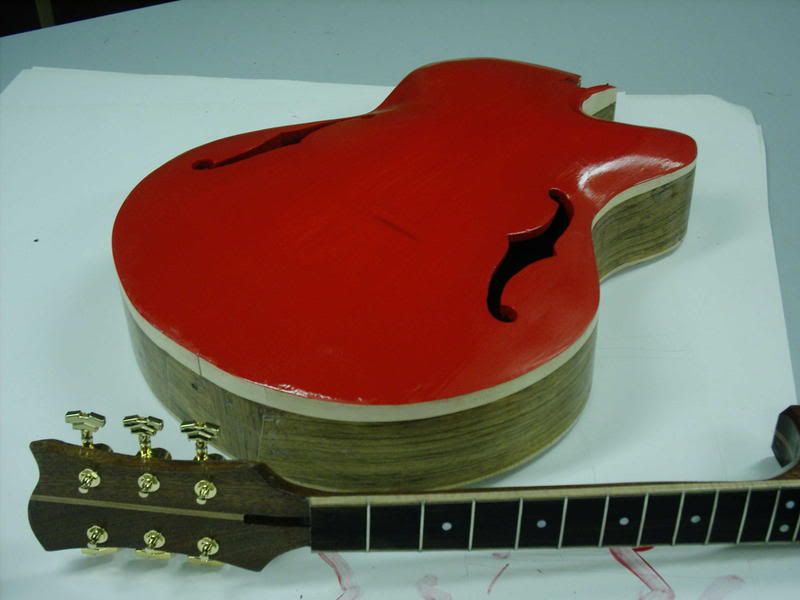
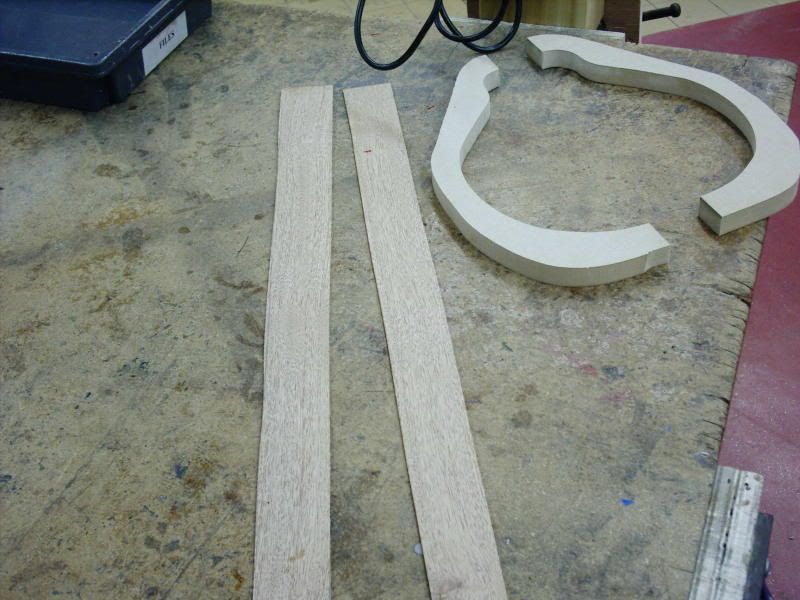
here are the unbent mahogany sides
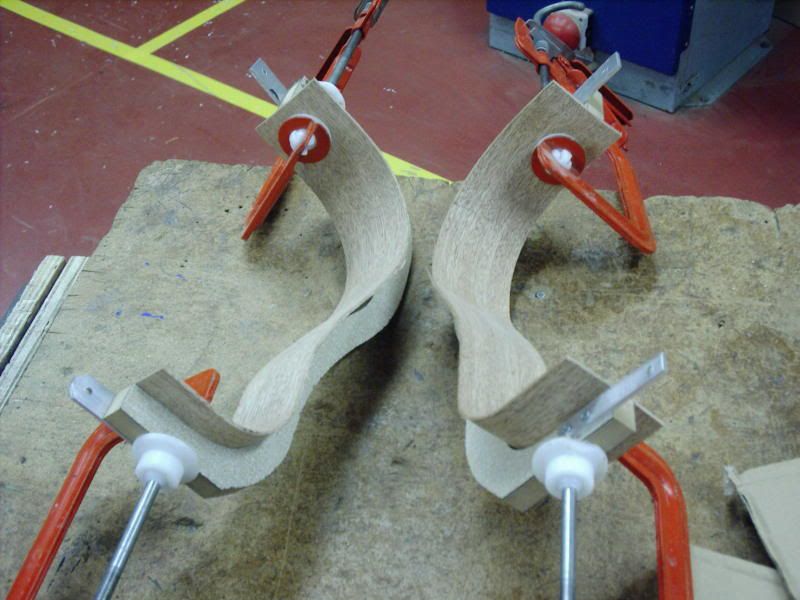
and now bent & clamped to allow the wood to dry again overnight. note the neck & tail blocks to the left.
The 3 builds that are pretty much agreed are a guitar shaped bouzouki in Rosewood, a mando based on a Gobson Dove acoustic and a A4 style mando.
for each I'm going to have to make new moulds and as a mould is just some MDF or ply sheet I decided to get the A4 under way, even though there's no formal agreement yet......
My technique is to find a straight on pic from the net and using a data projector, throw the image onto a screen. zoom until the scale is right, then draw round it and cut it out. 6this is a 1906 Gibson A4
then cut out the mould from MDF. as a mando is so thin it only needs one thickness of 25mm sheet. guitars need a thicker mould.
once they're cut I clamp them together and sand them smooth on the inside to ensure symetry.
here are the unbent mahogany sides
and now bent & clamped to allow the wood to dry again overnight. note the neck & tail blocks to the left.
Thursday, December 04, 2008
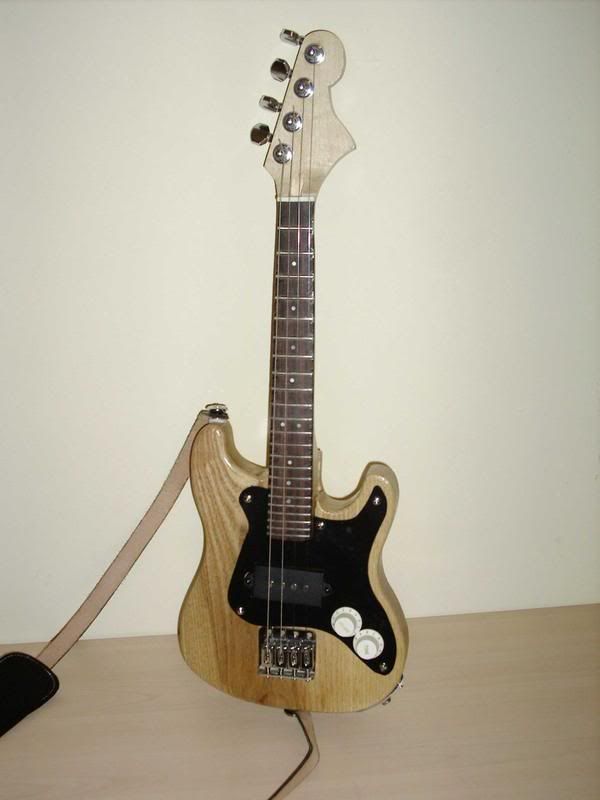
a conversation with a pal got out of hand recently and in a week I threw together this mandostrat.
the body is solid ash, neck maple, fretboard East Indian Rosewood. the pickup is half a precision bass style split pickup, and the bridge was canabalised from a squier strat.
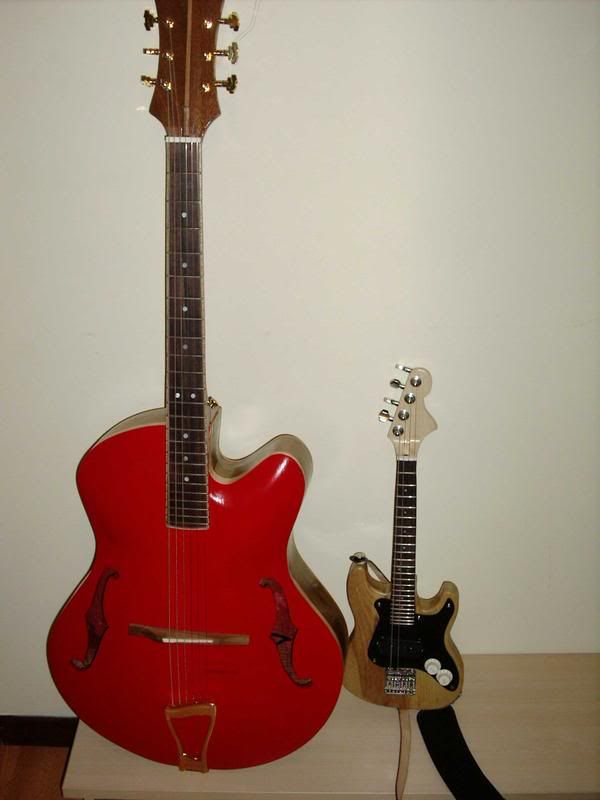
this pic shows it in proportion with an archtop.....
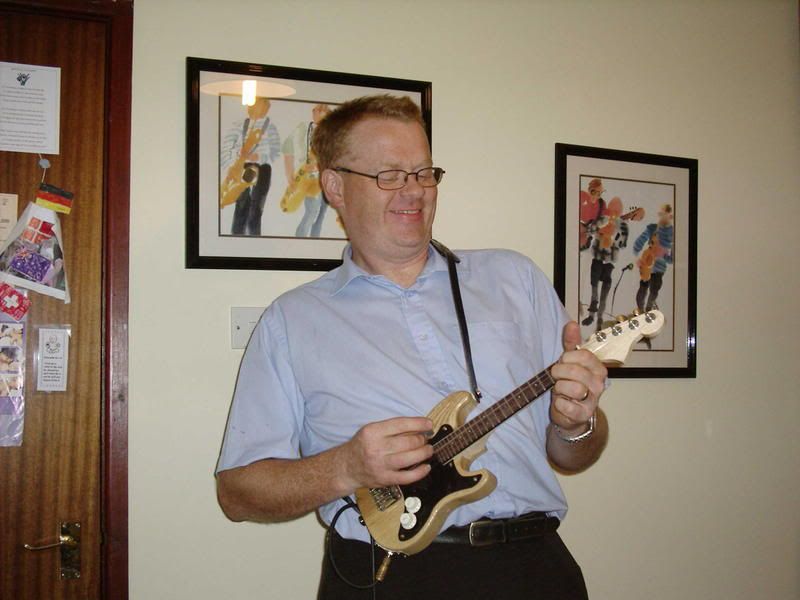
and here's me rockin'!!
the body is solid ash, neck maple, fretboard East Indian Rosewood. the pickup is half a precision bass style split pickup, and the bridge was canabalised from a squier strat.
this pic shows it in proportion with an archtop.....
and here's me rockin'!!
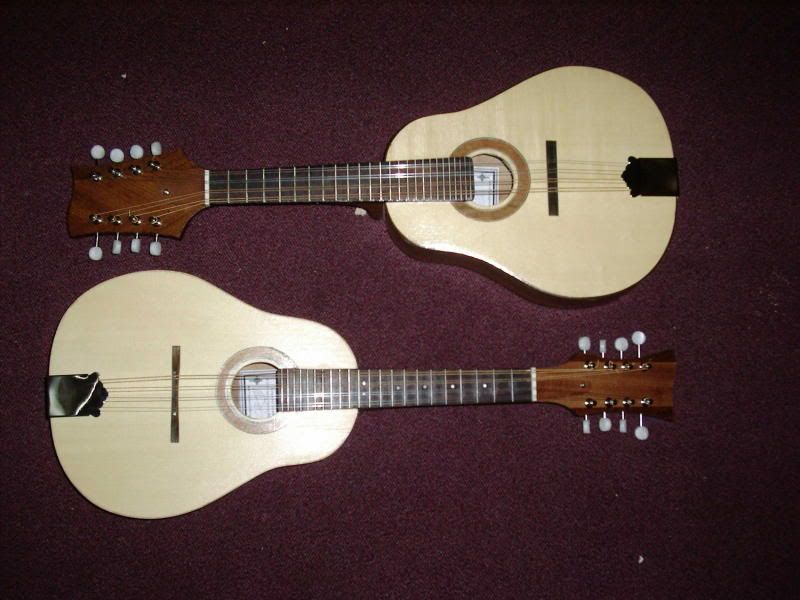
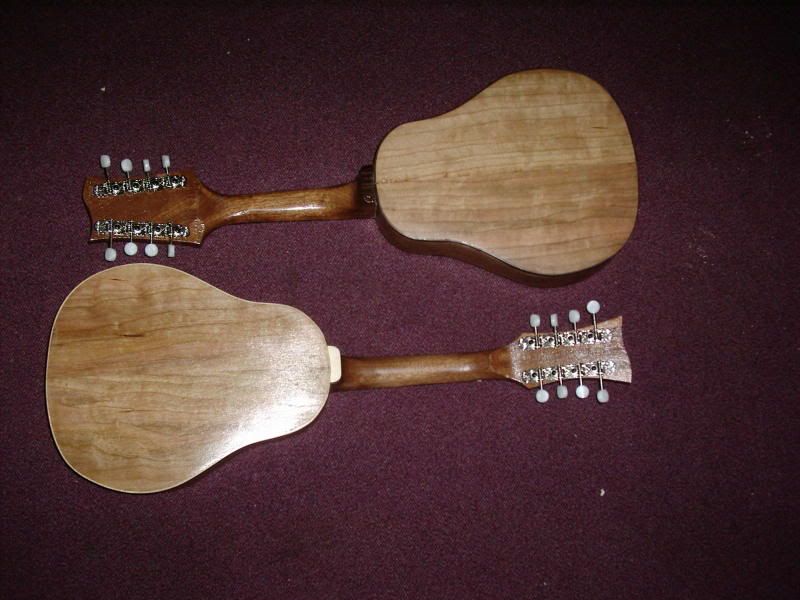
OK gang, heres a pair of cherry mandos that I've just finished. cherry back, sides & rosette, Engleman spruce tops, mahogany necks & East Indian Rosewood fretboards. one has edge fret markers and rosewood binding, the other has MOP dots and maple binding.
The rosewood bound one is for a work collegue's husband for christmas and the other is on Ebay at this very moment.......
Sunday, November 02, 2008
Oh, it's been a while!!
OK sorry, I've been neglecting you faithful reader (all 29 a week of you!!) but I've been too busy actually making the archtop to spend a lot of time here writing about it......
Now this is a "warts and all" blog, so the 1st pic shows my biggest mistake in the making of this guitar.
rather than that big step all the way round, there should have been a smooth transition from the edge to the arch..... Still, this comes from building a guitar using only the Benedetto book, which although it is a great HELP, it isn't ALL you need.
this was my first attempt at binding a neck, and I'm delighted to say it went really well. it looks and feels GREAT!!
cutting the top binding shelf wasn't without it's problems, and there was some tearout, mainly because the top was too thick (more on that later). I filled the tear out, but it was still WAY too visible, so I decided to go for a cherry top. it's still possible to see the grain through it (which I like) as its stained lacquer rather than paint...... Tuners are art deco ones from those lovely folks at guitar fetish
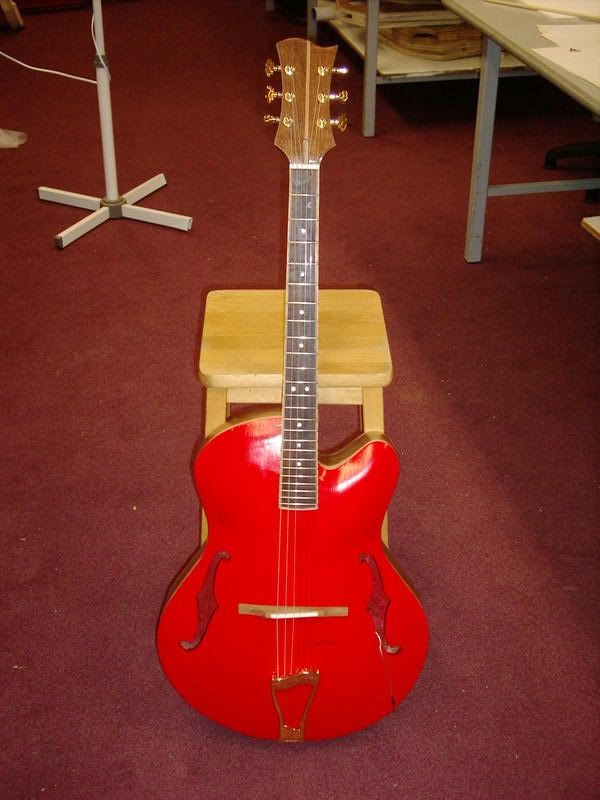
So, assembled and with the strings on......
it is REALLY comfy to play. the curved front means no sharp edge digging into the forearm when strumming. the neck is the best I've made and I'm REALLY happy with it. It LOOKS great too, doesn't it?
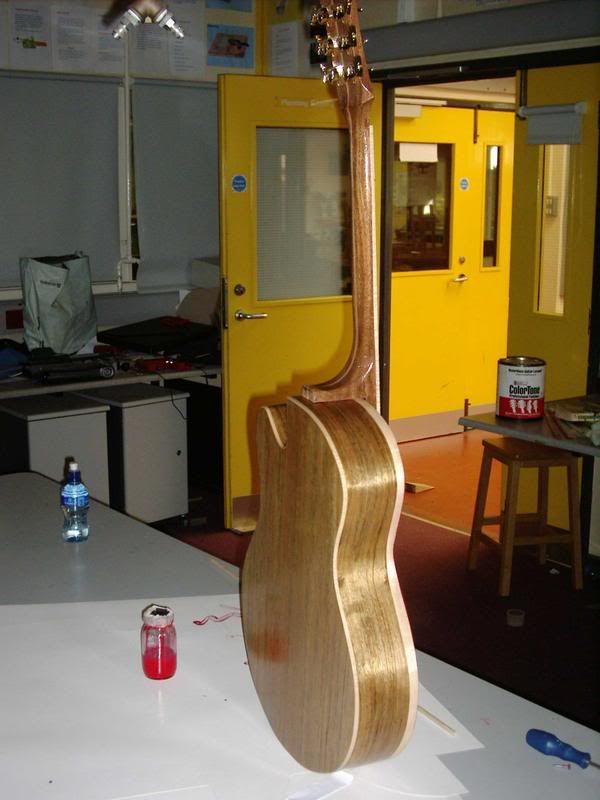
the Ovangkol back & sides really glow, and I'll definitely use that wood again...
down sides? well, unplugged its weak. there just isn't any projection as the top is way too thick. plugged in with the under saddle piezo, its lovely, and the graphic on the preamp gives a wide range of tones from bright and zings to dark & bassy jazz.
still to come?
well, I have a set of humbuckers from an epiphone Les Paul that I could well stick into it, "just to see"......
later on I could upgrade em if I feel I need to.
overall, I'm very happy with this and have ahrdly put it down since I put the strings on. the action still needs tidied, but I can do that while I'm fitting the pickups. will I make another?
YES!!!
only next time I'll go for a thinner top (now that I know nore what I'm doing!!
Tuesday, September 30, 2008
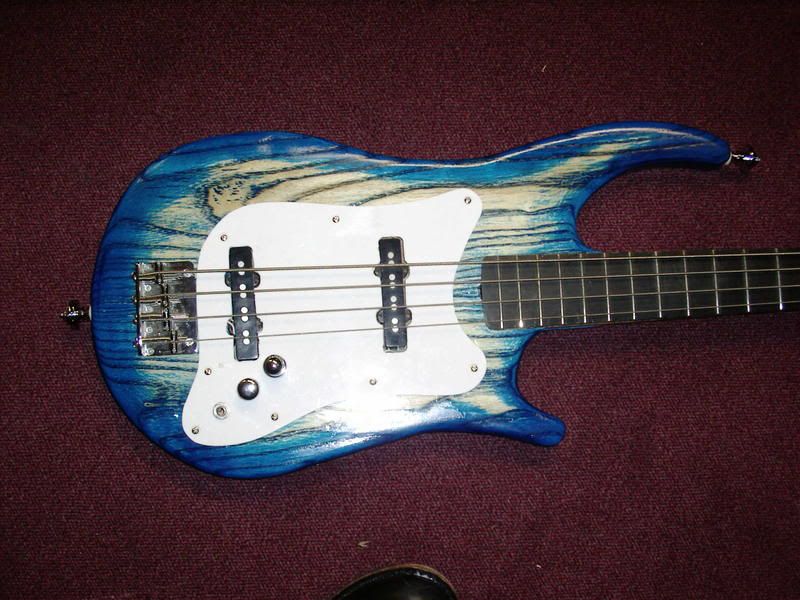
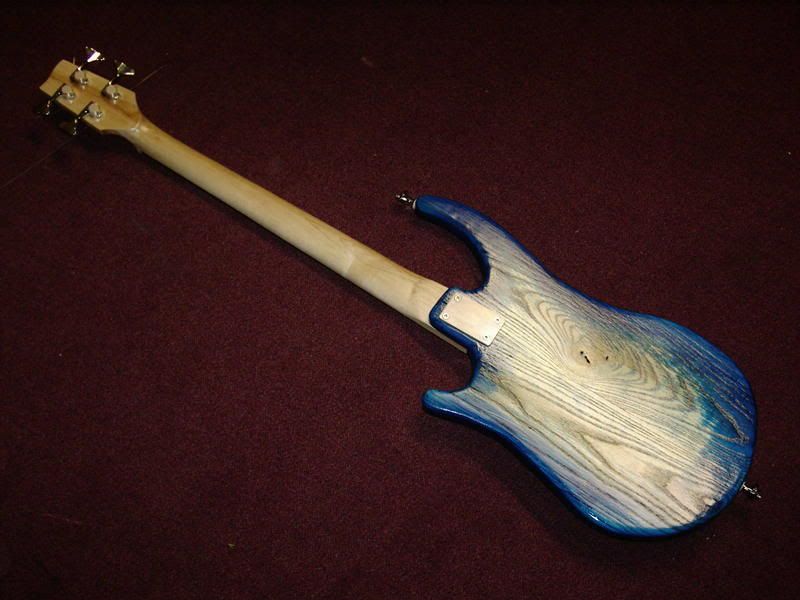
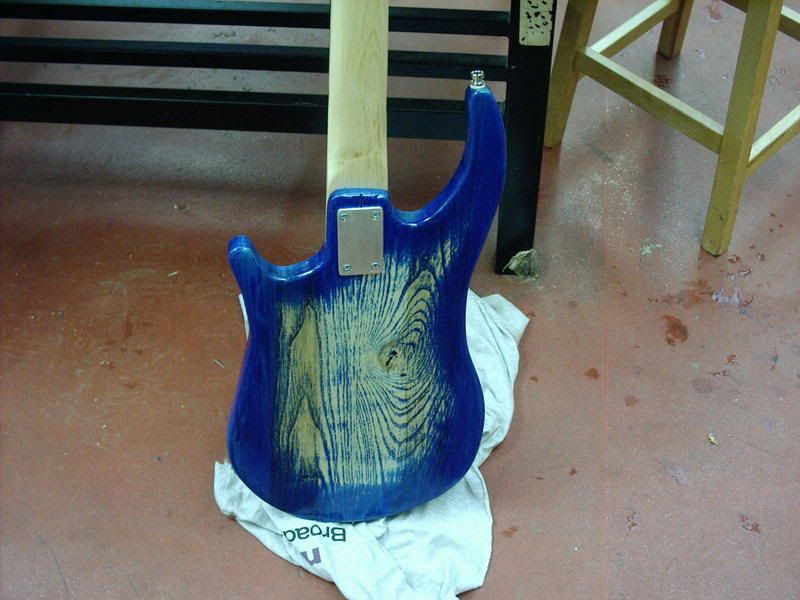
Finished pics of the bass.....
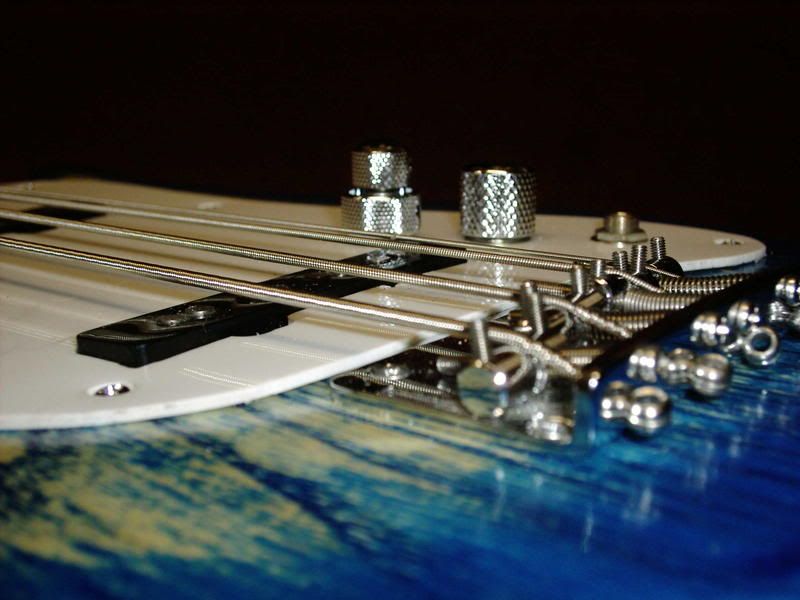
stacked volumes, master tone. the PLAN for this bass is to be able to switch in & out scratchplate assemblies to try out new pickups.
this scratchplate needs redone as the neck pup is a hair out of line, but this white polythene sheet is about £2 a sheet (and the sheet is big enough for about 6 scratchplates) so I'm not too worried!!
This plays really well, and I think I'll be keeping it for a while!!
right, the top......
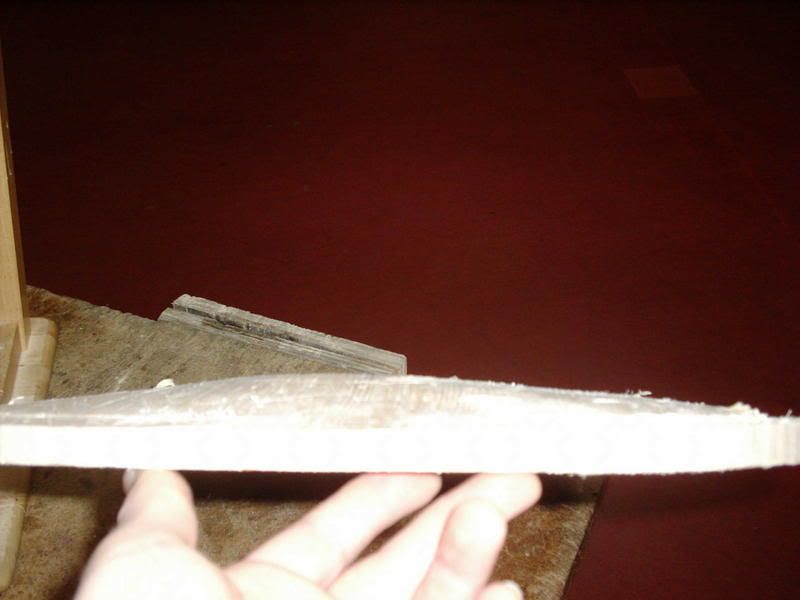
the outside is rough carved first, to an arch (whoda thunk it?)
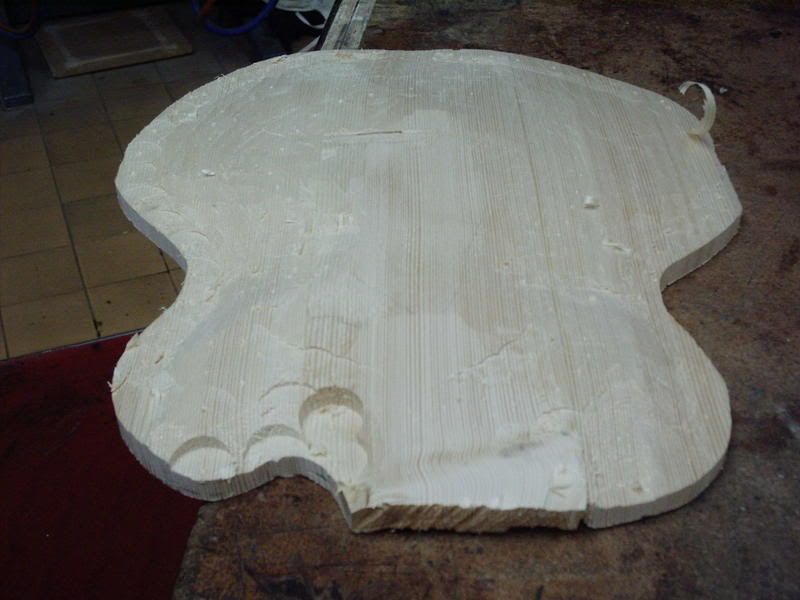
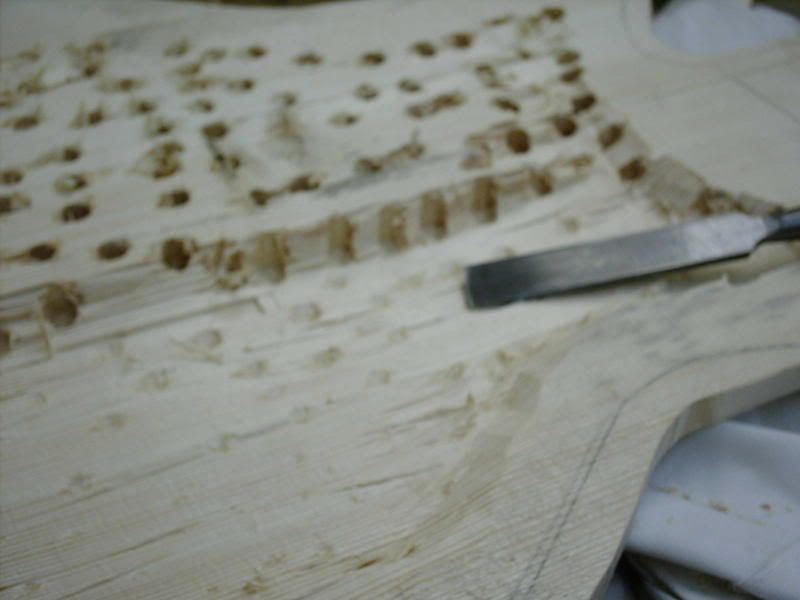
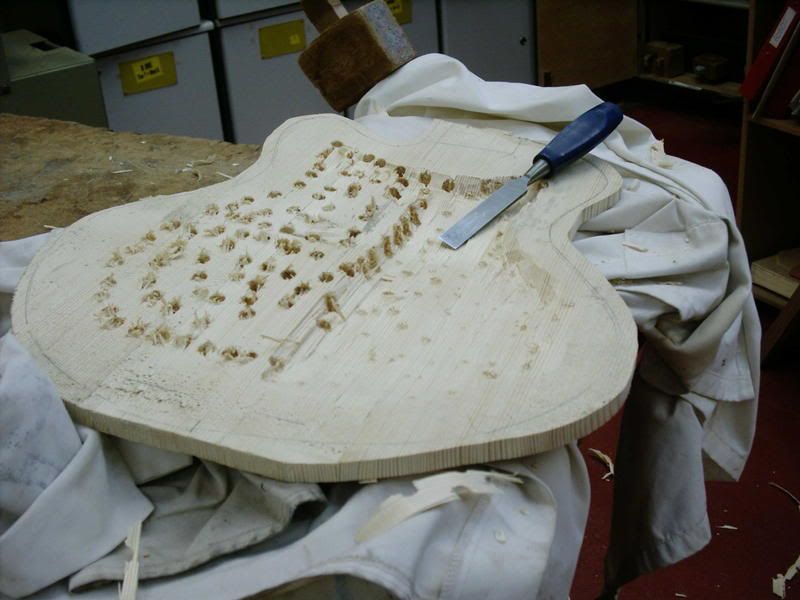
then I set the pillar drill to about 15 mm and drilled a bunch of holes all over the inside. I removed the wood on the inside down to the depth of the holes
Then a LOAD of fine carving to smooth the inside.
Now, the top is roughly 12 mm thick all over, but it needs to come down to about 5mm before I start fine tuning.
I need to do 2 things. sharpen my chisels, and rig a set of calipers to measure the thickness as I go, because after about 8 hours work, I REALLY don't want to stick the chisel through the top!!
Subscribe to:
Posts (Atom)
Blog Archive
-
▼
2008
(50)
-
▼
December
(10)
- Rosette cut out in leopardwood. this is an ofcut ...
- On the dread mando, the back is jointed & rough cu...
- top planed, braced and the soundhole cut out.....t...
- Progress on the A4 (#41)Cedar top jointed and cut ...
- BUSY day!!I love the last week of term. the kids ...
- A4 #3back brace in mahogany to match the back. th...
- A4 cont.sides in the completed frametail block sha...
- SO the mando sold on Ebay, so I have some pennies ...
- a conversation with a pal got out of hand recently...
- OK gang, heres a pair of cherry mandos that I've j...
-
▼
December
(10)
Links
About Me
- Martinedwards
- Married with 4 kids, Christian, worship leader, luthier