Friday, October 06, 2006


REVIEW of the first instrument I sold. Sam Price is a chum off the many forums I spend too much time on, and she suggested that I get user reviewsfor my instruments, so she is having 1st go!!!

Thanks Sam!

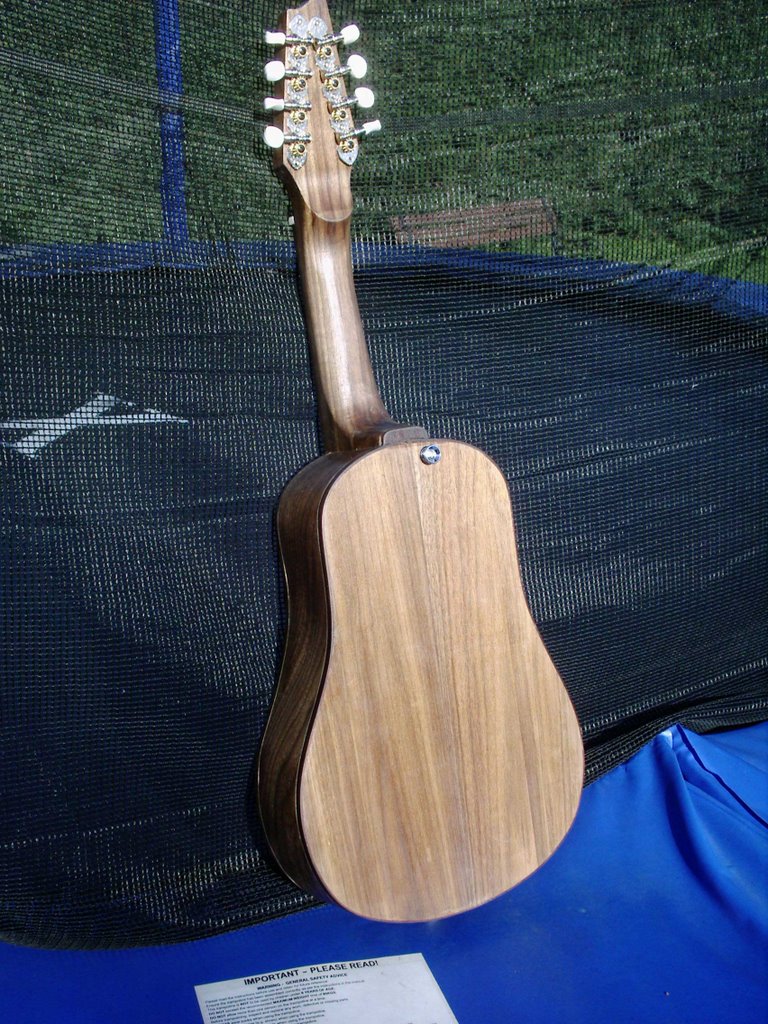
This mandolin is my first ever request for a custom instrument. Being a left handed guitarist, and playing a rightie mando prompted me to try out a southpaw..it is also Martin's fourth instrument.Aesthetically, this instrument is appealing; the top is made from solid Pine, the back and sides from solid mahogany, that has been "air dried" as a science school table for forty years!!!! The fretboard is rosewood, with MOP dots that compliments the MOP celtic cross symbol on the truss rod cover, a unique feature of Martin's instruments. The bridge is Ebony, saddle and nut bone.The pine top has a depth of sheen to it that is truly beautiful..it glows like pure honey.The marvel is that the fretboard is slightly wider than your average mandolin. The scale length remains standard, and the benefit you get is a mandolin that is easier to play.I have been playing this little mandolin for over five months now, and will never grow tired of it.As you can see from the photograph, it is an extremely tough and durable instrument, and I have taken it literally everywhere, proving it fantastic for travel.The tone...it is a sweet, shimmery tone with strong trebles. The wonder of this instrument is that it needs "warming" up before the full tonal potential is released. Once you get going, the whole instrument seems to vibrate with sound and the volume increases. Although this is still a relatively new instrument, I am curious as to what she will sound like when the wood has fully opened. I have already experimented with a few tunings, and it seems to cope with what I inflict on it admirably!!Well, what else can I say? I love originality. I love new design. People are very curious about this mandolin, just because it is unlike anything they have seen. As they say..if it got stolen, I would not hesitate in commissioning Martin again!!!Ah well, I'd better get back to playing before the sun sets!!

Thursday, October 05, 2006


Flippin' doubleneck acoustics!!!!

Well, I've finally got both necks tenon joints cut. The six string neck is roughly shaped, and the fingerboard is glued on, the 12 is still square and I've left it overnight to glue the fingerboard on.

I've also glued the top onto the body so the next job will be to trim round the top & back & get the binding under way.

I've done bolt on necks for a good reason.

I've never made a doubleneck before, so I don't have a clue if all that string tension will rip the top off the guitar.

Bolt ons mean that if the worst happens, it'll be easier to take them off and then remove all the splinters and put a new top on!!! The bolts are the same as used in self assembly furniture, so they should certainly take the strain. (A lot of luthiers use them for this job, it's not just me taking a short cut!!


Tuesday, October 03, 2006

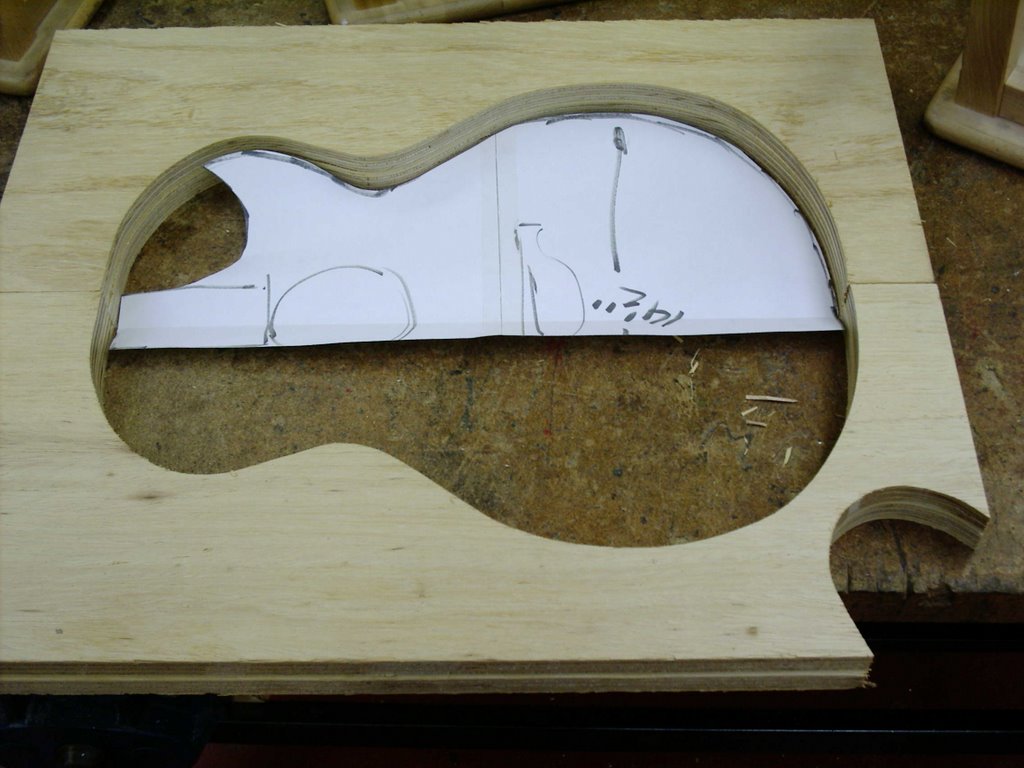
so, how'd you make an external mould for a guitar?

Well, here's how I do it.........
First find a pic on the net of a guitar you like the shape of. For me it has to be a Lowden Jumbo.
Then Project the pic onto the wall with a data projector.
Make sure that the scale length on the projection matches the scale length in real life. Draw round it, changing it as you like. (I'm adding a cutaway.)


Cut the first half out of 3/4 ply. spend some time and get it perfect. Use it as a template to mark out three more.

Rough cut the other 3 pieces of ply about 1cm (1/4") inside the line

Clamp it and use a router to follow the original to cut the other three exactly the same.

the notch at the bottom right is to bend the cutaway........

Then assemble the two halves. I use offcuts as spacers between the top & bottom to get a little more width.

Don't do this in your best clothes though...........

Friday, September 29, 2006


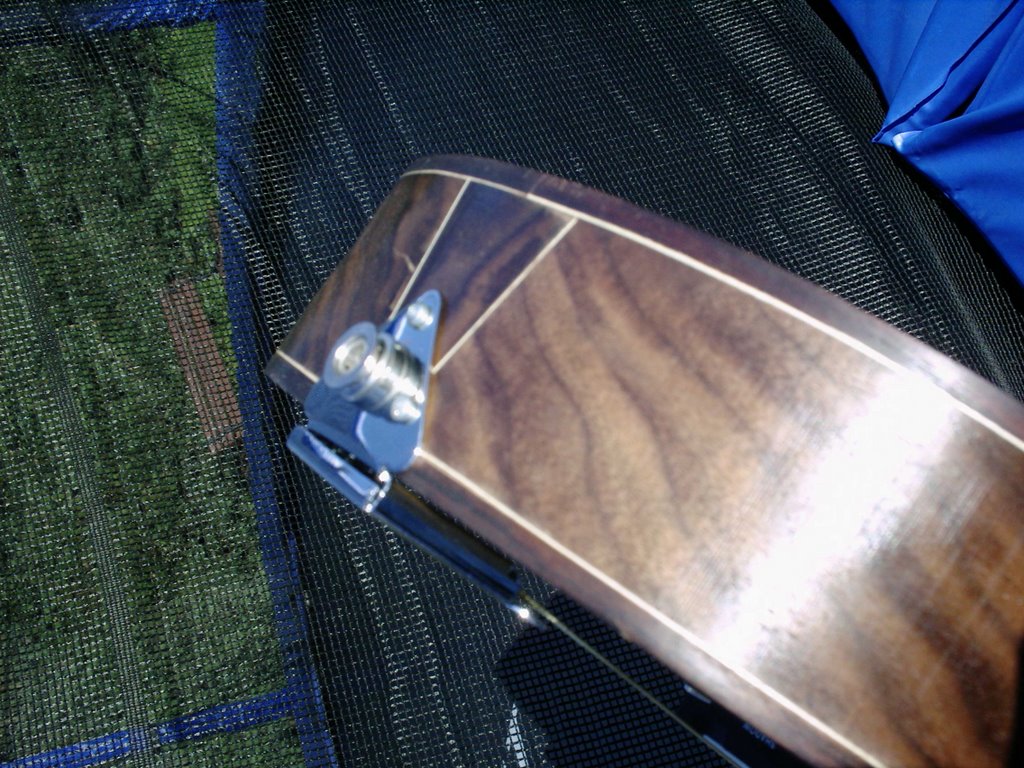
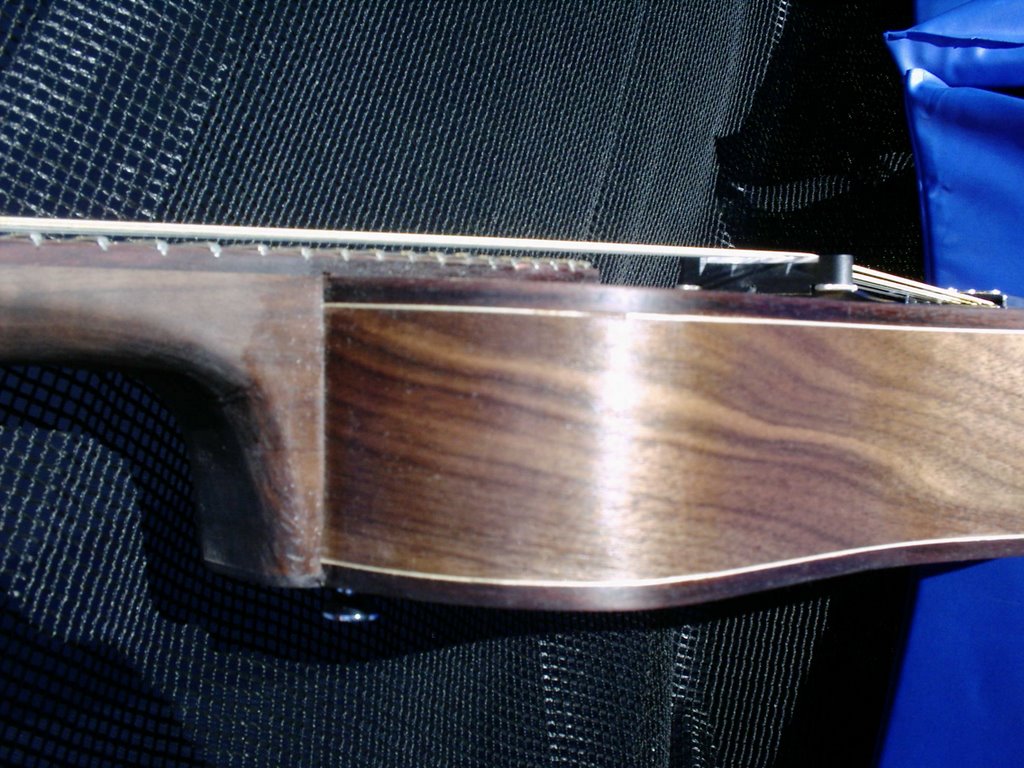
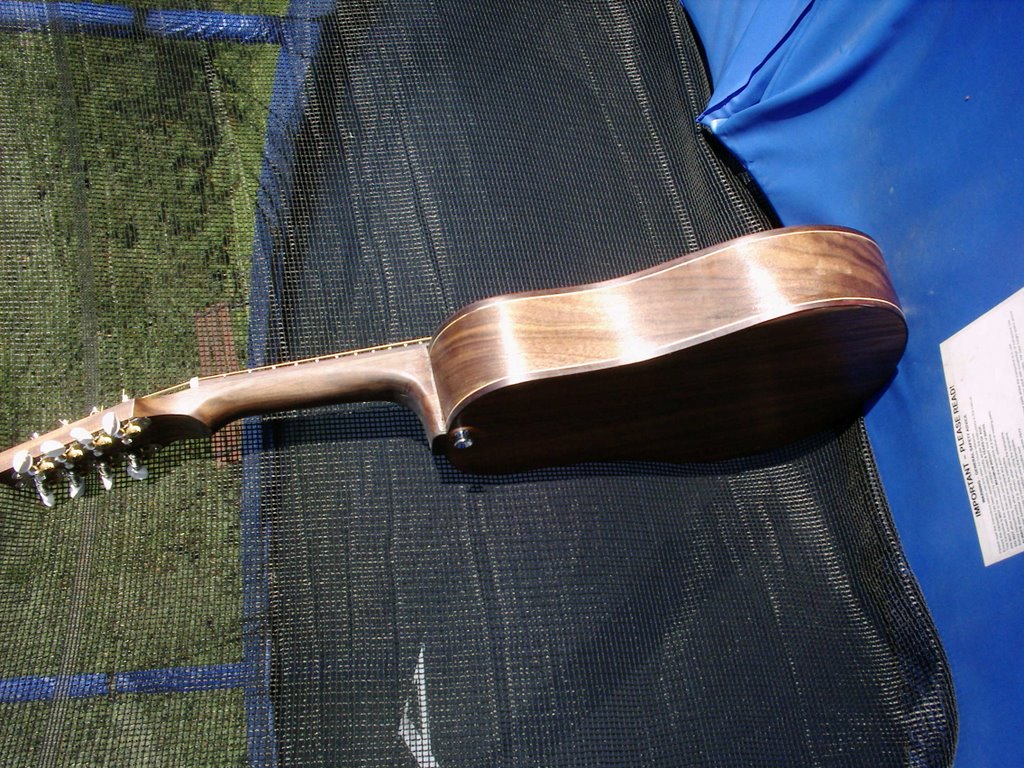
Well the second mandonaught is now done!!!!

The hole was drilled for the wire, then the whole thing had to come apart to get at the socket from the inside. The wires soldered on, then the nut glued in place with CA, the trussrod cover fitted, frets buffed then all back together again.

Come Monday or so it'll be in the post to Rich in Newcastle North England.

The last pic is the new one (top) with it's older (and slightly fatter) brother.

Wednesday, September 27, 2006

OK, progress on the doubleneck.

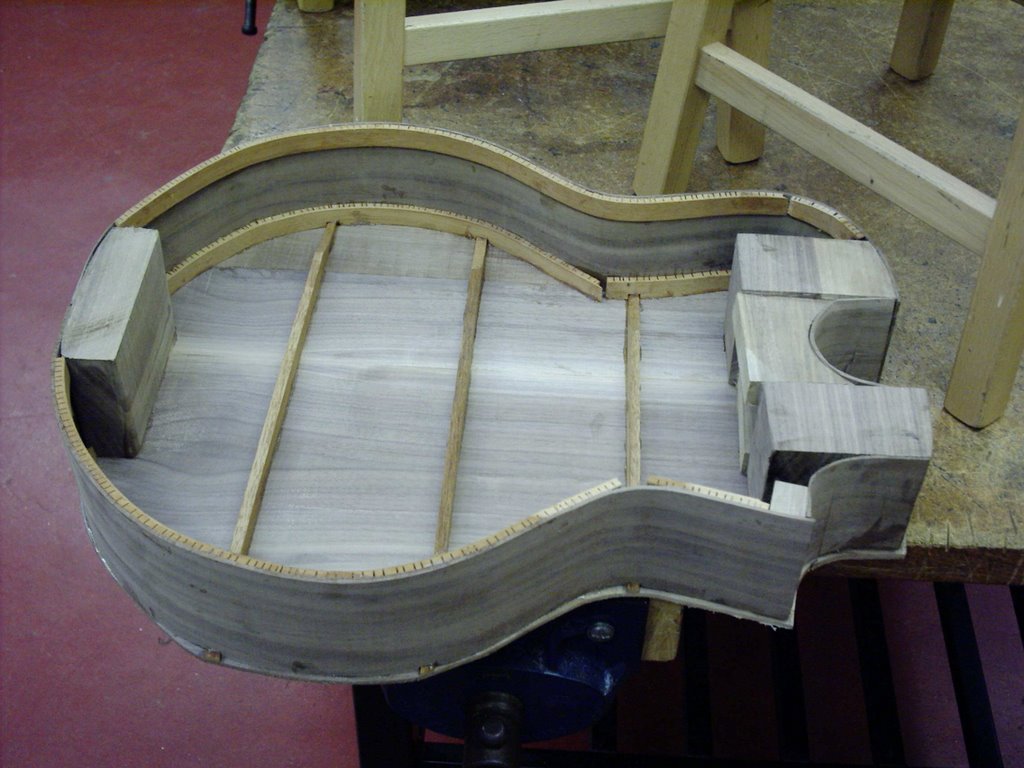
The sides are all done, and the back is now glued onto the sides.

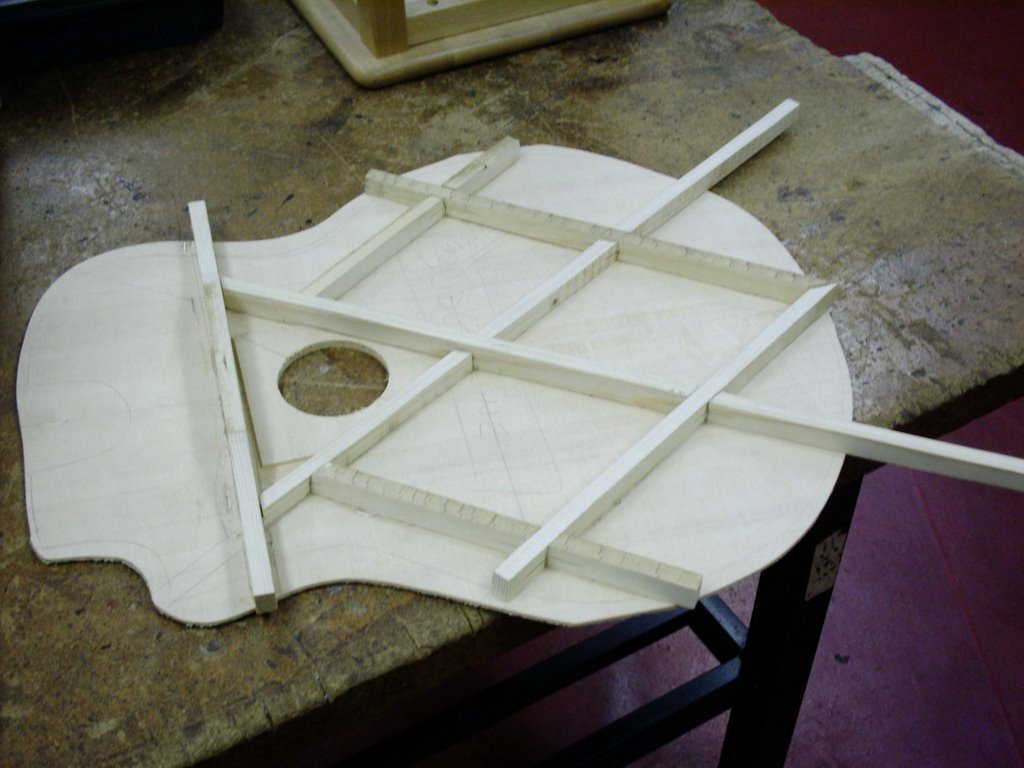
The top has the braces glued in, after putting on the soundhole patch and cutting the rosette & soundhole. Because of the Extra bracing needed for 18 strings and the fact that the bridges aren't where an acoustic's bridge is usually, I've had to make the soundhole slightly smaller than usual. This will probably make the guitar quieter that you would expect, but if you play it through an amp using the twin piezos there will be no difference.

A problem that I'll have to face later on is that a small soundhole

means that access to the inside to attach the blend pot and the jack socket may be tricky. Maybe I'll accost a pupil in school with tiny hands!!!!!

the bracing is a lattice affair


with the bridges going into the diamond shaped holes to the left of the soundhole in the pic. I've also started shaving the bracing down to allow the top to move, but I don't want to take too much off as there is SSOOOOO much force from all those strings!!

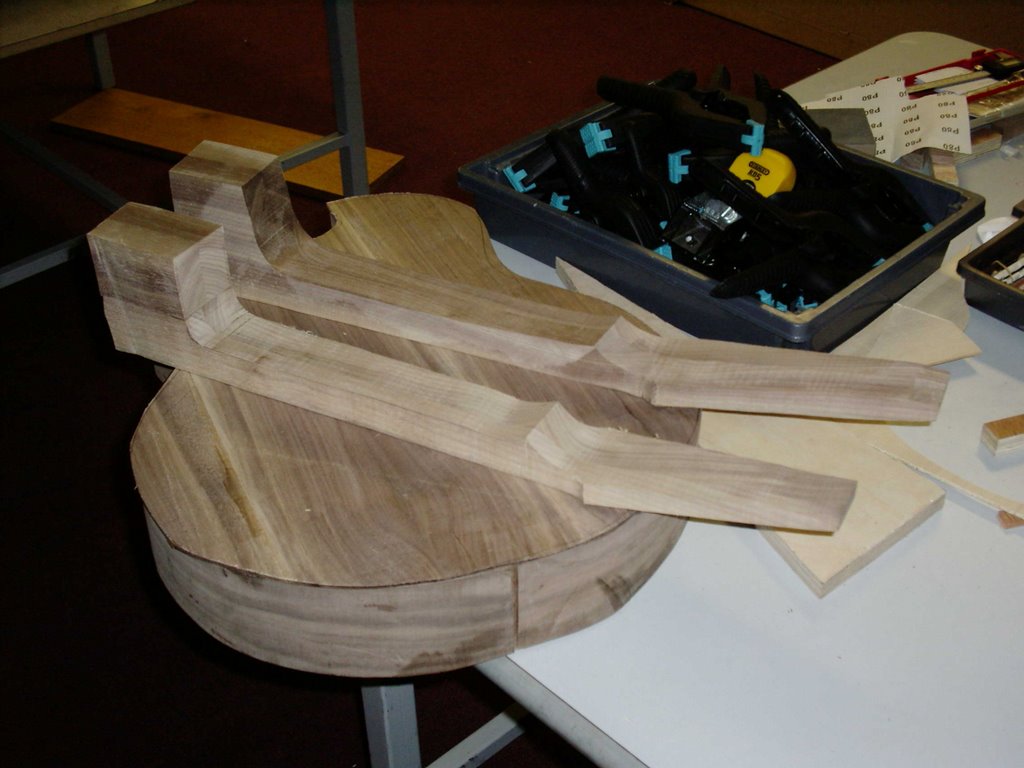
I've also rough cut the necks, but I can't do much more on them til the body is made as I have to wait til I know exactly the curvature of the neck/body joins (as they will be curved and not straight like a normal guitar would be).

About Me

Married with 4 kids, Christian, worship leader, luthier